Indexable Dovetail Cutter
Project started on 2011-09-18
Project completed on 2011-09-30
I bought a commercially made 60° indexable insert dovetail cutter and found that it doesn't actually cut 60° dovetails! It turns out that with the axial rake of the tool-holder, the effective angle is actually about 59°. This would be fine for a lot of applications, but I wanted to make mating dovetails and it worked out that this tolerance was too big for the QCTP that I had in mind. So, I set out to make my own.
I have had a Sherline 4400 lathe for a while and it has worked well. Recently, I bought a Myford ML7 and it has been quite a learning experience. When I got it, the Myford was so deep in grime and rust that you couldn't see the colour of what was underneath. Since then, I've cleaned it up and its been working OK. I have still to fix the lamp oilers on this thing as many small parts (springs and levers) are missing. All in all though, it seemed to be in serviceable condition, so I thought to myself, I might as well as give it a try and make something useful out of it.
Anyhow, this page will show you the build log of this project as it happened.
I start off with a steel rod. I just happened have a lot of 1" 12L14 left over so thats what I used.
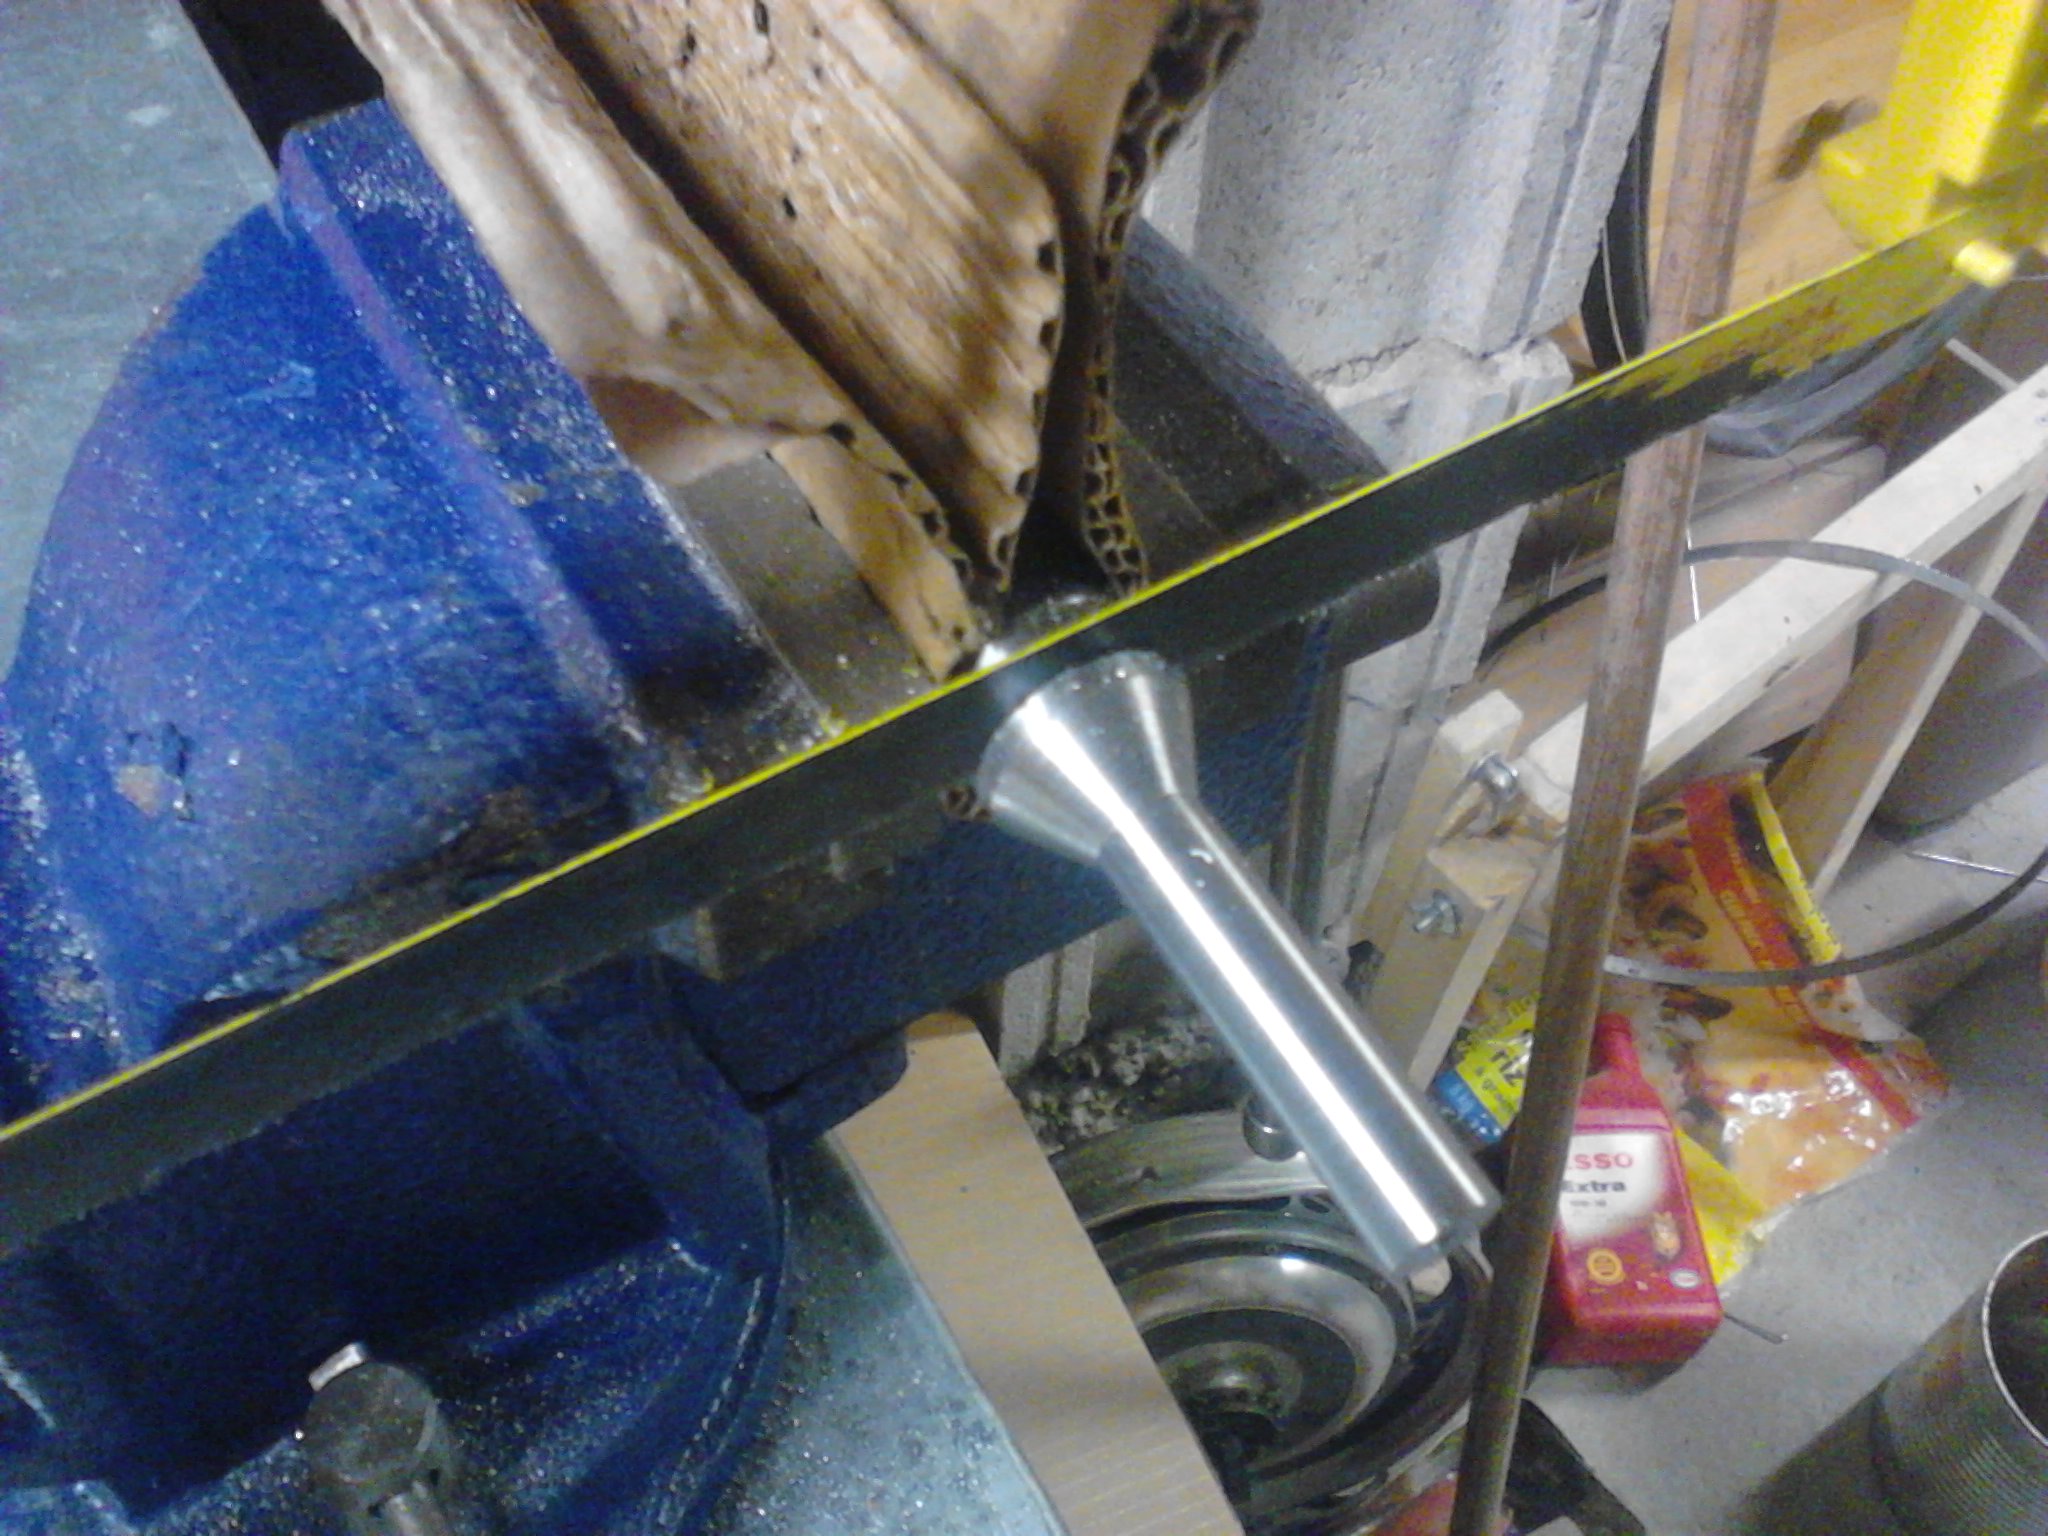
Take it over to your favourite cutting device and cut off 3.5" or so.

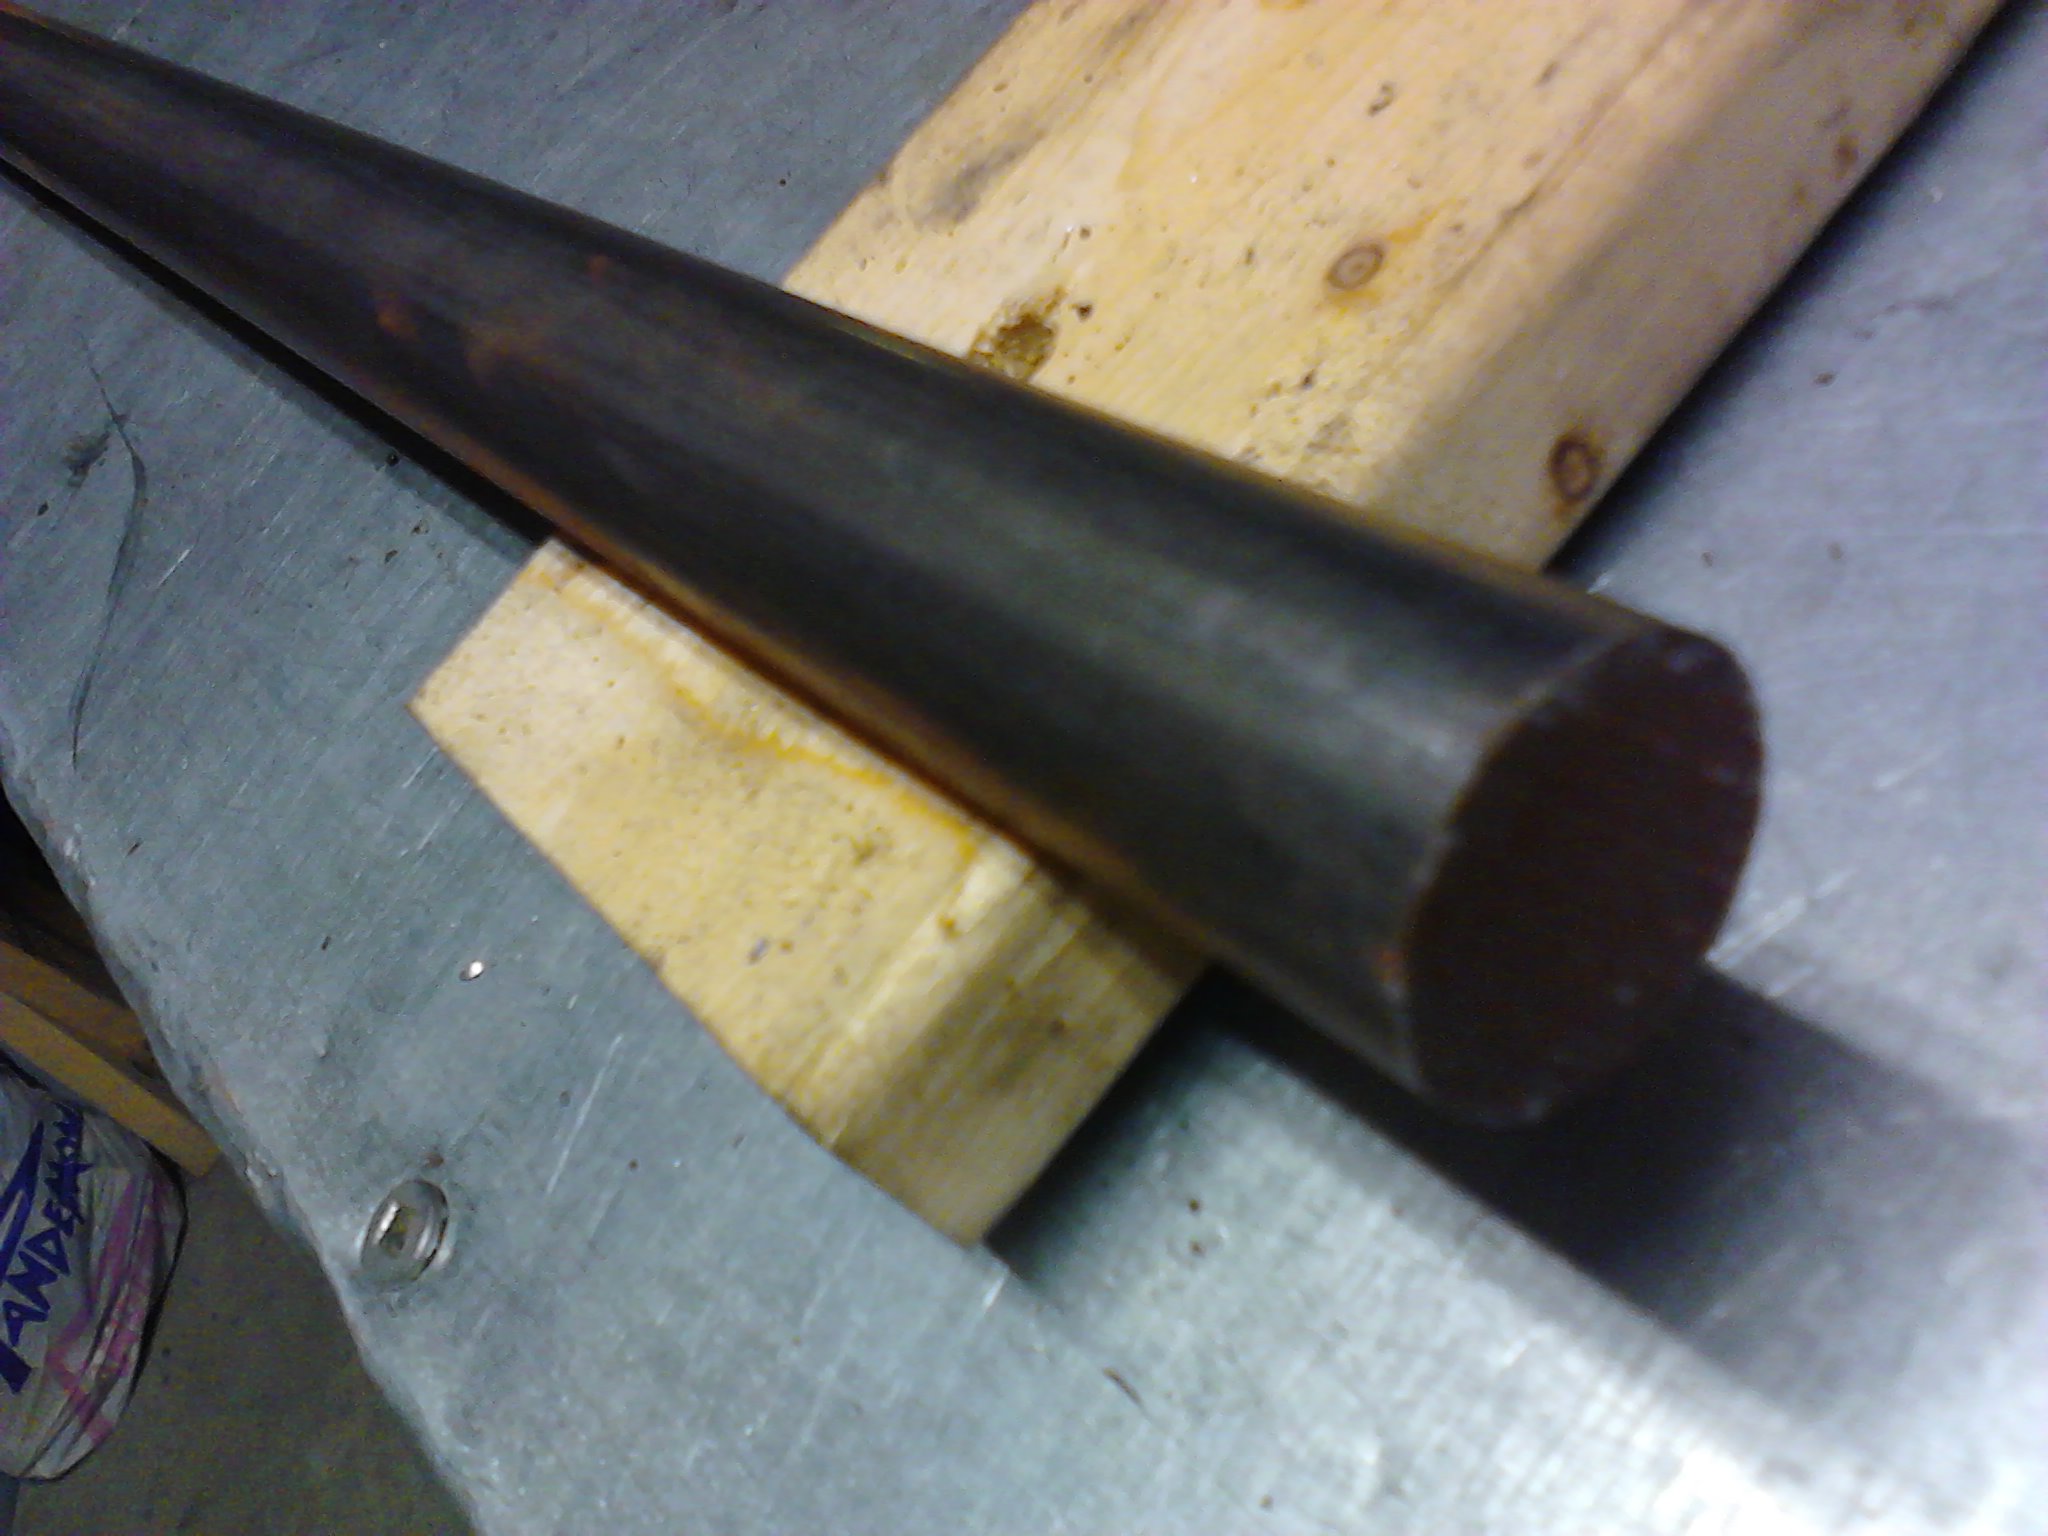
This is the piece that has been cut off that will be machined.

Chuck the piece into a lathe (Myford ML7) for facing.
After facing chamfer the edges a little bit with a file. This will help the rod sit flush against the jaws when the piece is reversed.
Centre drill one end. This will be used with a live centre to hold tighter tolerances when turning long lengths.
Turn a shoulder on the other side of the rod. This will prevent the rod from slipping into the jaws of the chuck when you are taking heavy cuts towards the head stock.
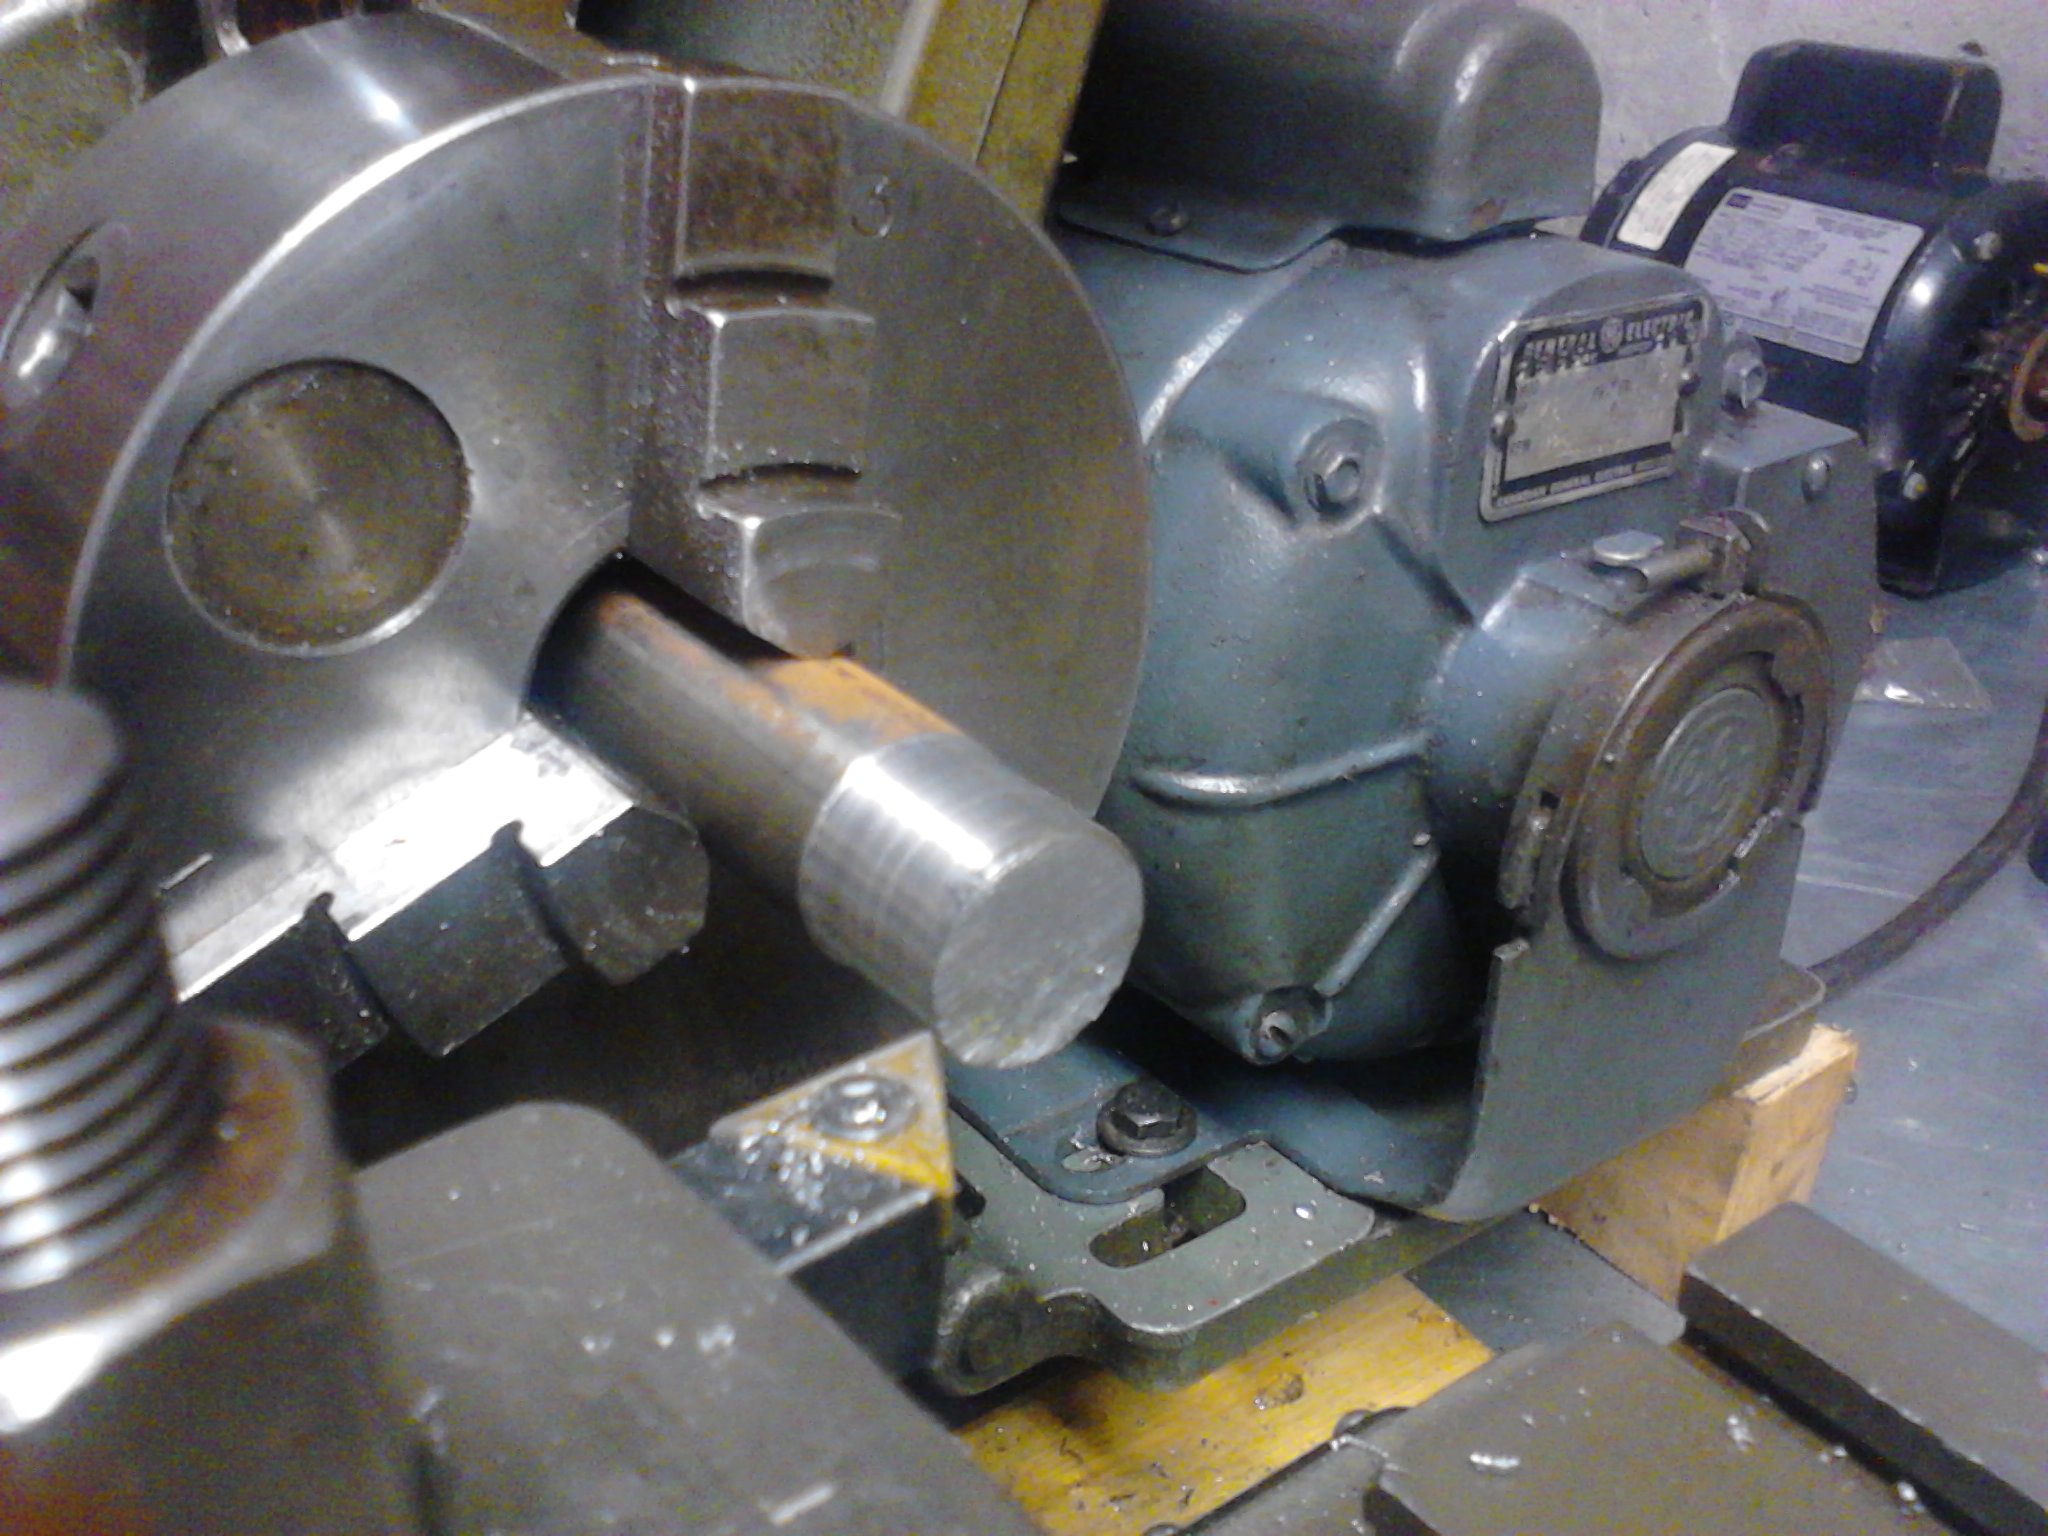
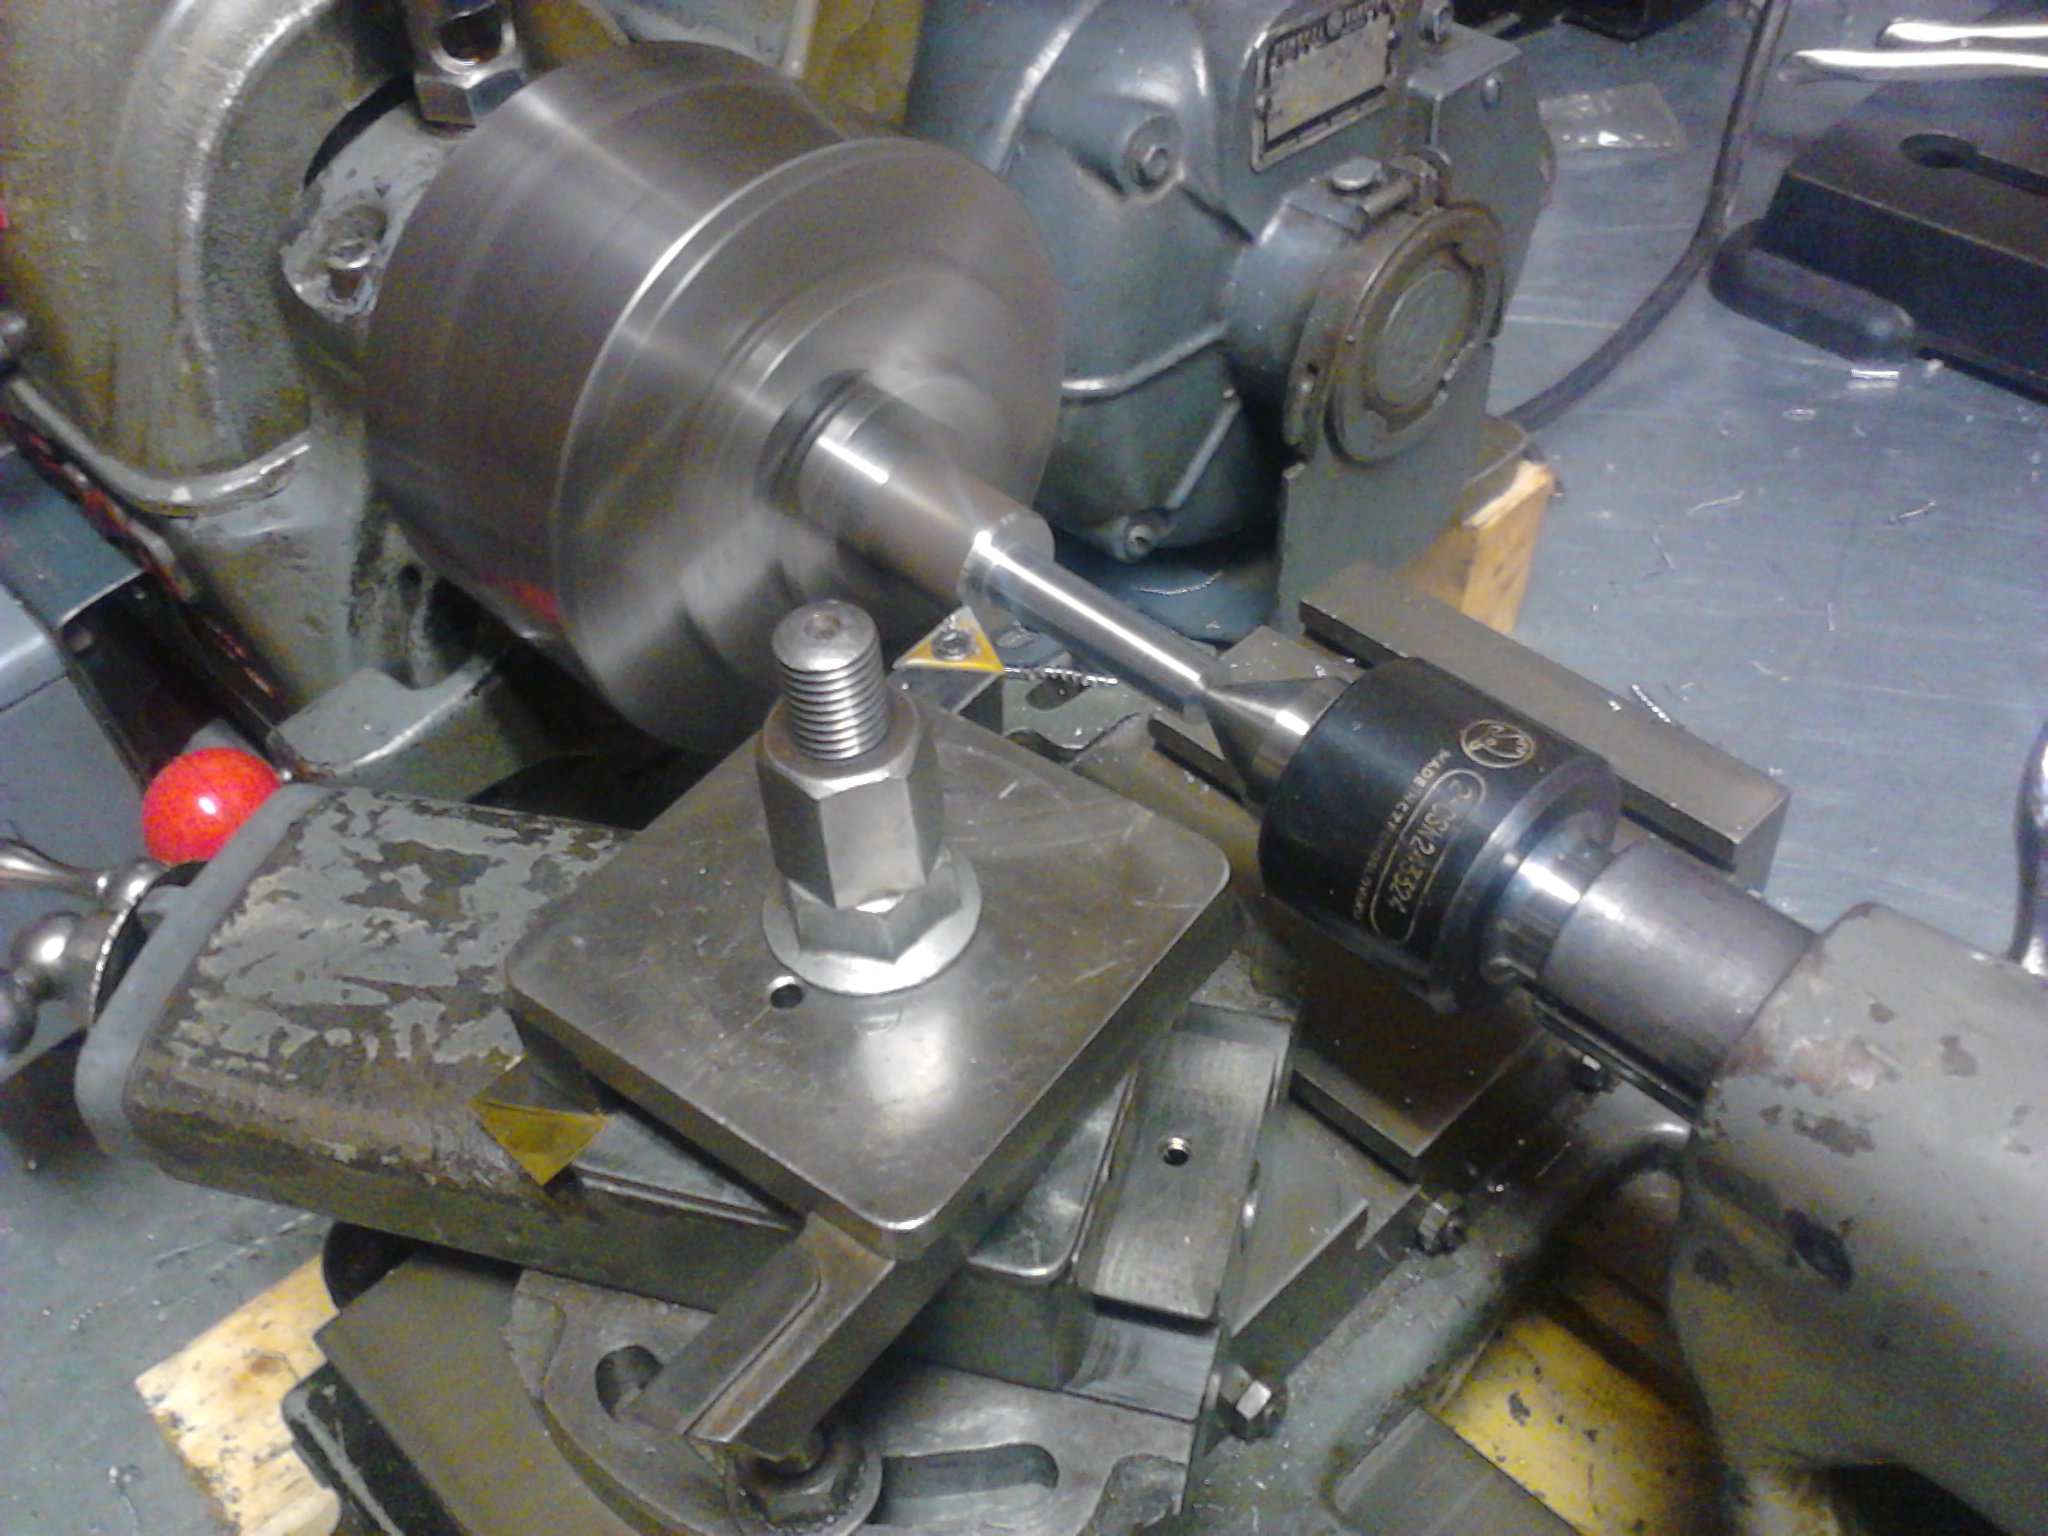
Chuck the rod back in how it was in the beginning. Move the tailstock with a live centre into place. Mark the extent to which you want to cut the shank of the tool. Be sure to leave enough space to cut the 60° taper and to cut off the rest of the piece.

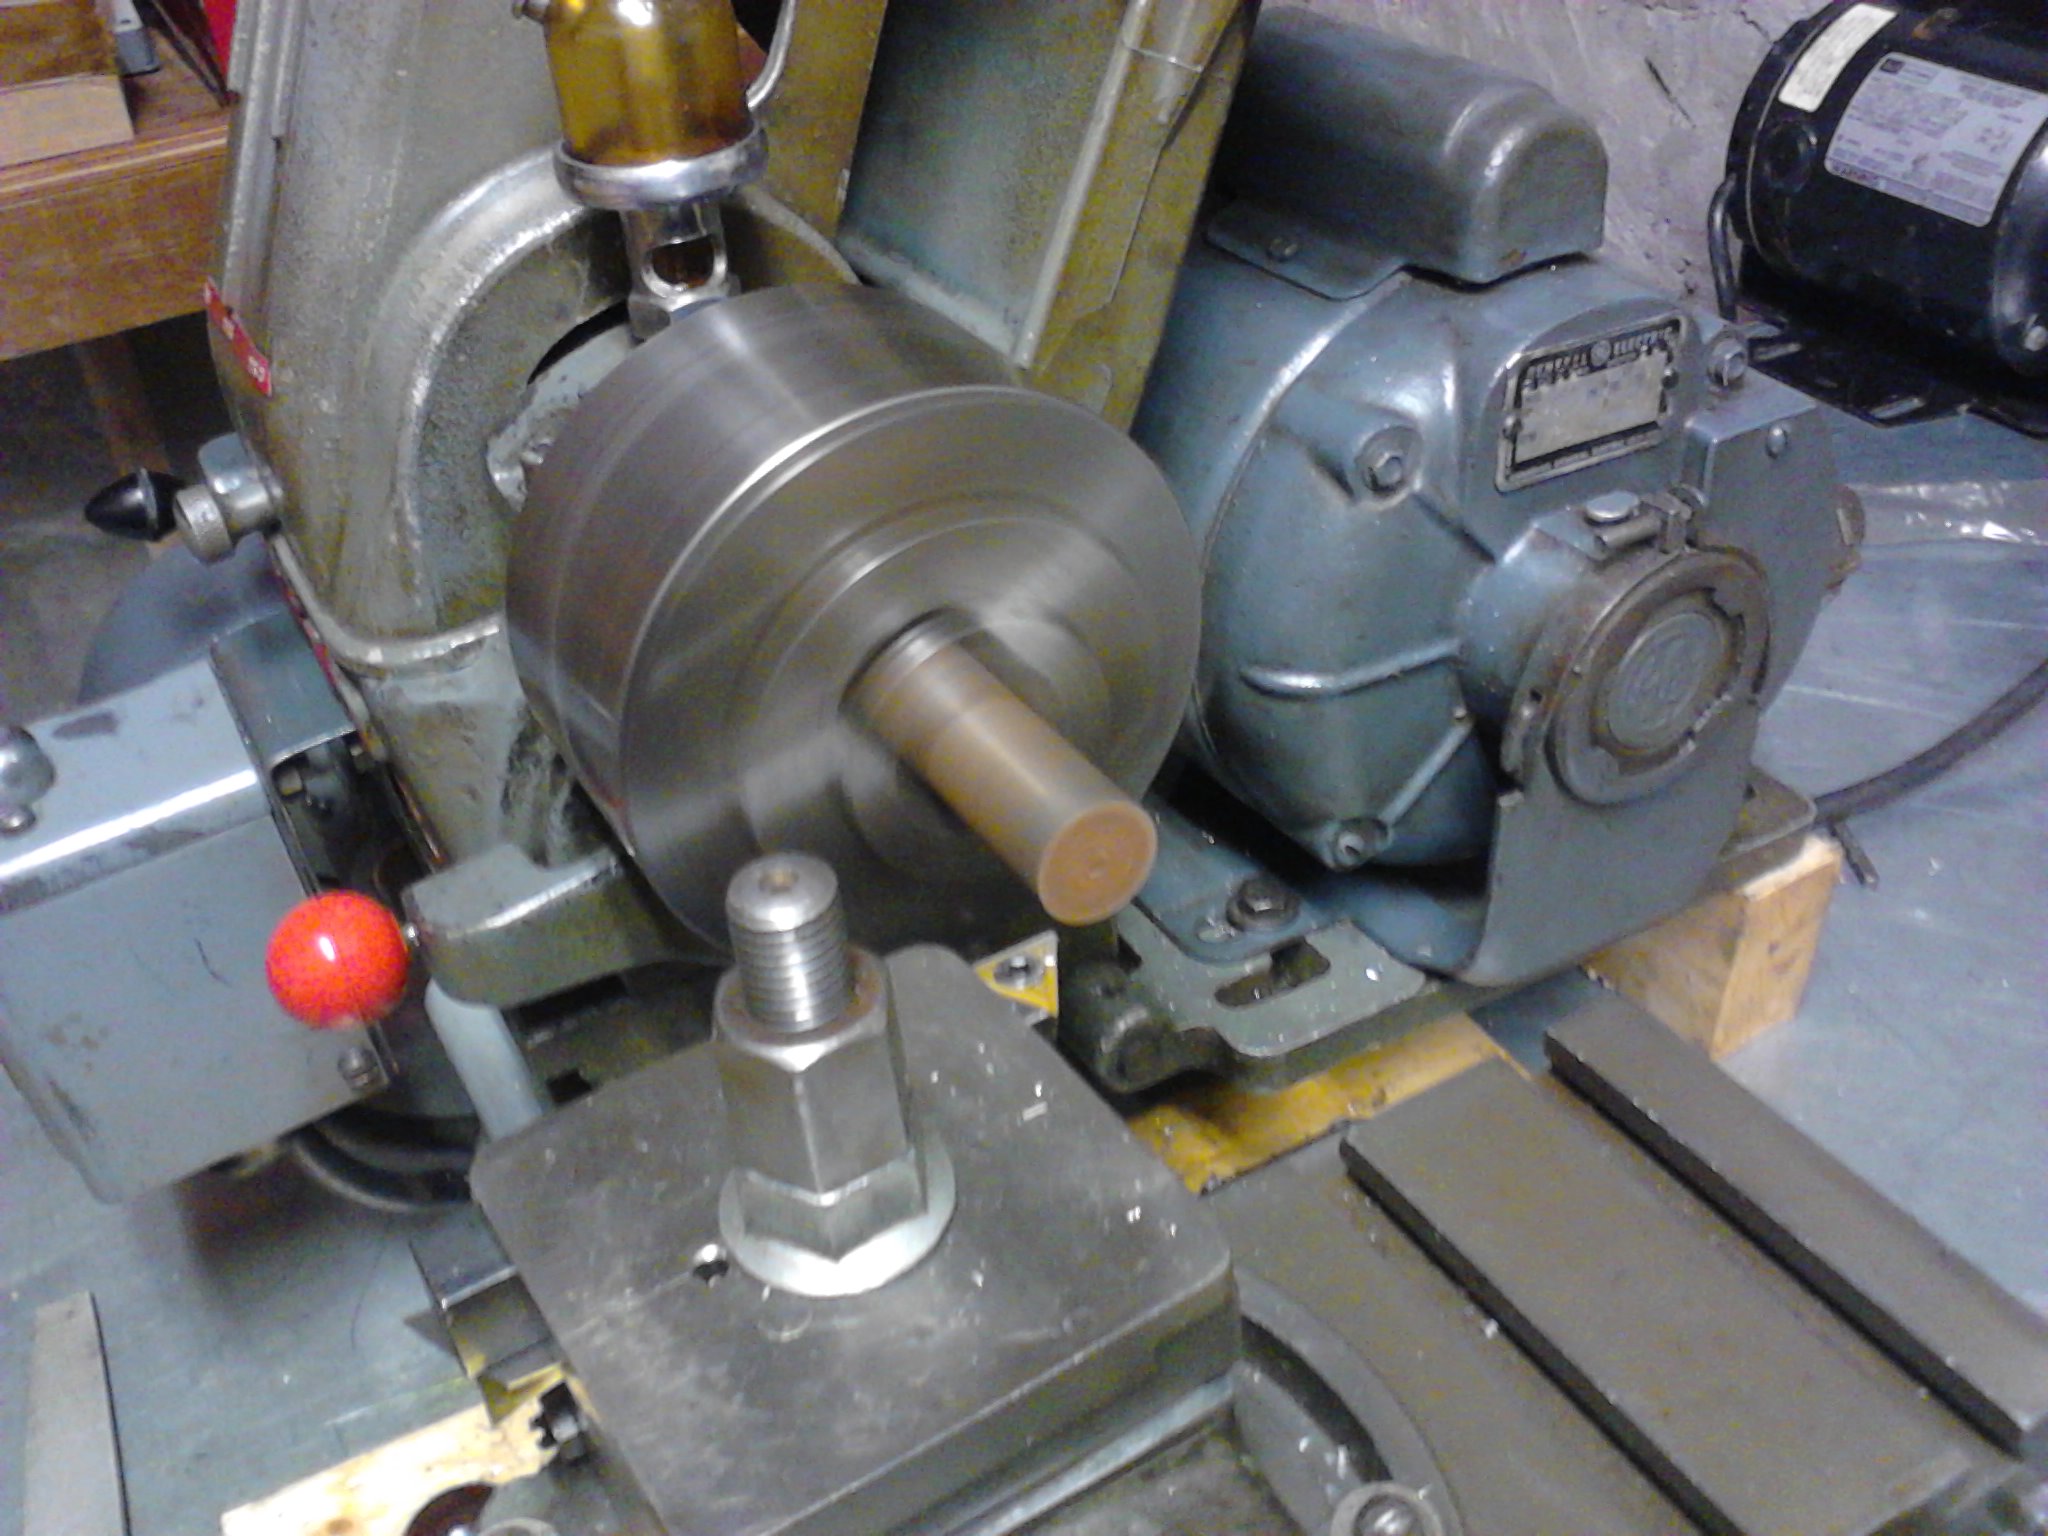
Start turning.
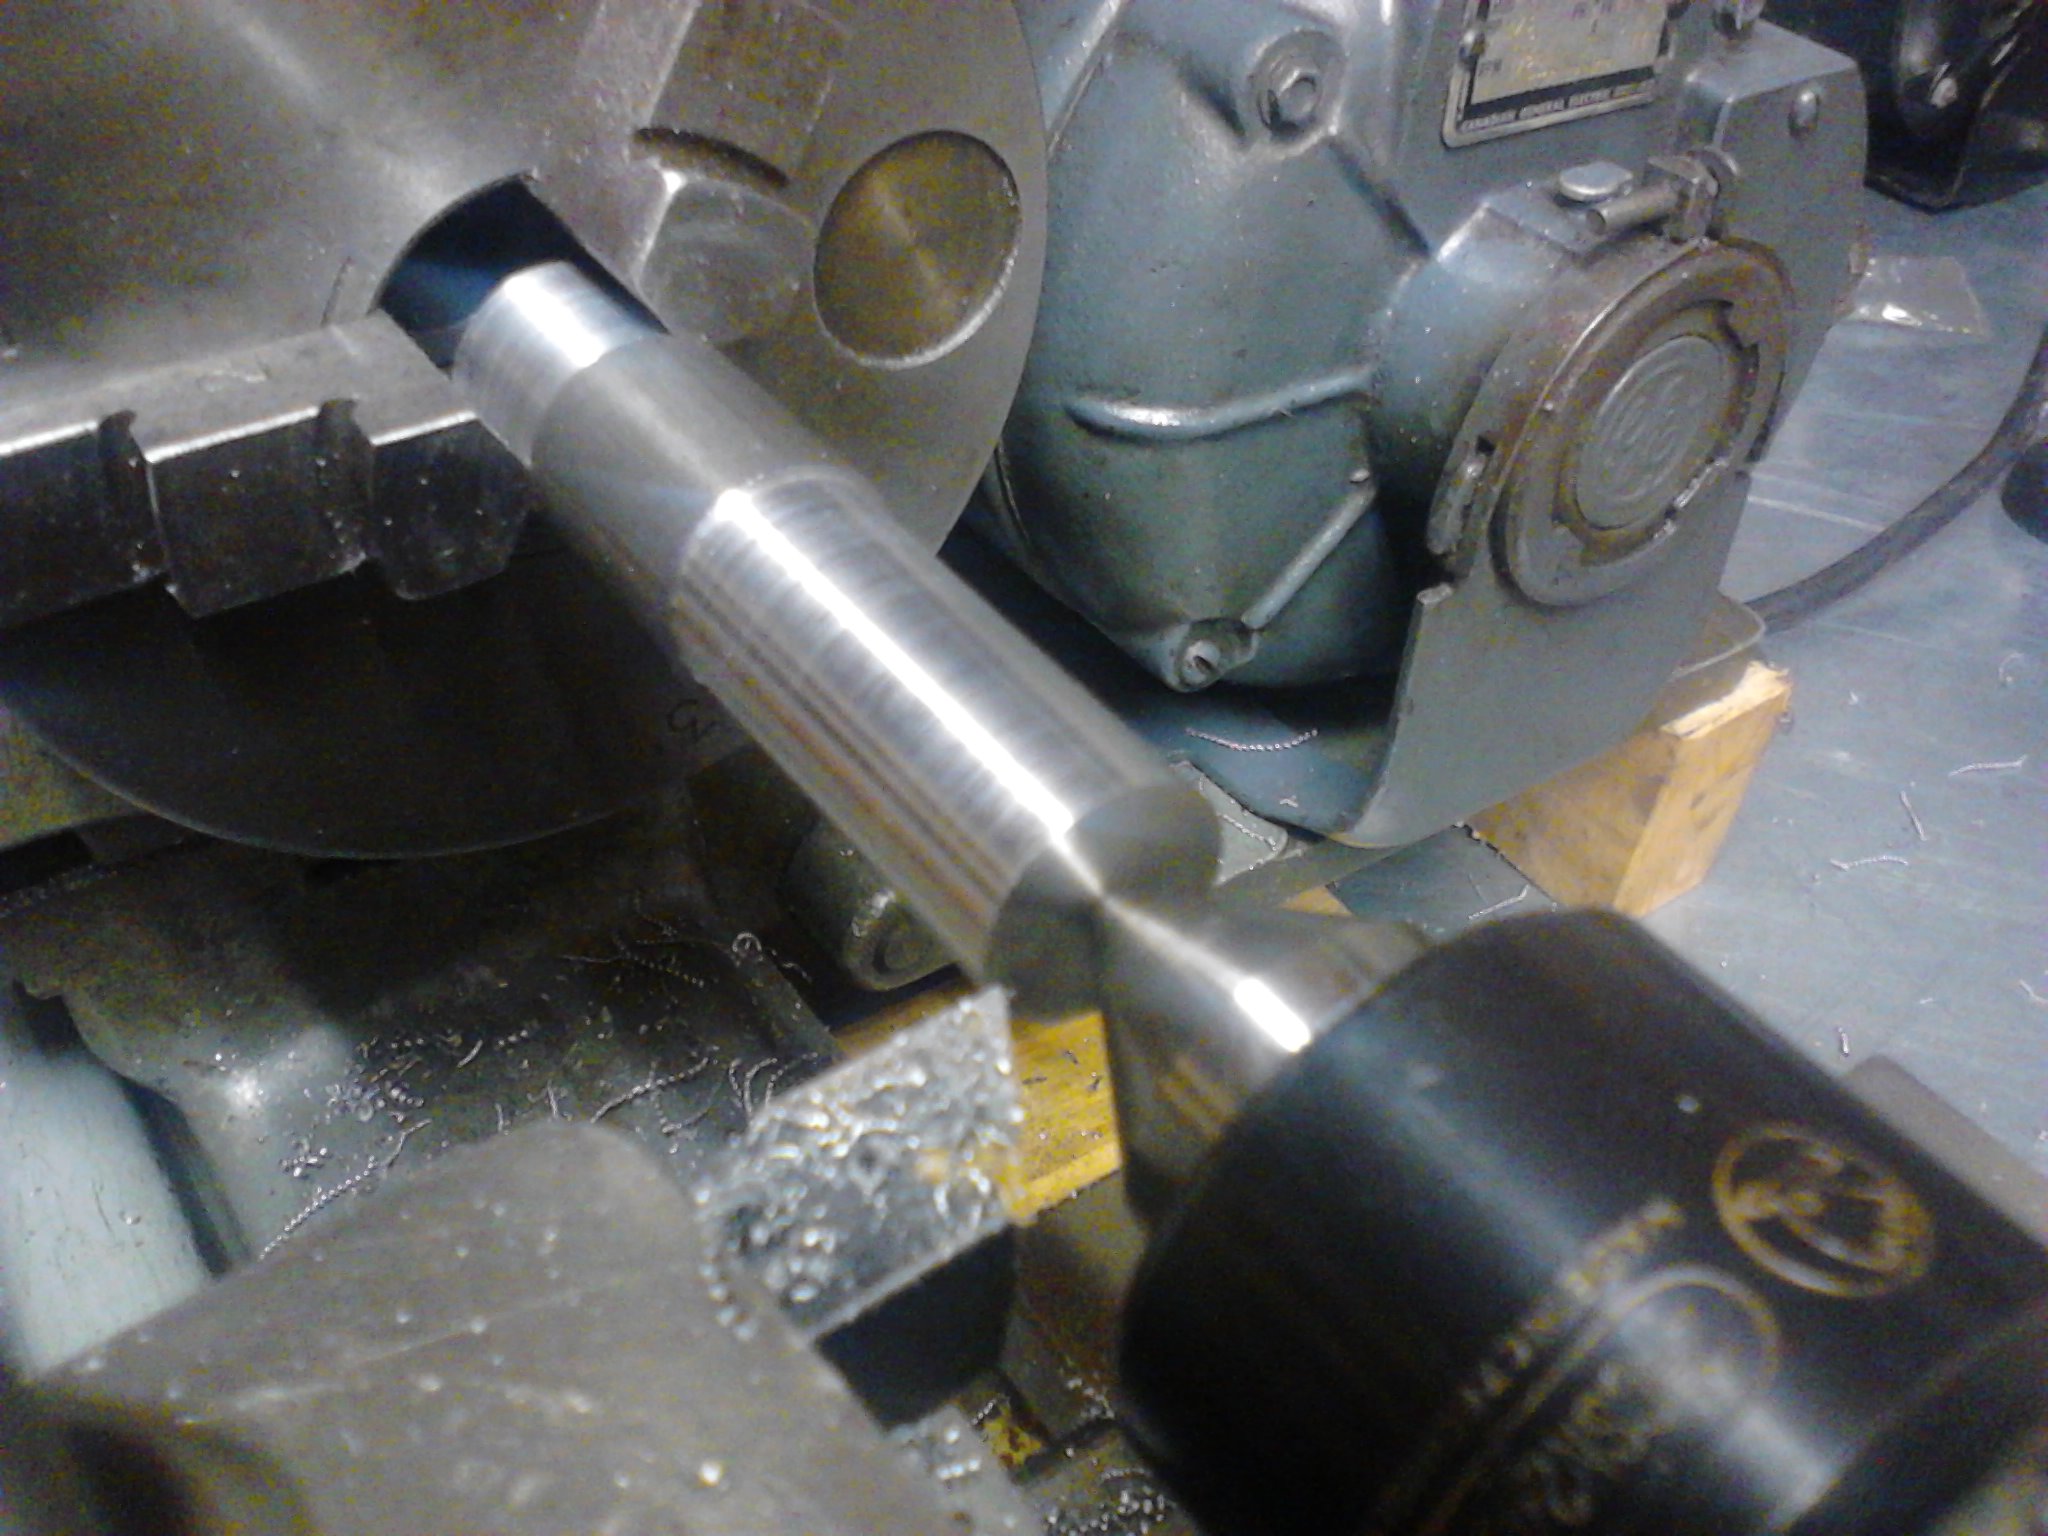
The shank of the dovetail cutter has reached its final diameter.
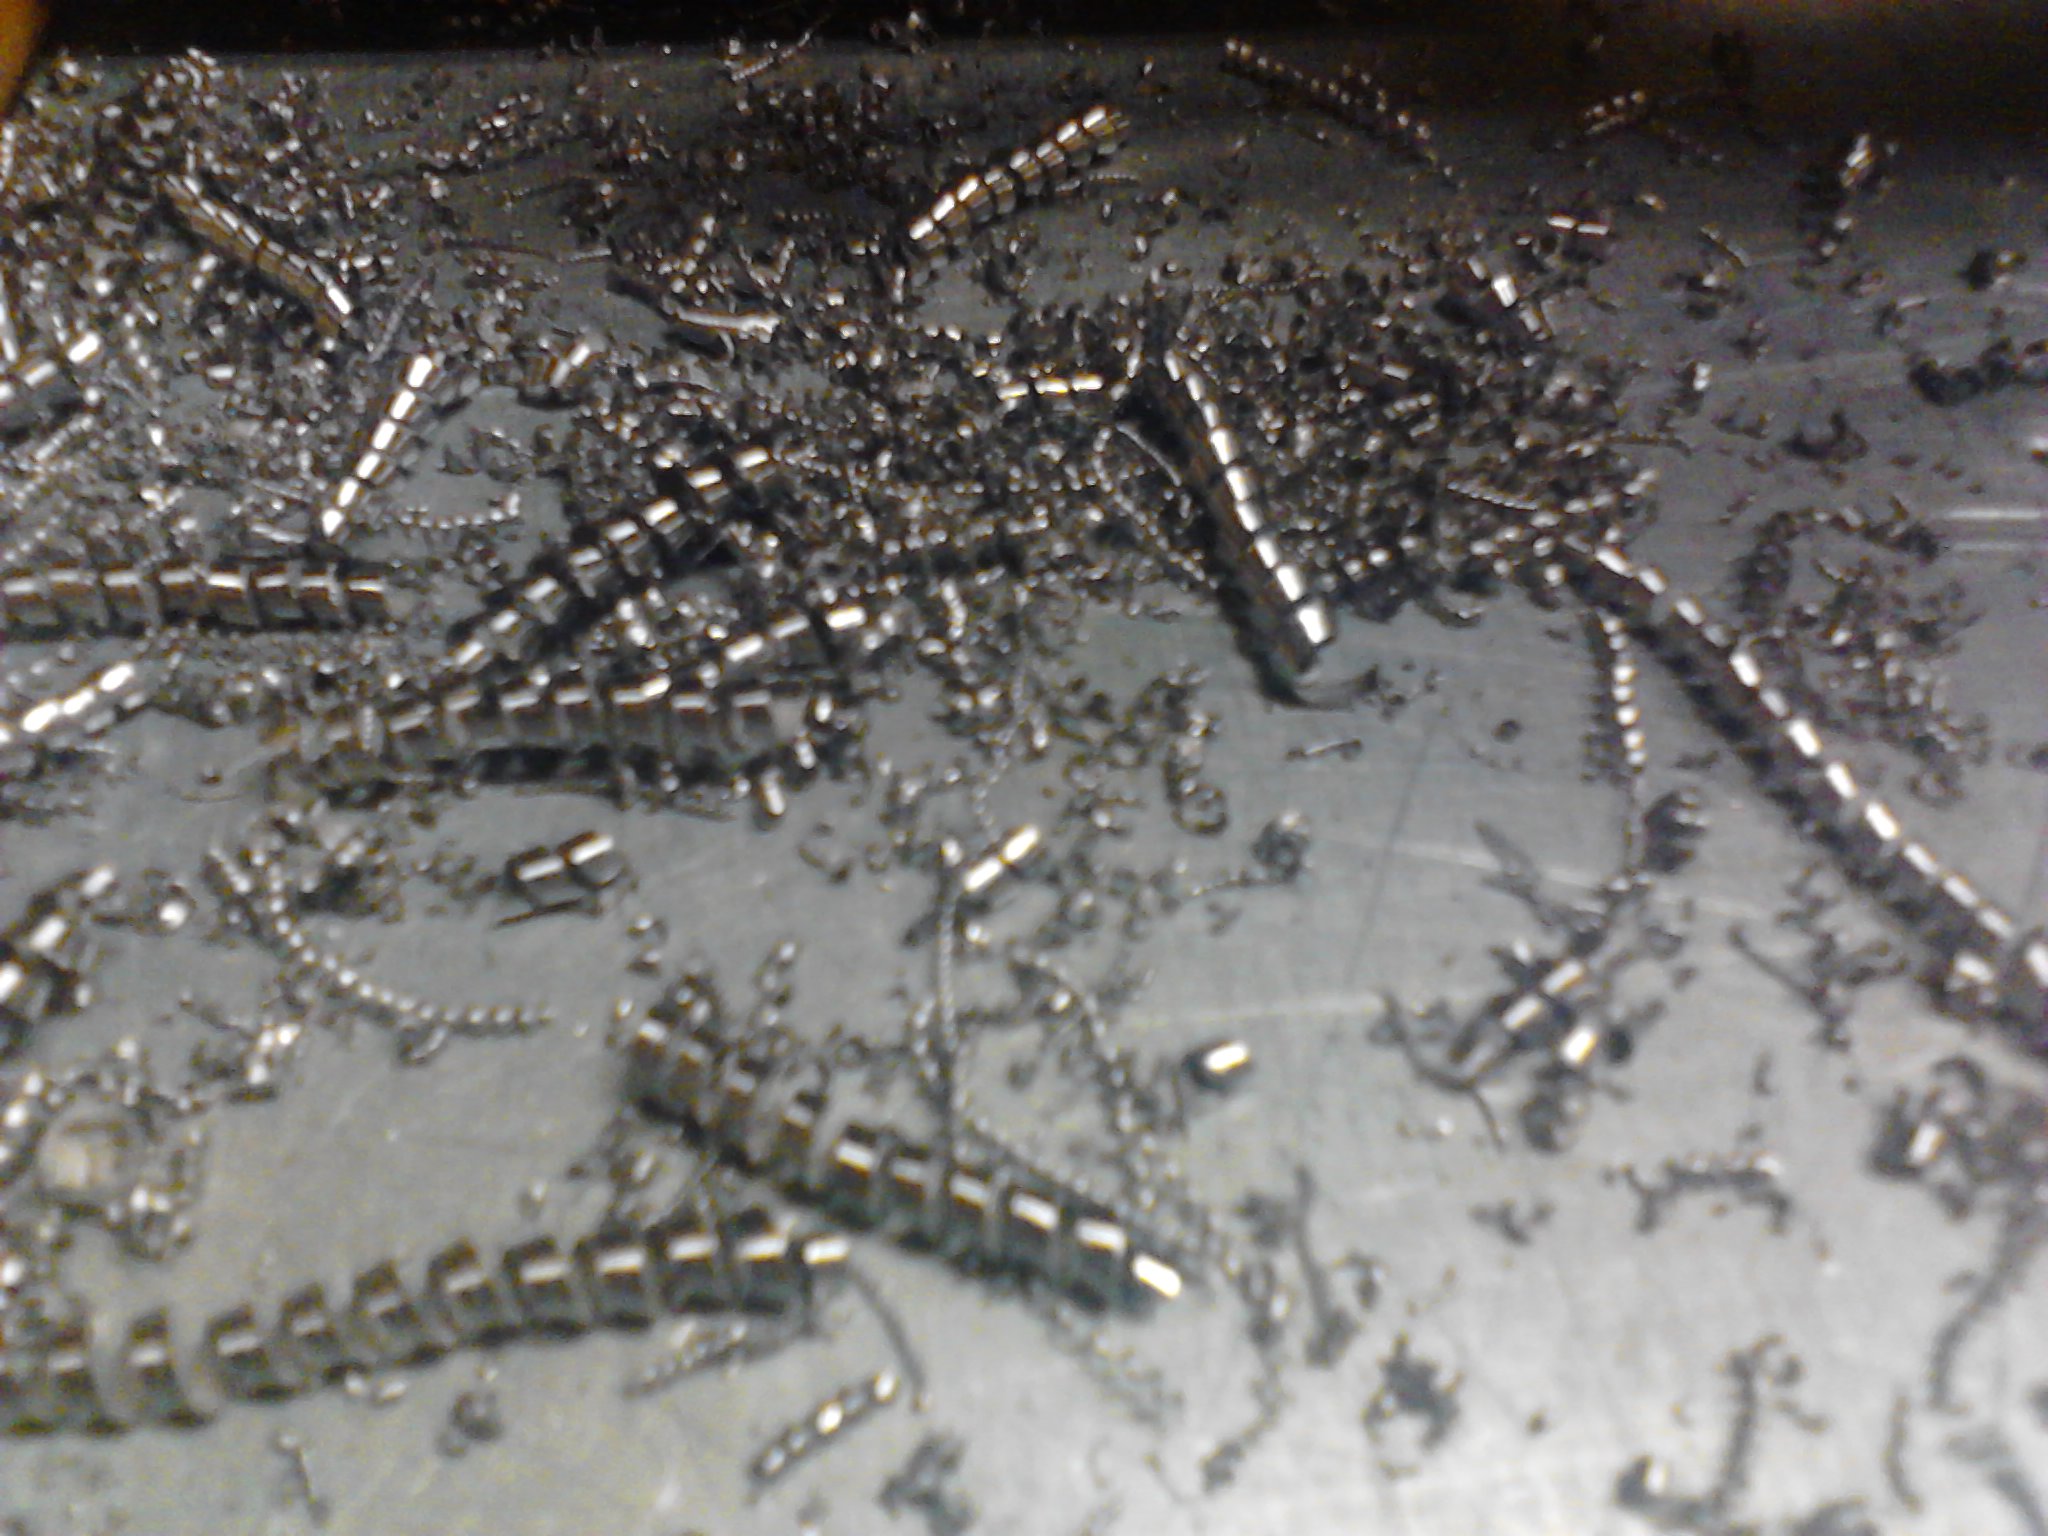
Look at those chips! I sure wasn't able to do this on my Sherline! The Myford didn't even mind. If you feel for the right speeds and feeds, there is no chatter at all.
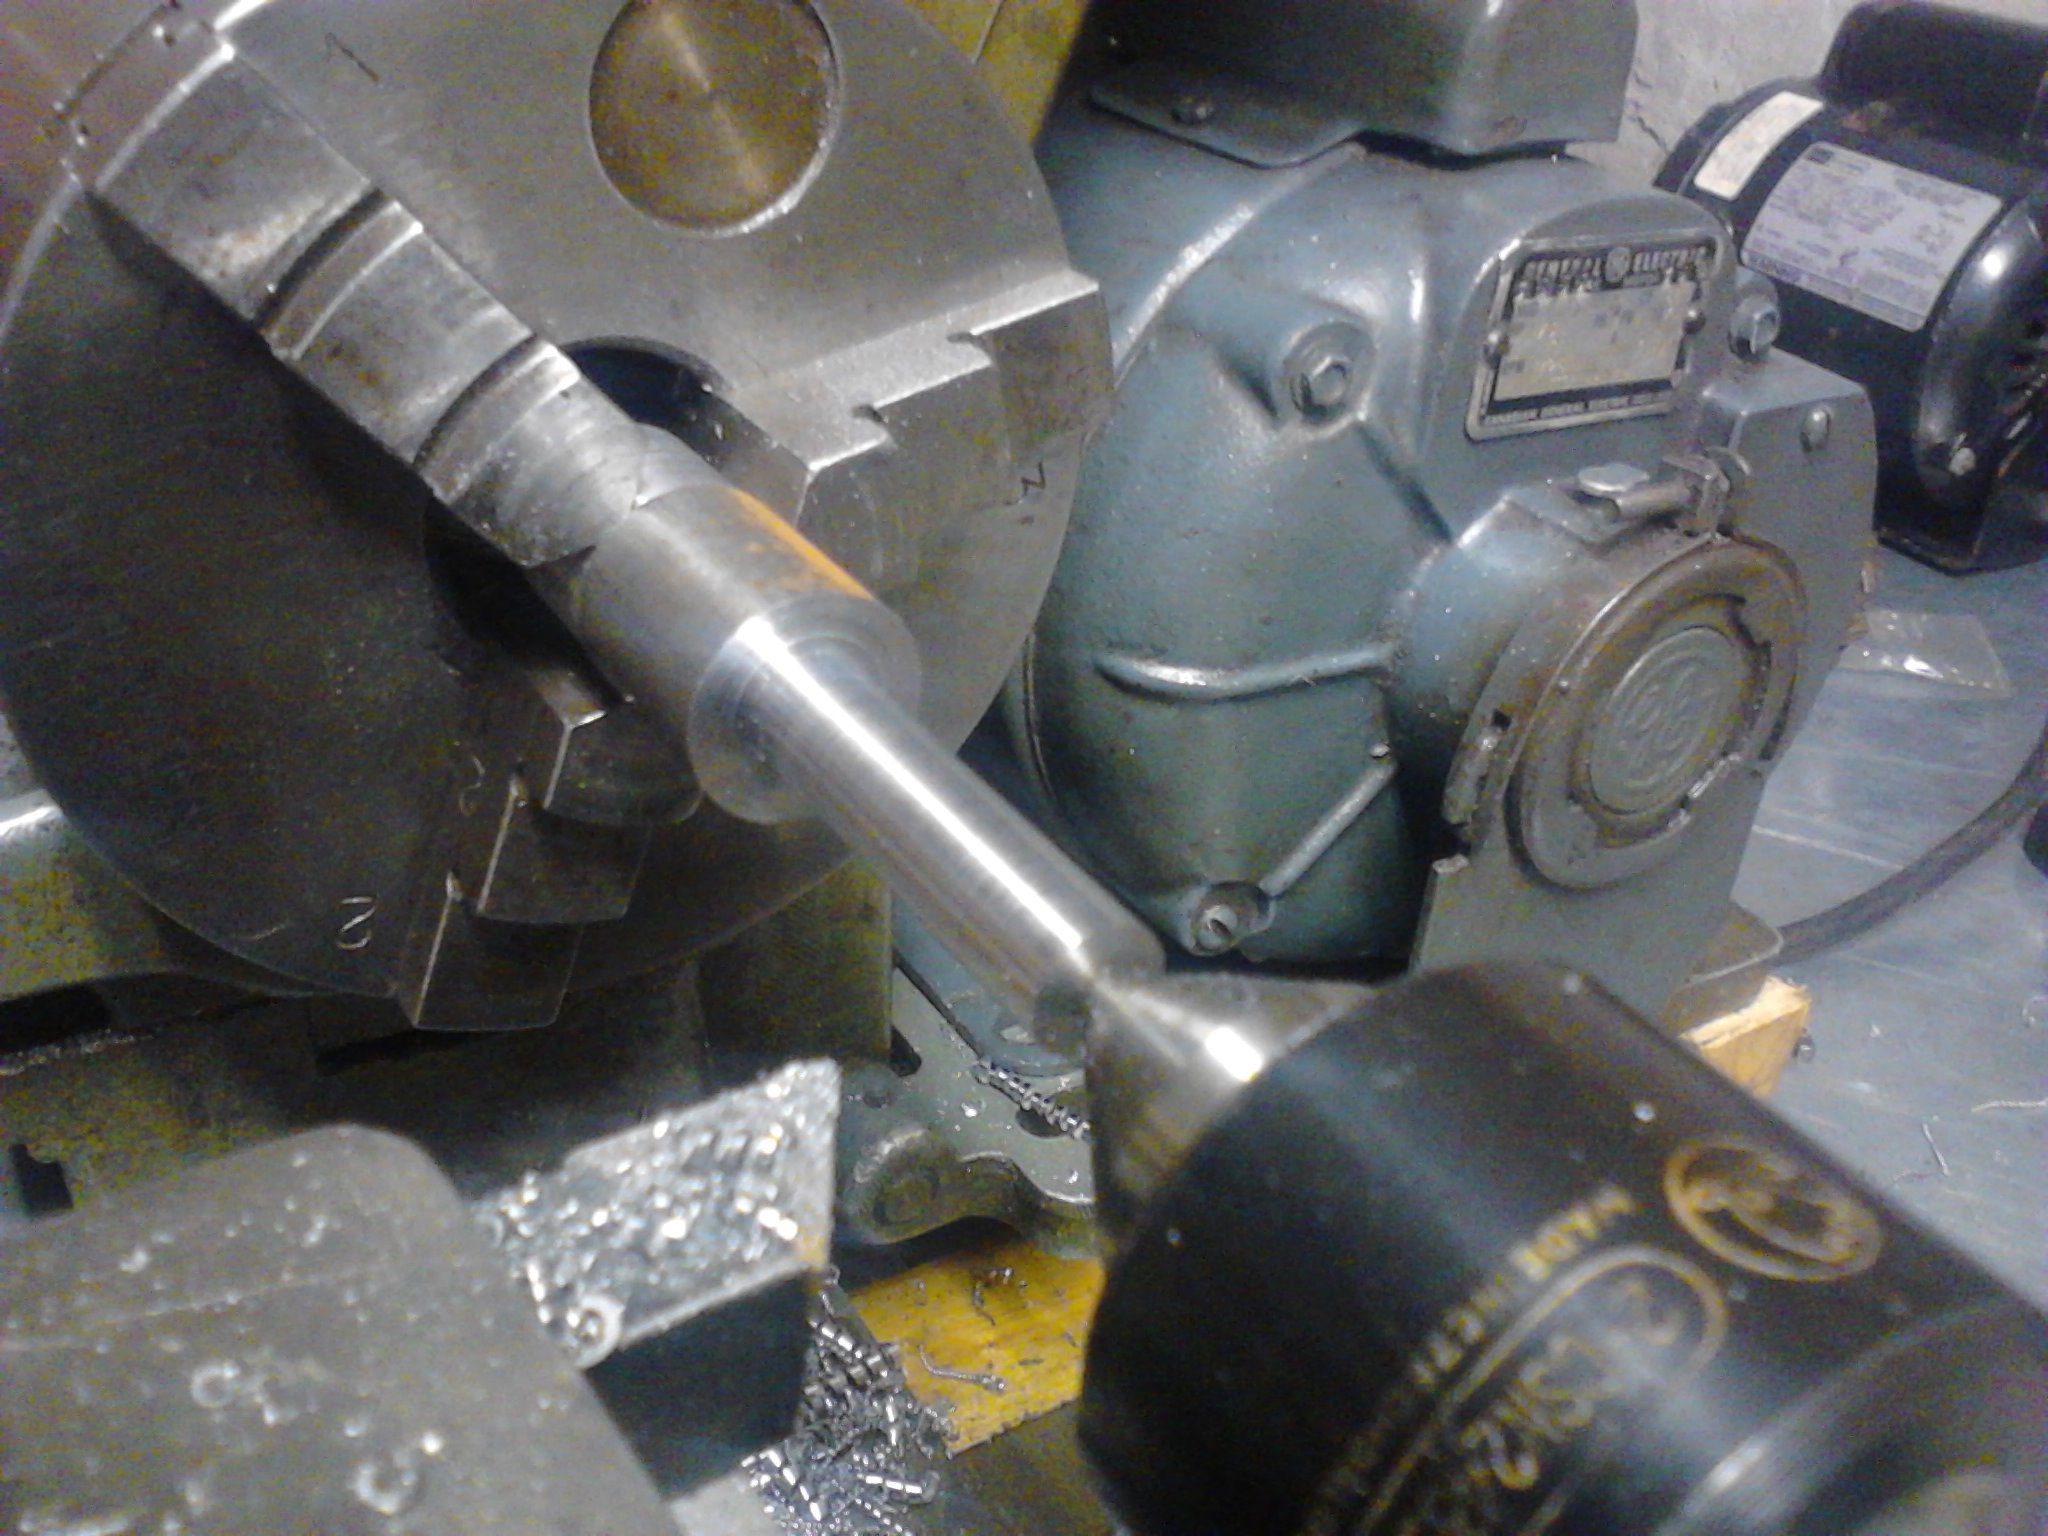
Now, its time to turn the taper. The angle on the compound was set by using an ordinary plastic ruler form a geometry set. You can get them from a dollar store. I find that they are more accurate and easier to use than setting your protractor and using that.
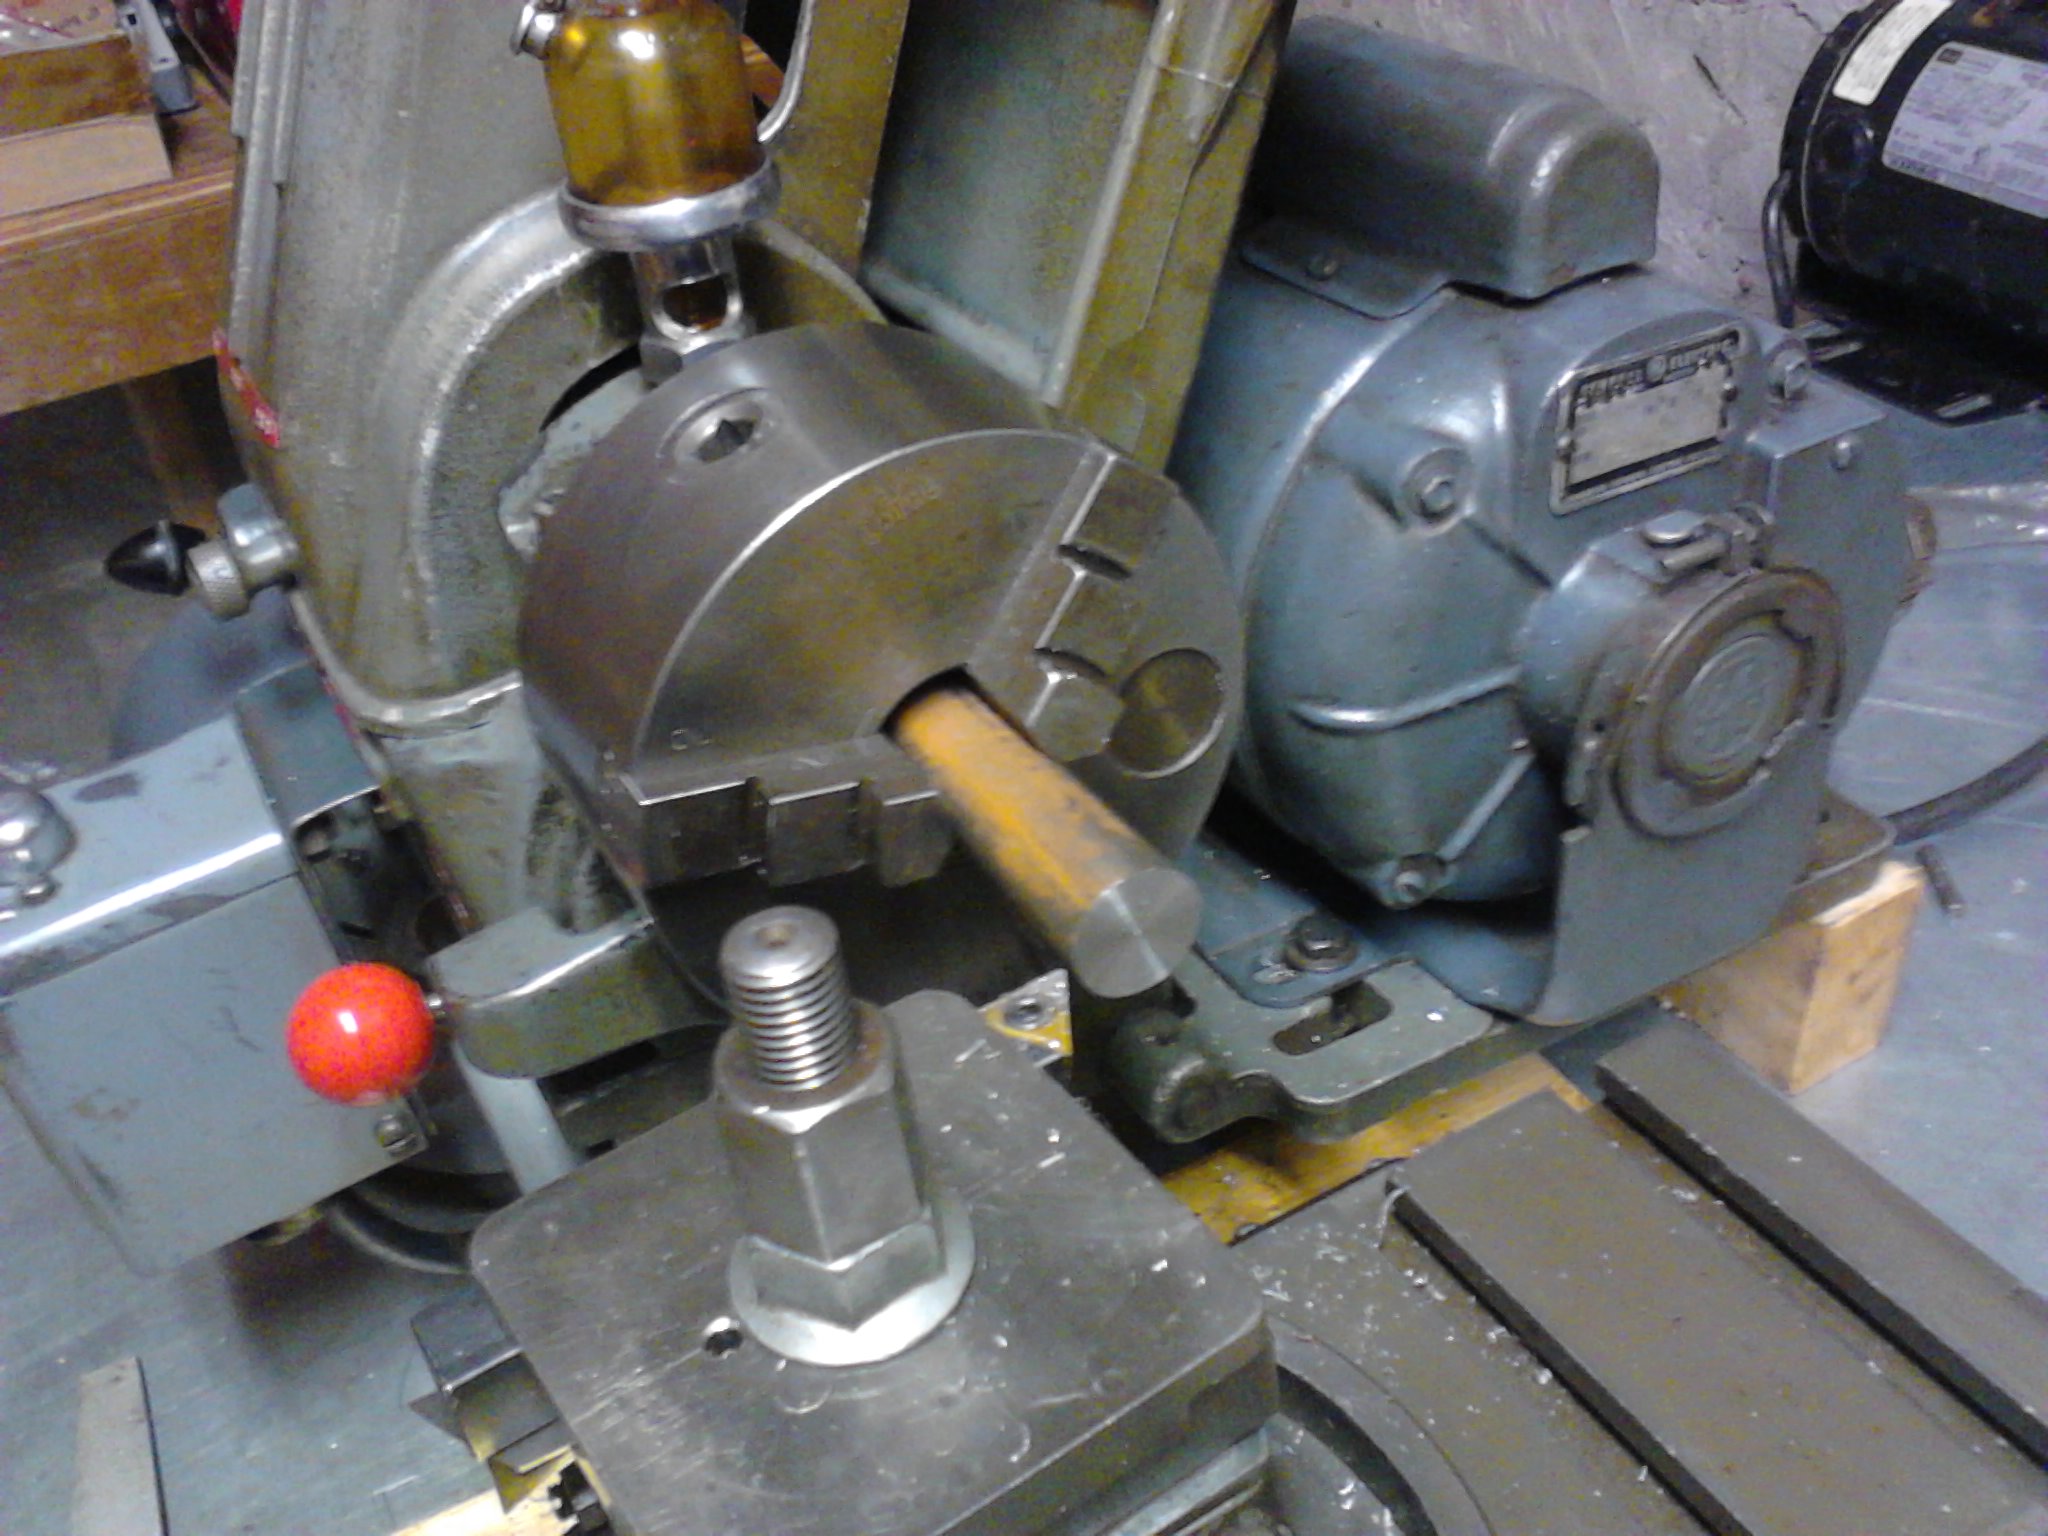
The taper is completed.

Once again, take it to your favourite cutting device and remove the unnecessary stub. Be careful not to let it drop on the floor.
Chuck the dovetail cutter back into the lathe, with the shank in the jaws of the chuck. I used brass shims to avoid marring the finish of the shank.
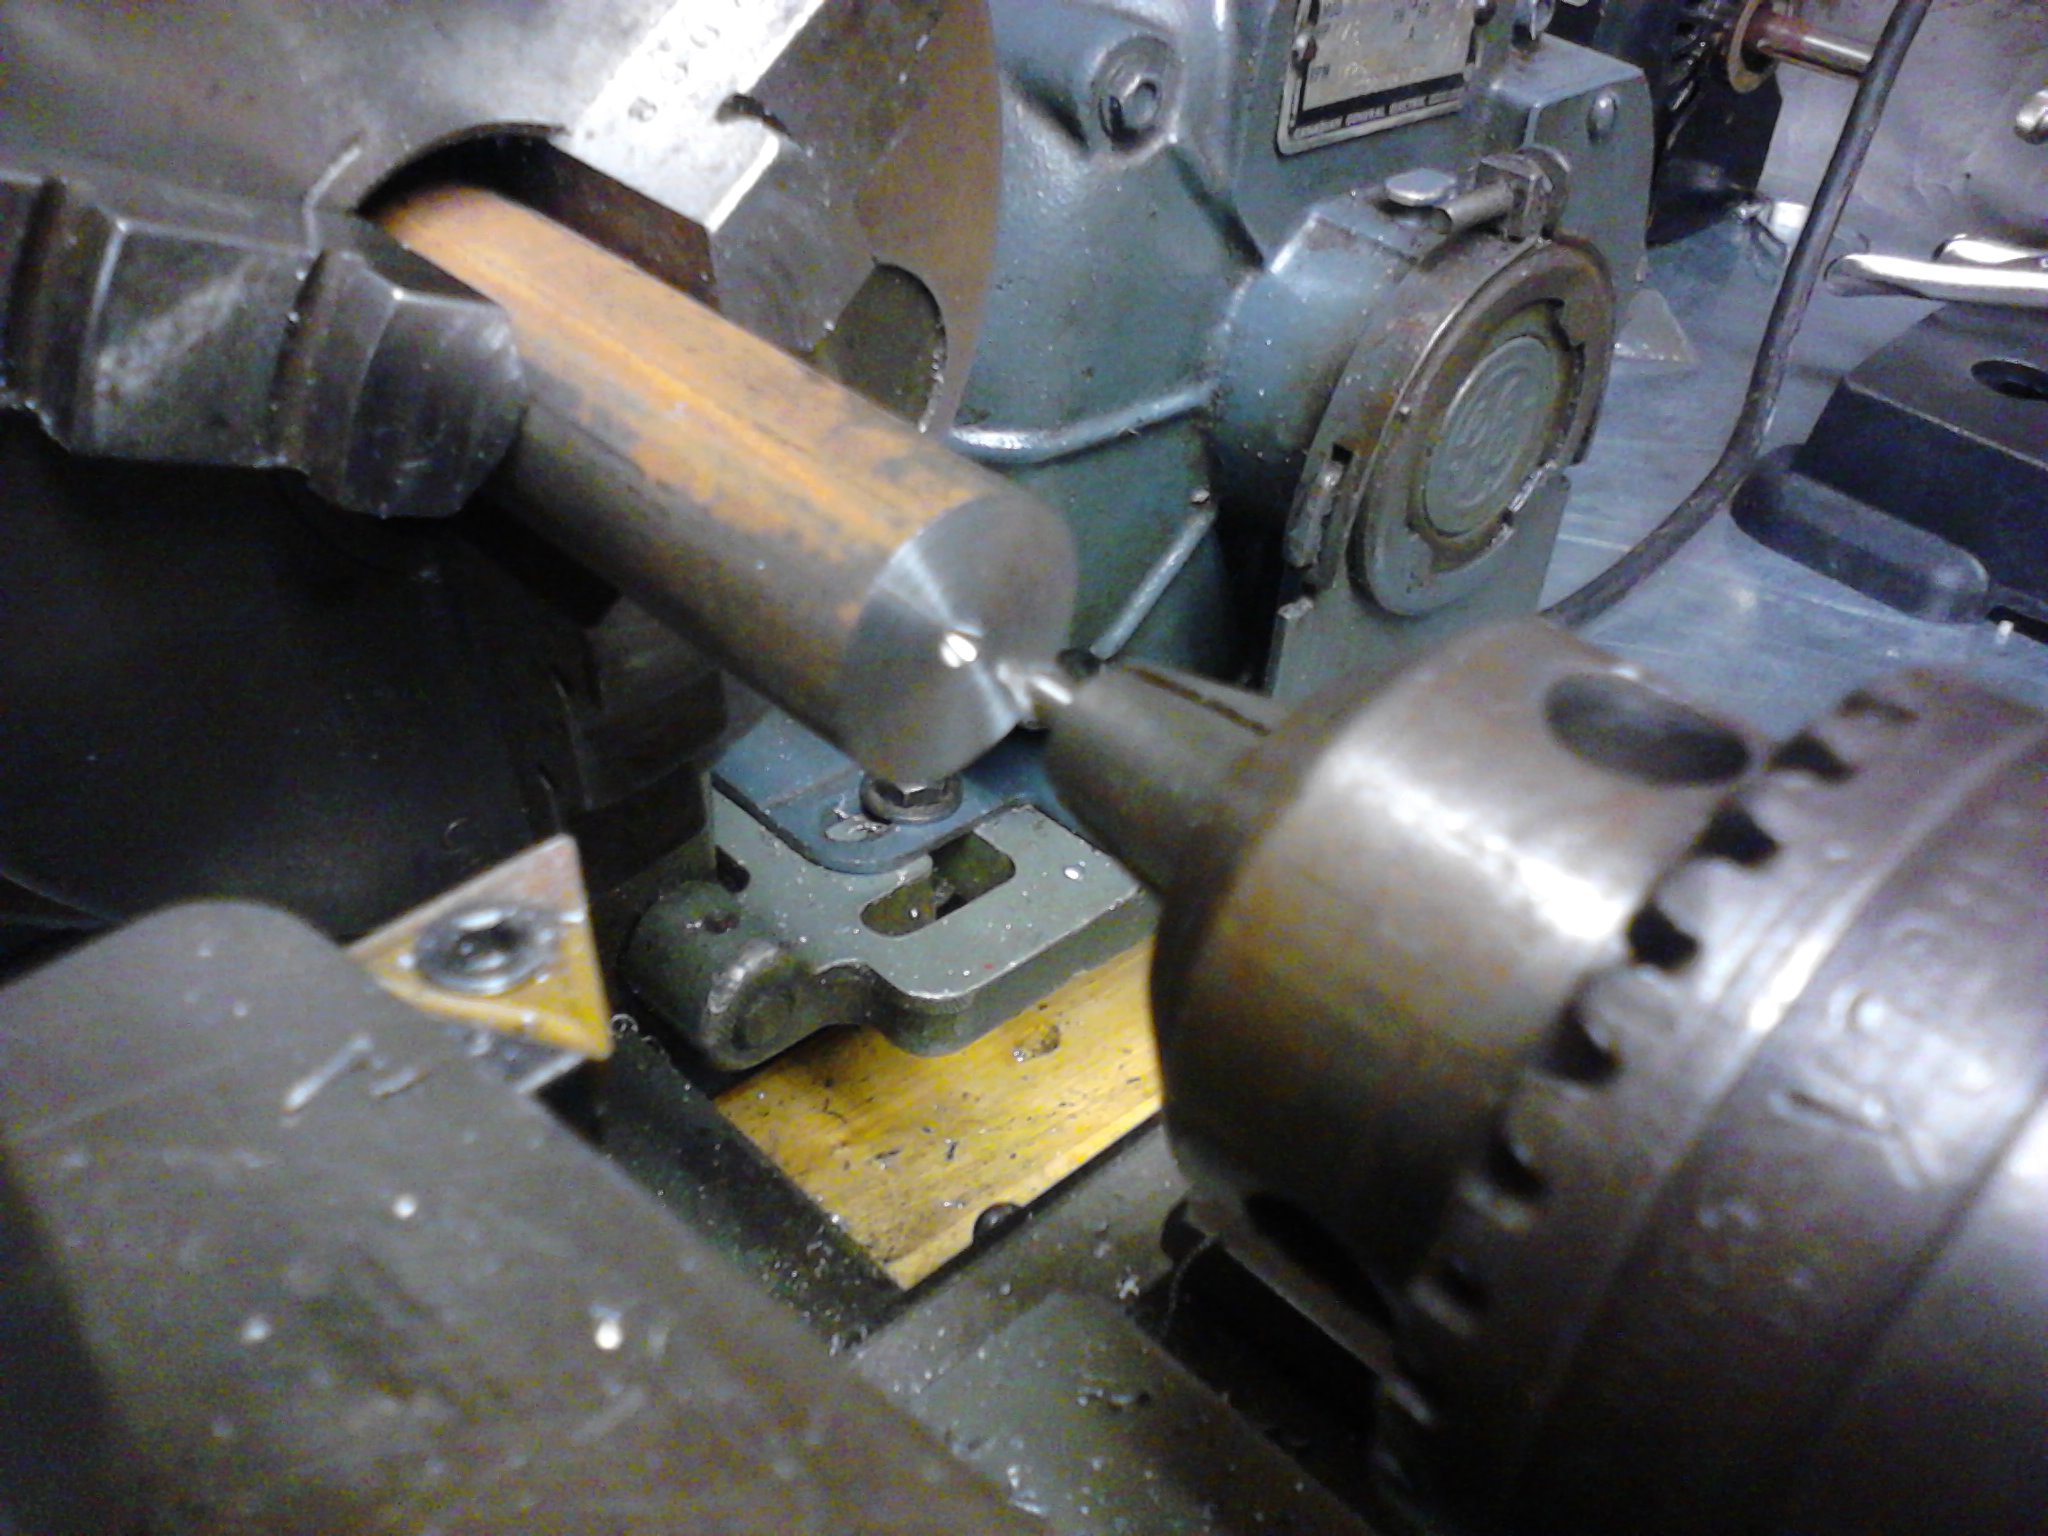
Clean up the end up to where the dovetail starts.
This is what the cutter looks like after all the turning operations.

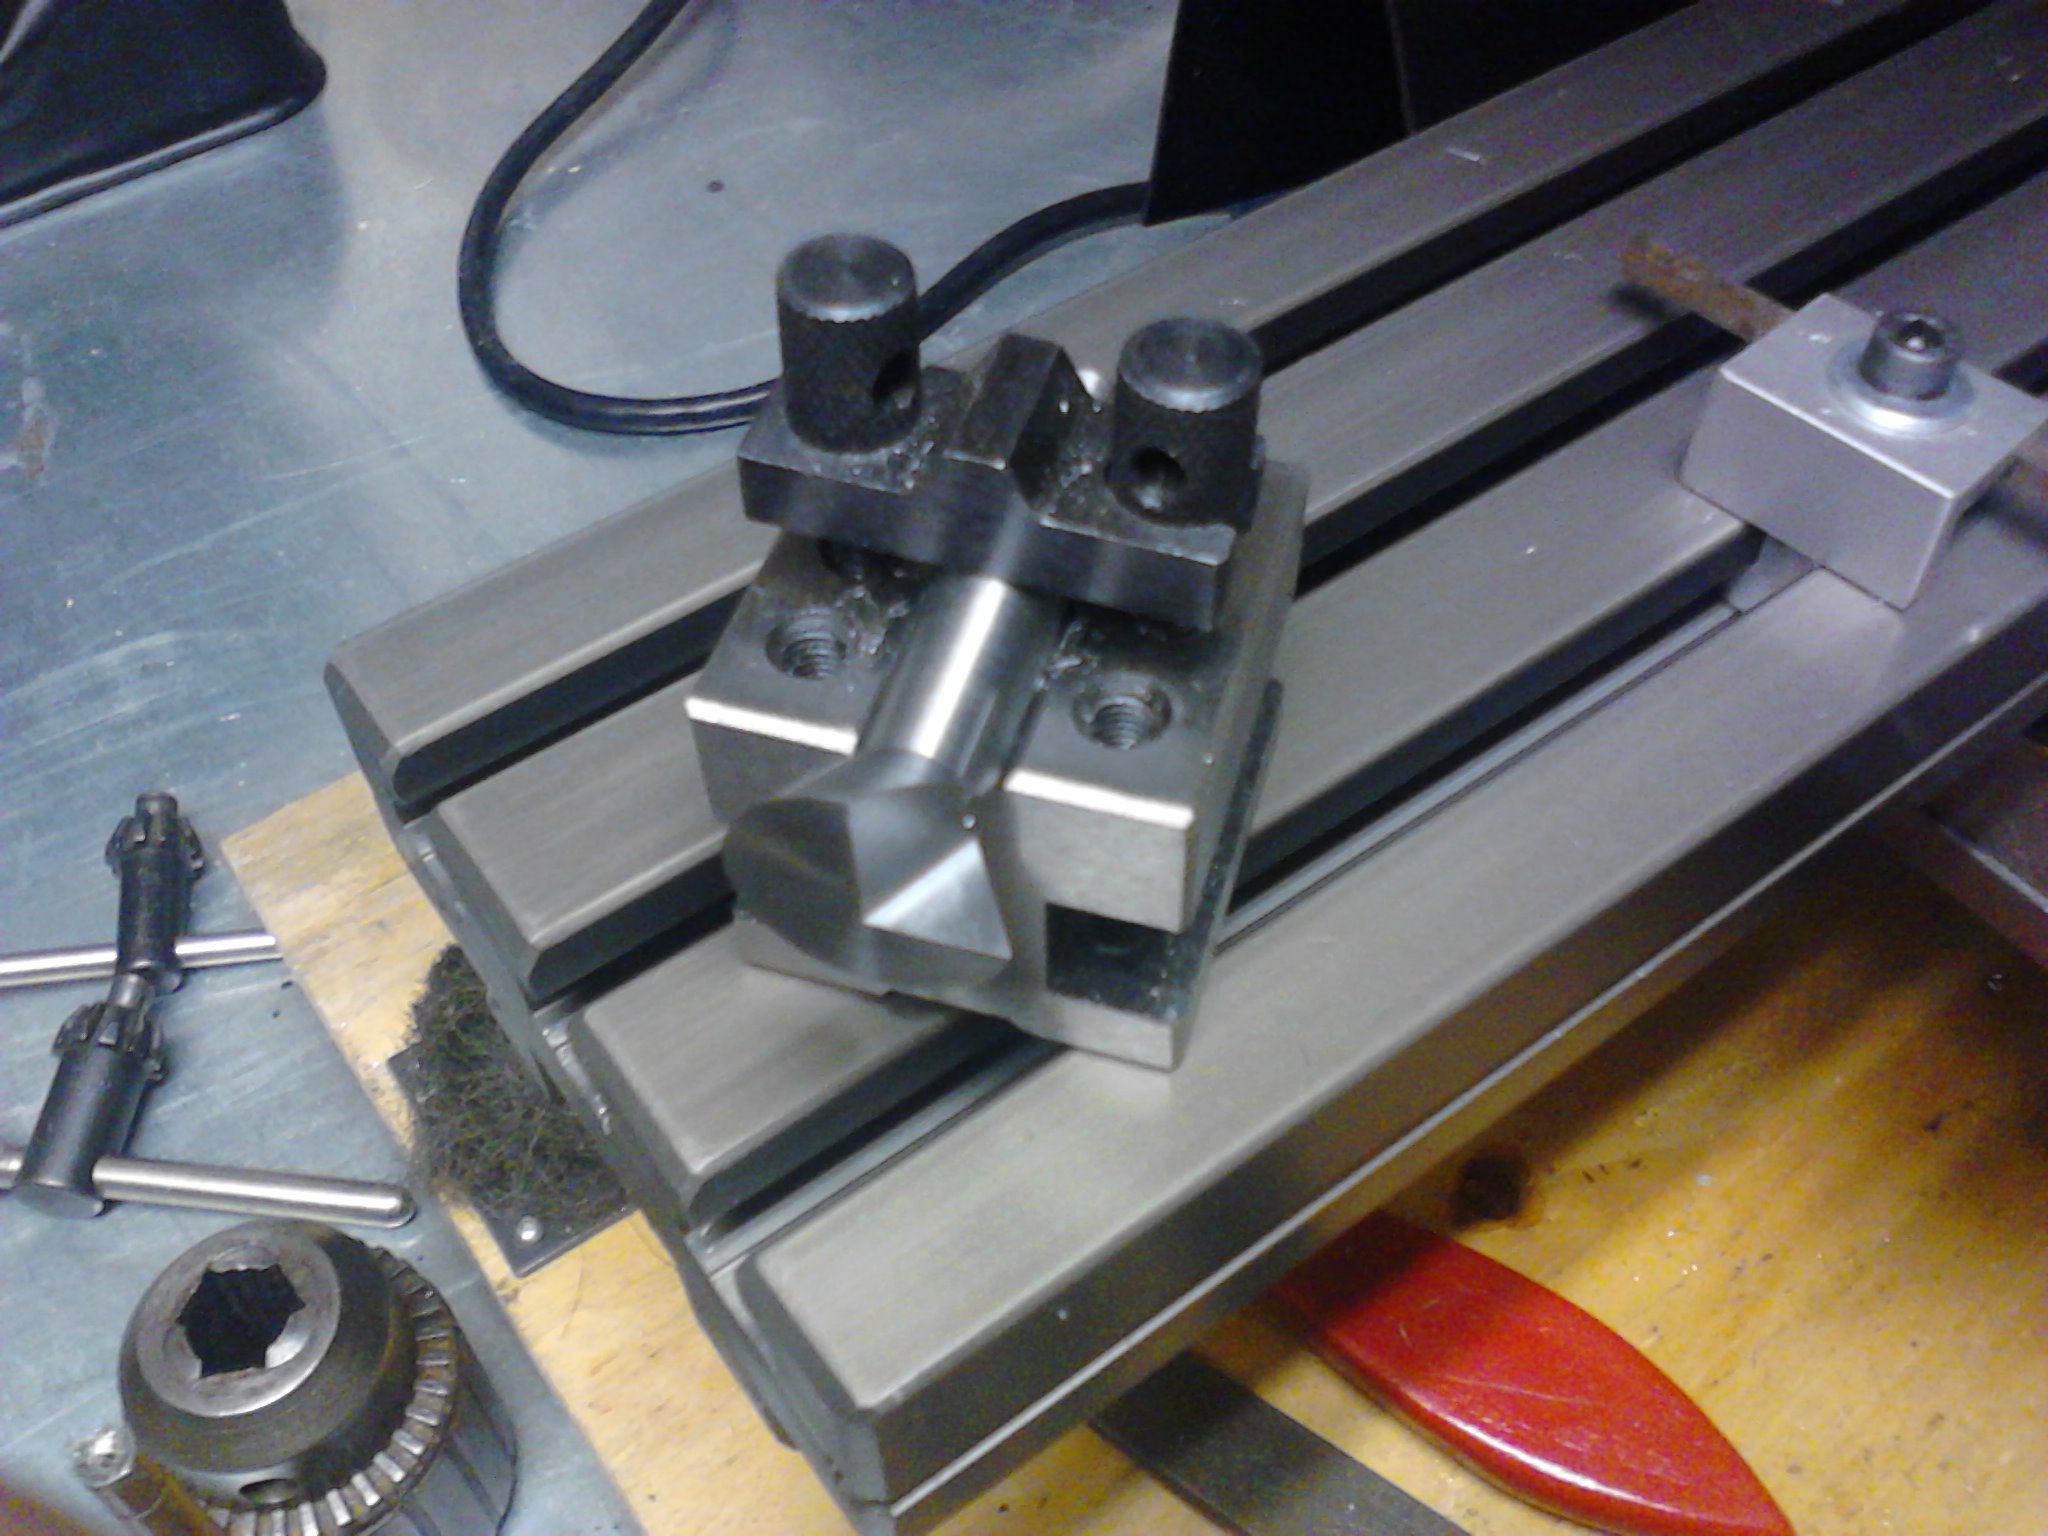
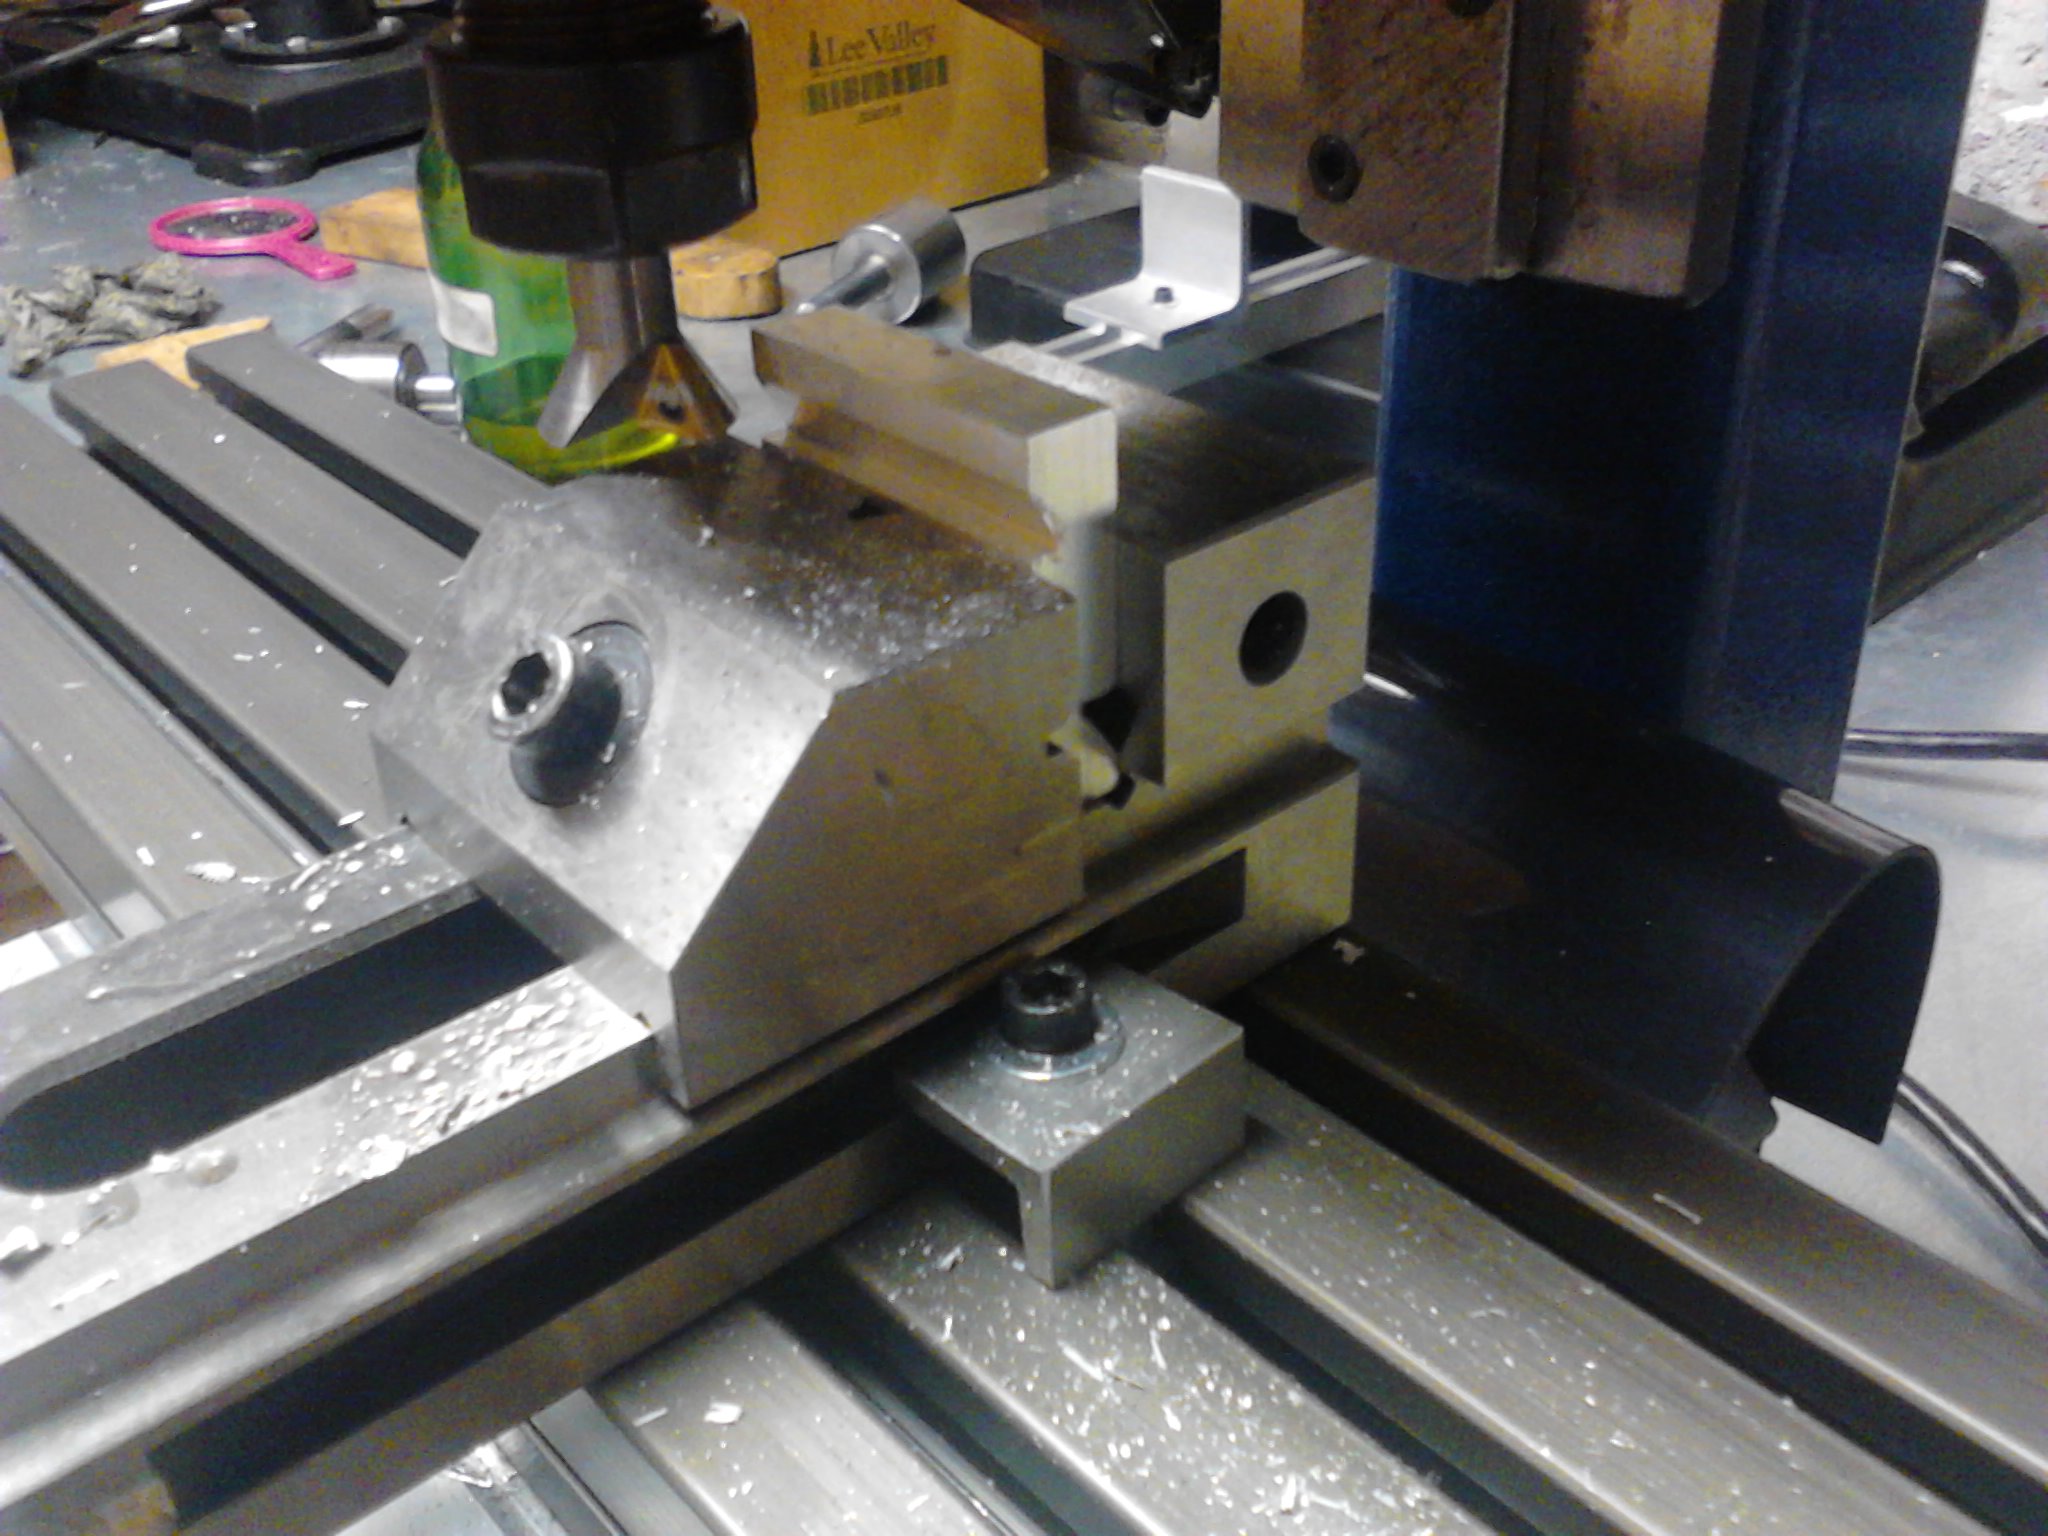
Put the shank of the dovetail cutter into a V block and set it up on your mill to cut at a 60° angle.
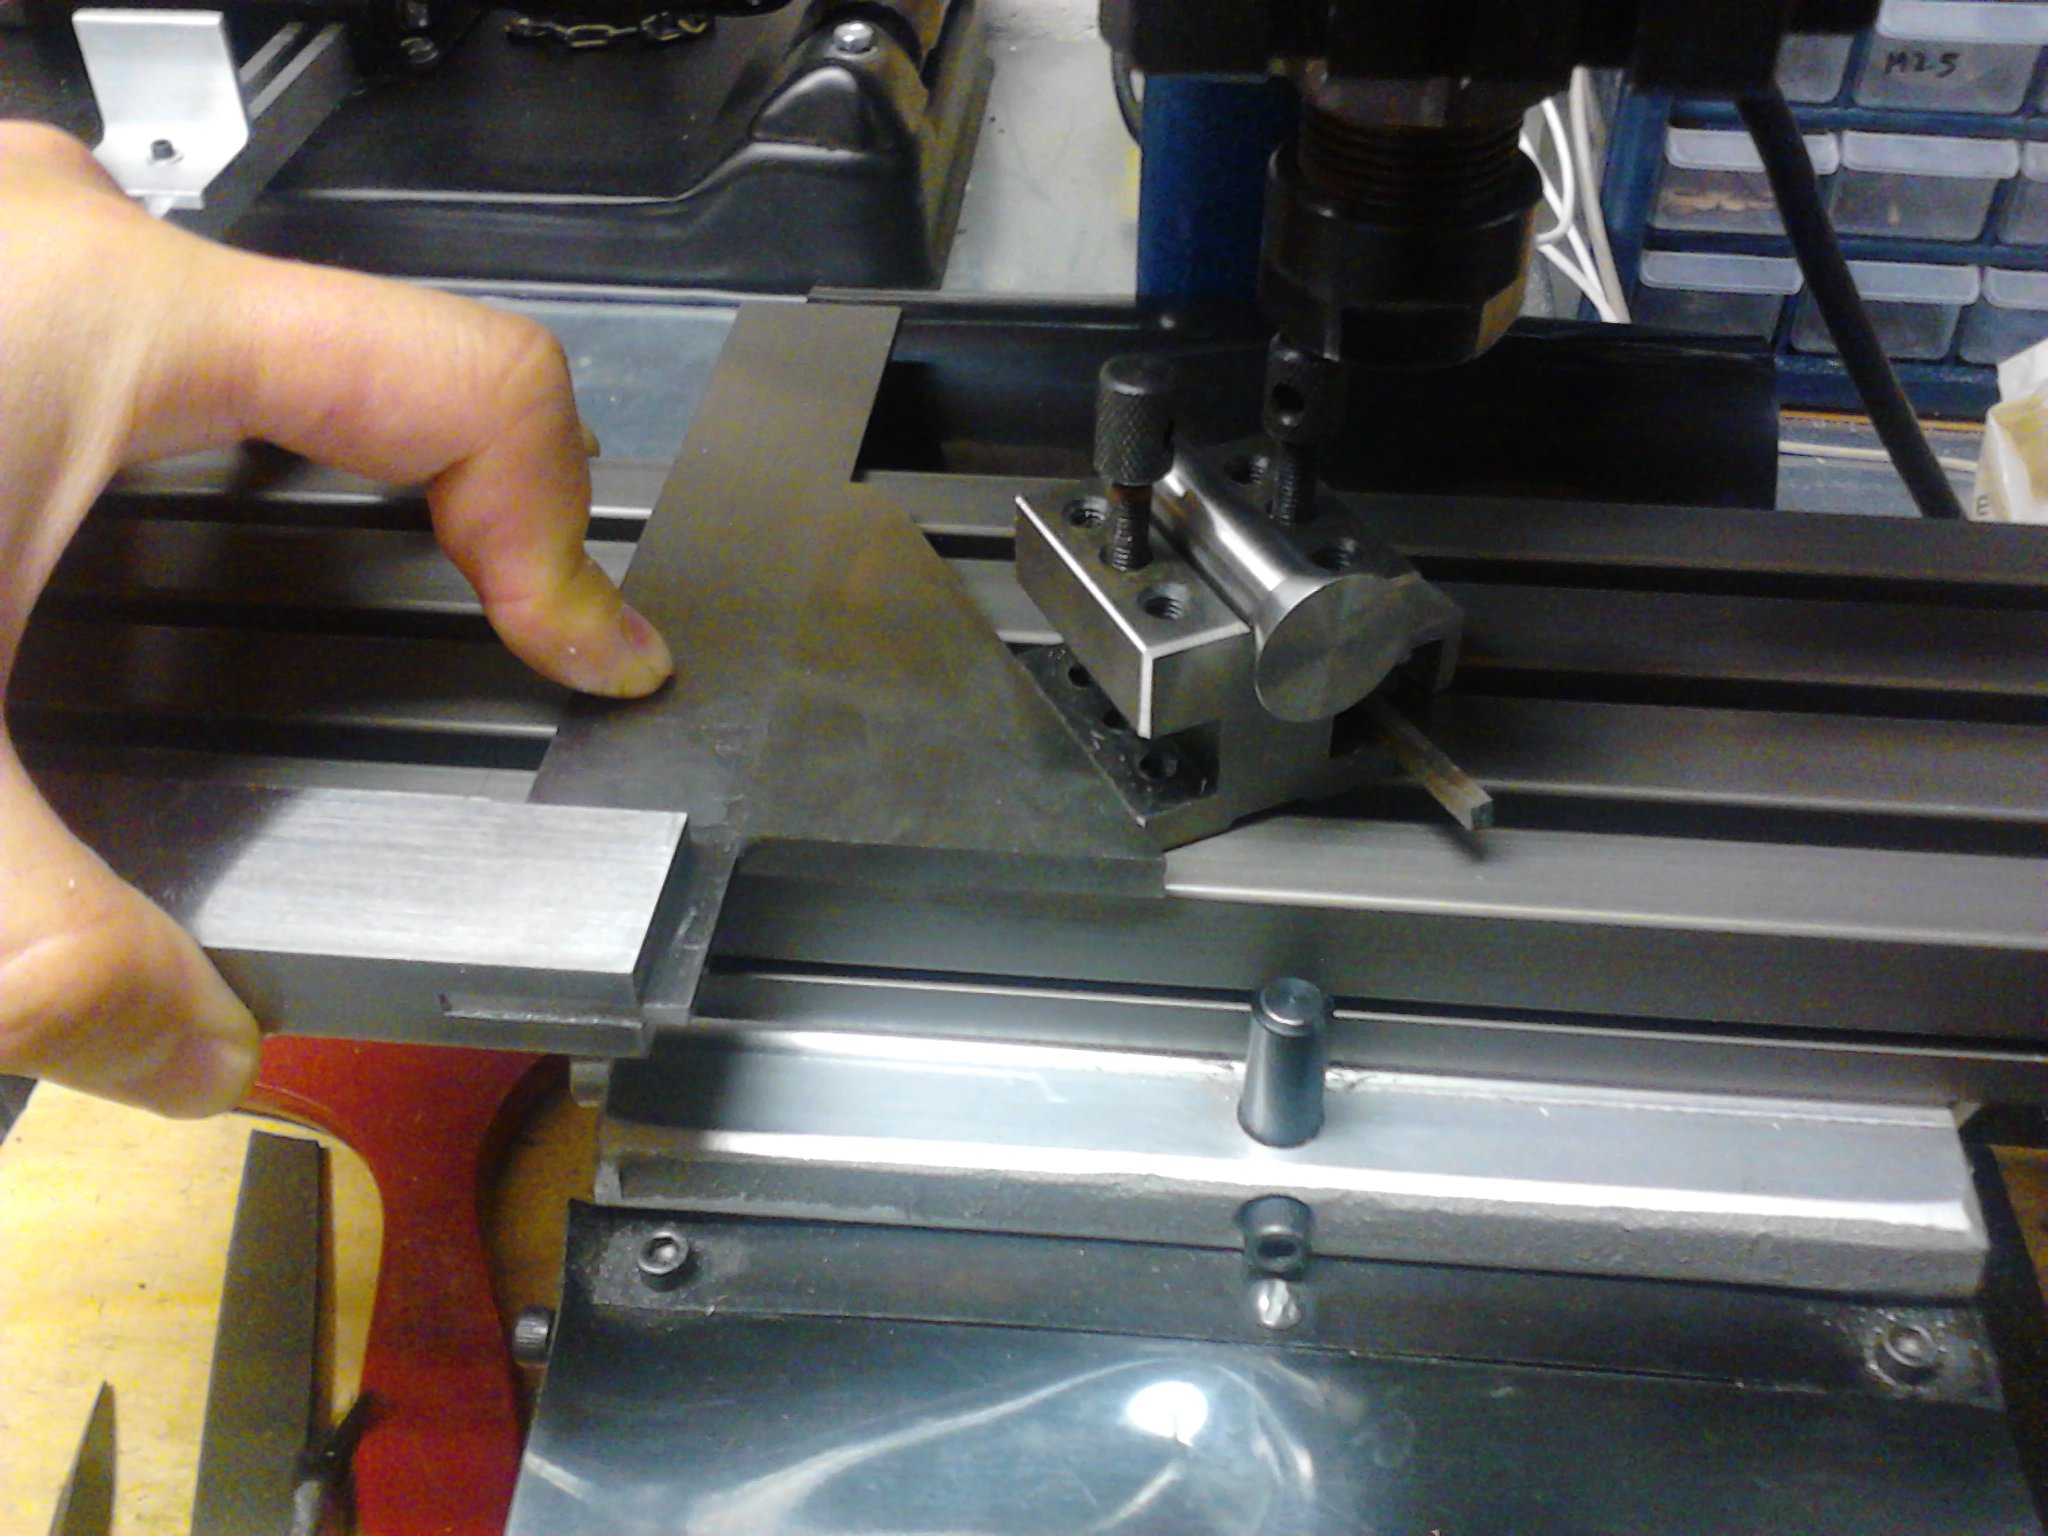
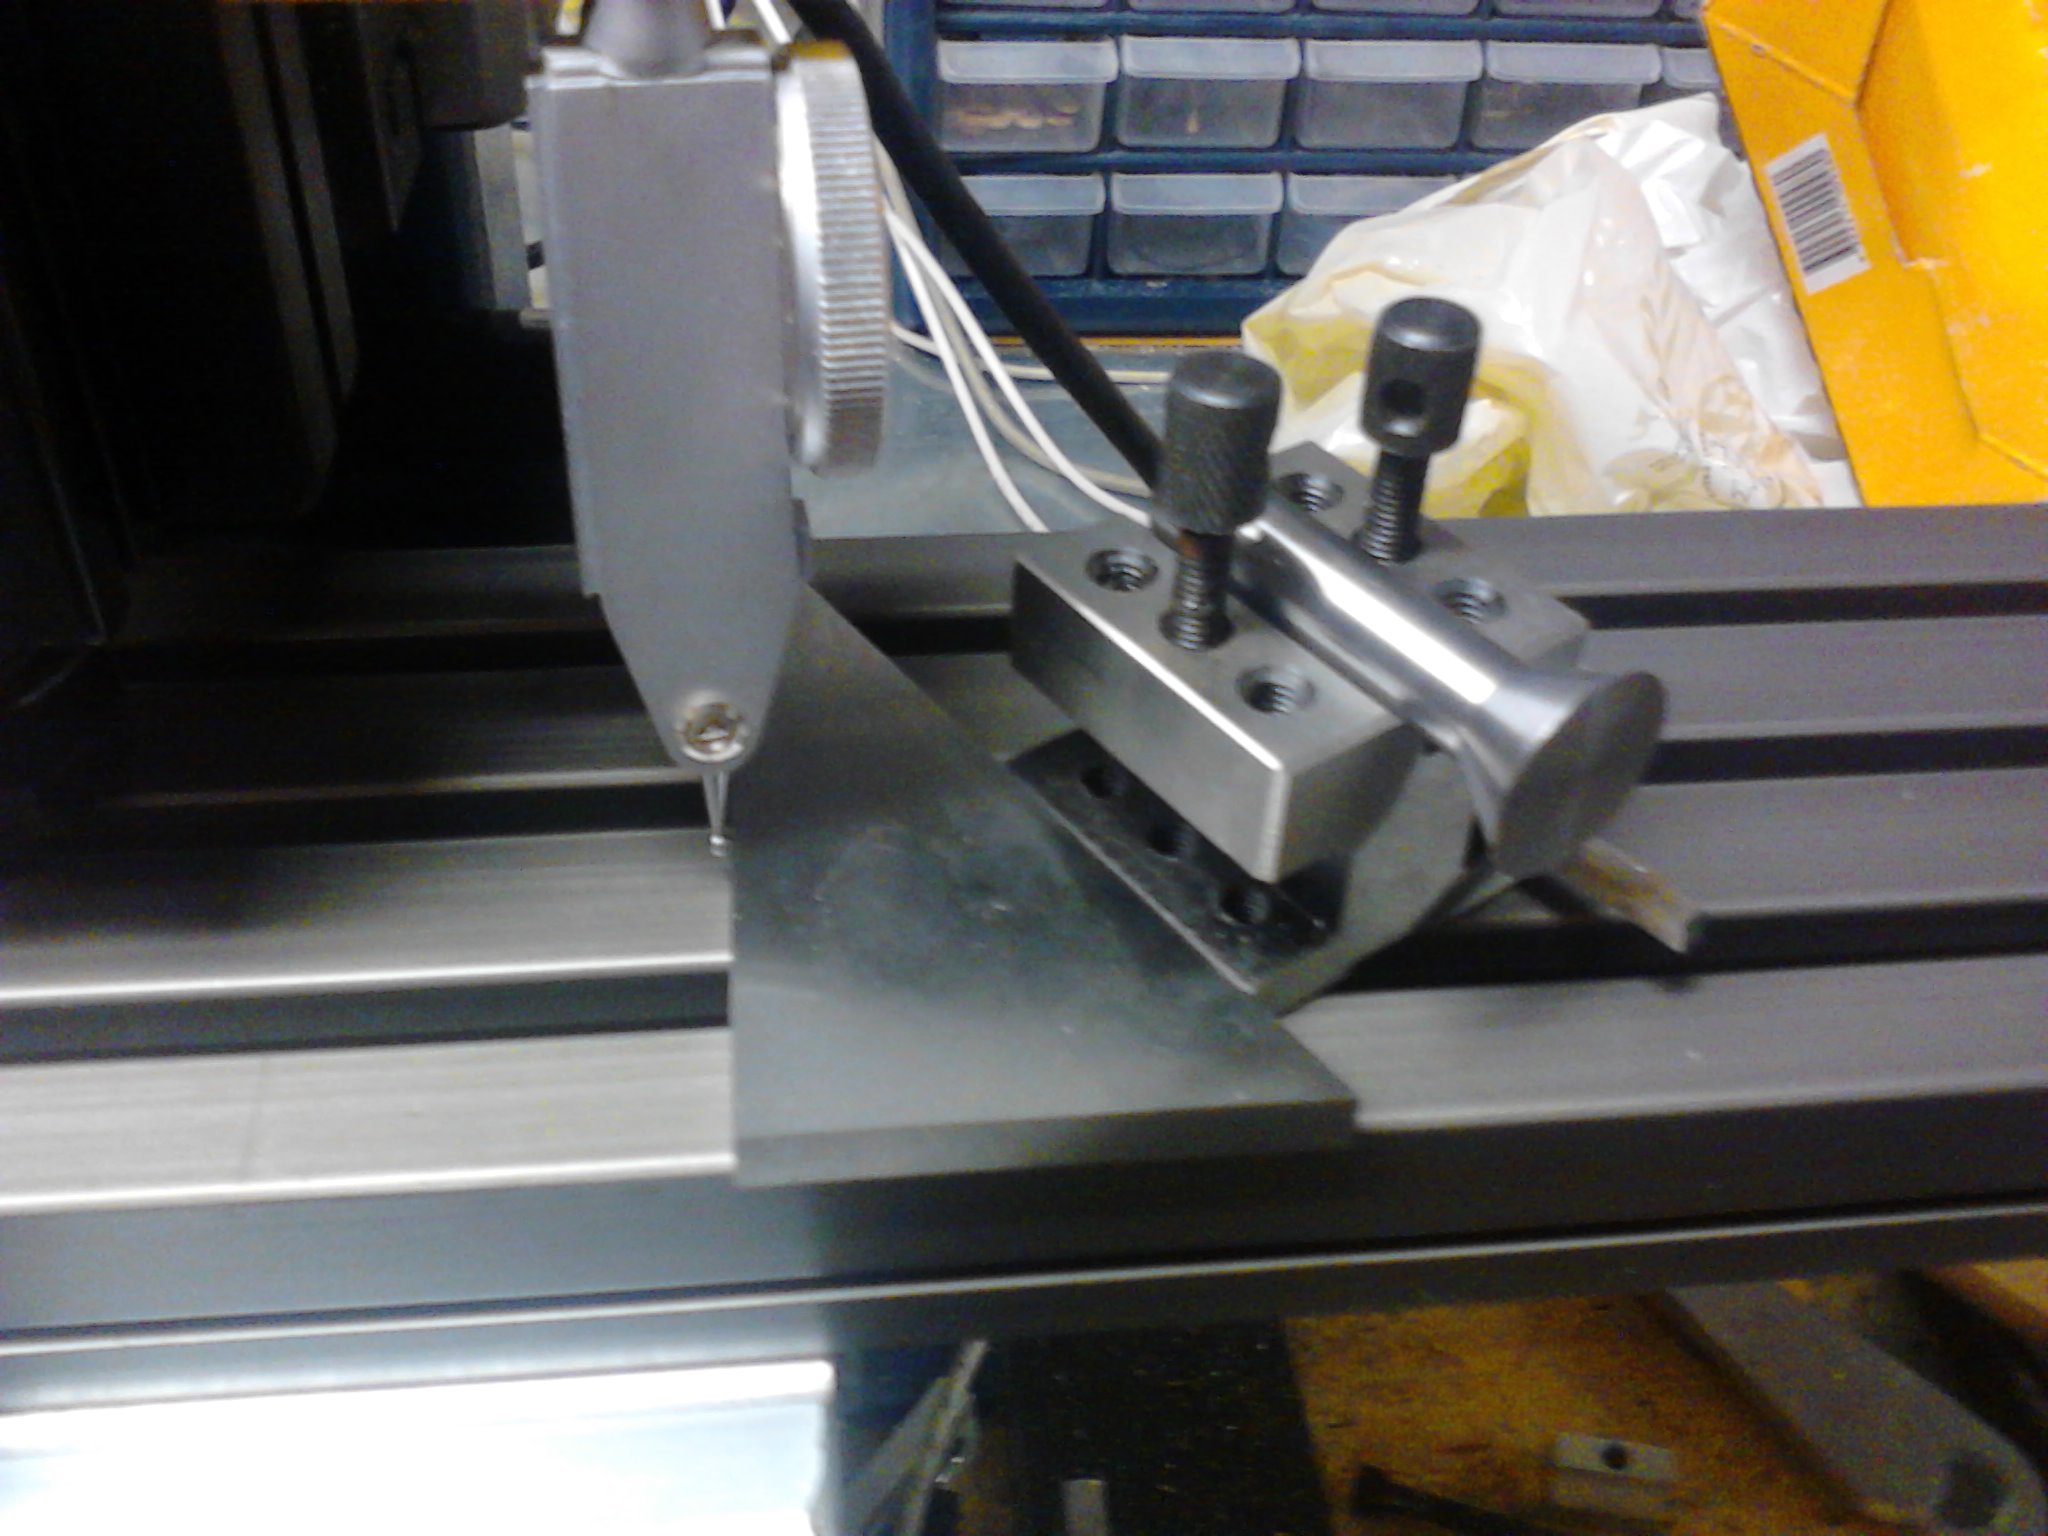
I indicated the flat end of the 60° standard. It looked pretty good to me.
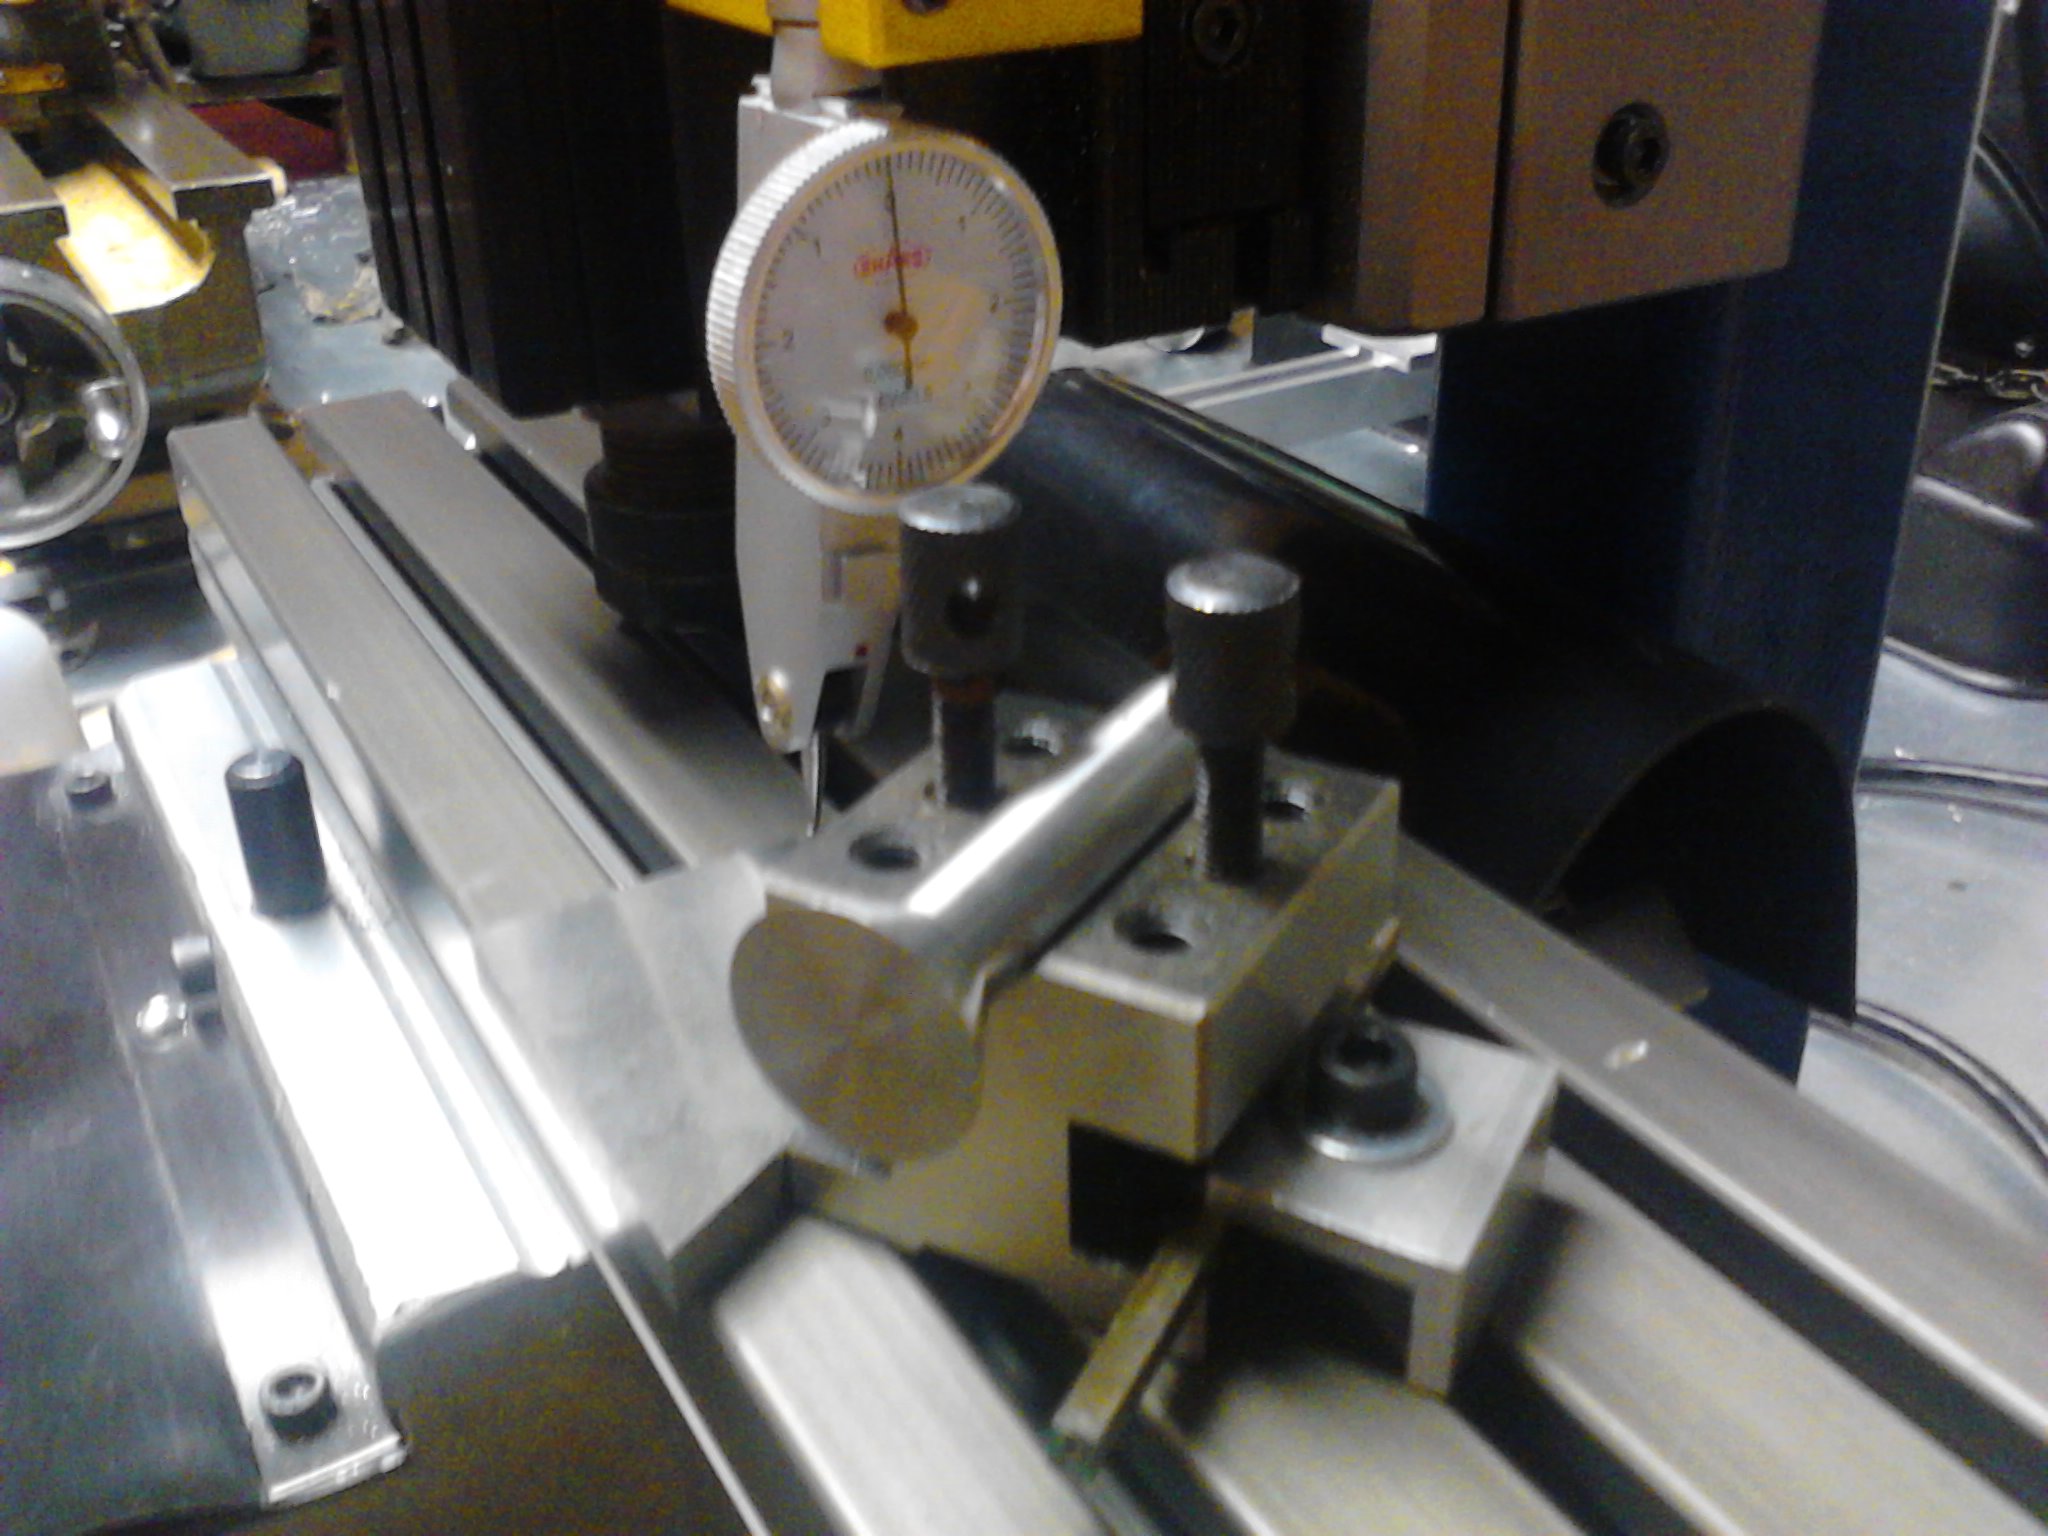
Here is another view to see how the indicator is being used.
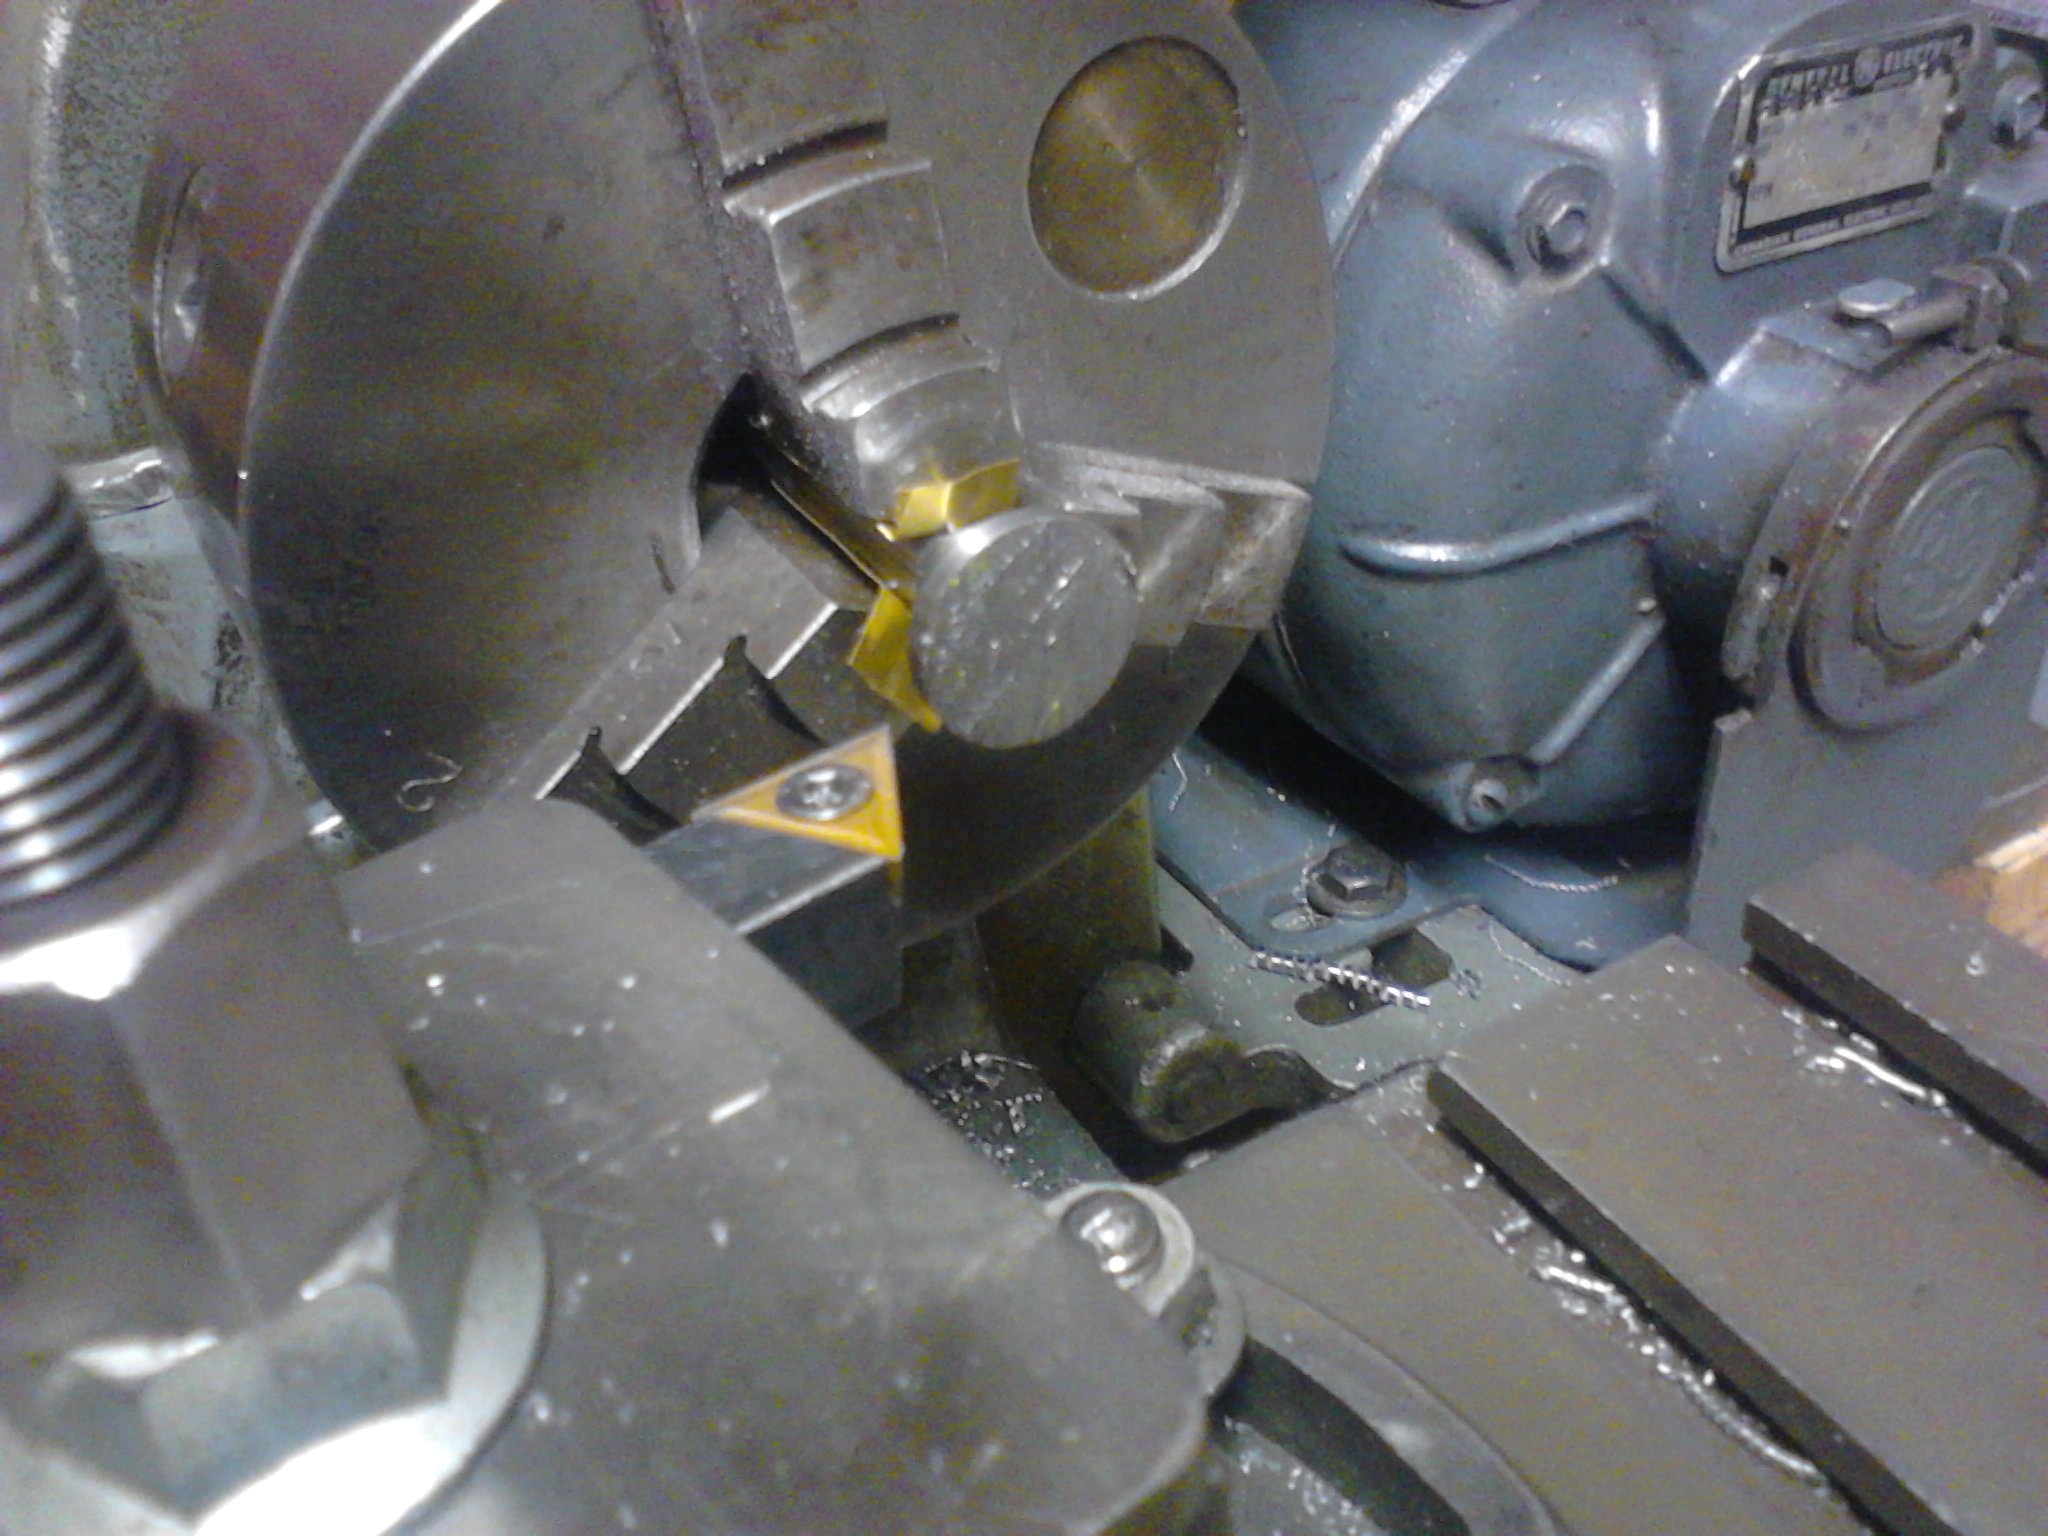
Bolt down your V block and start cutting the face that the insert will sit on.
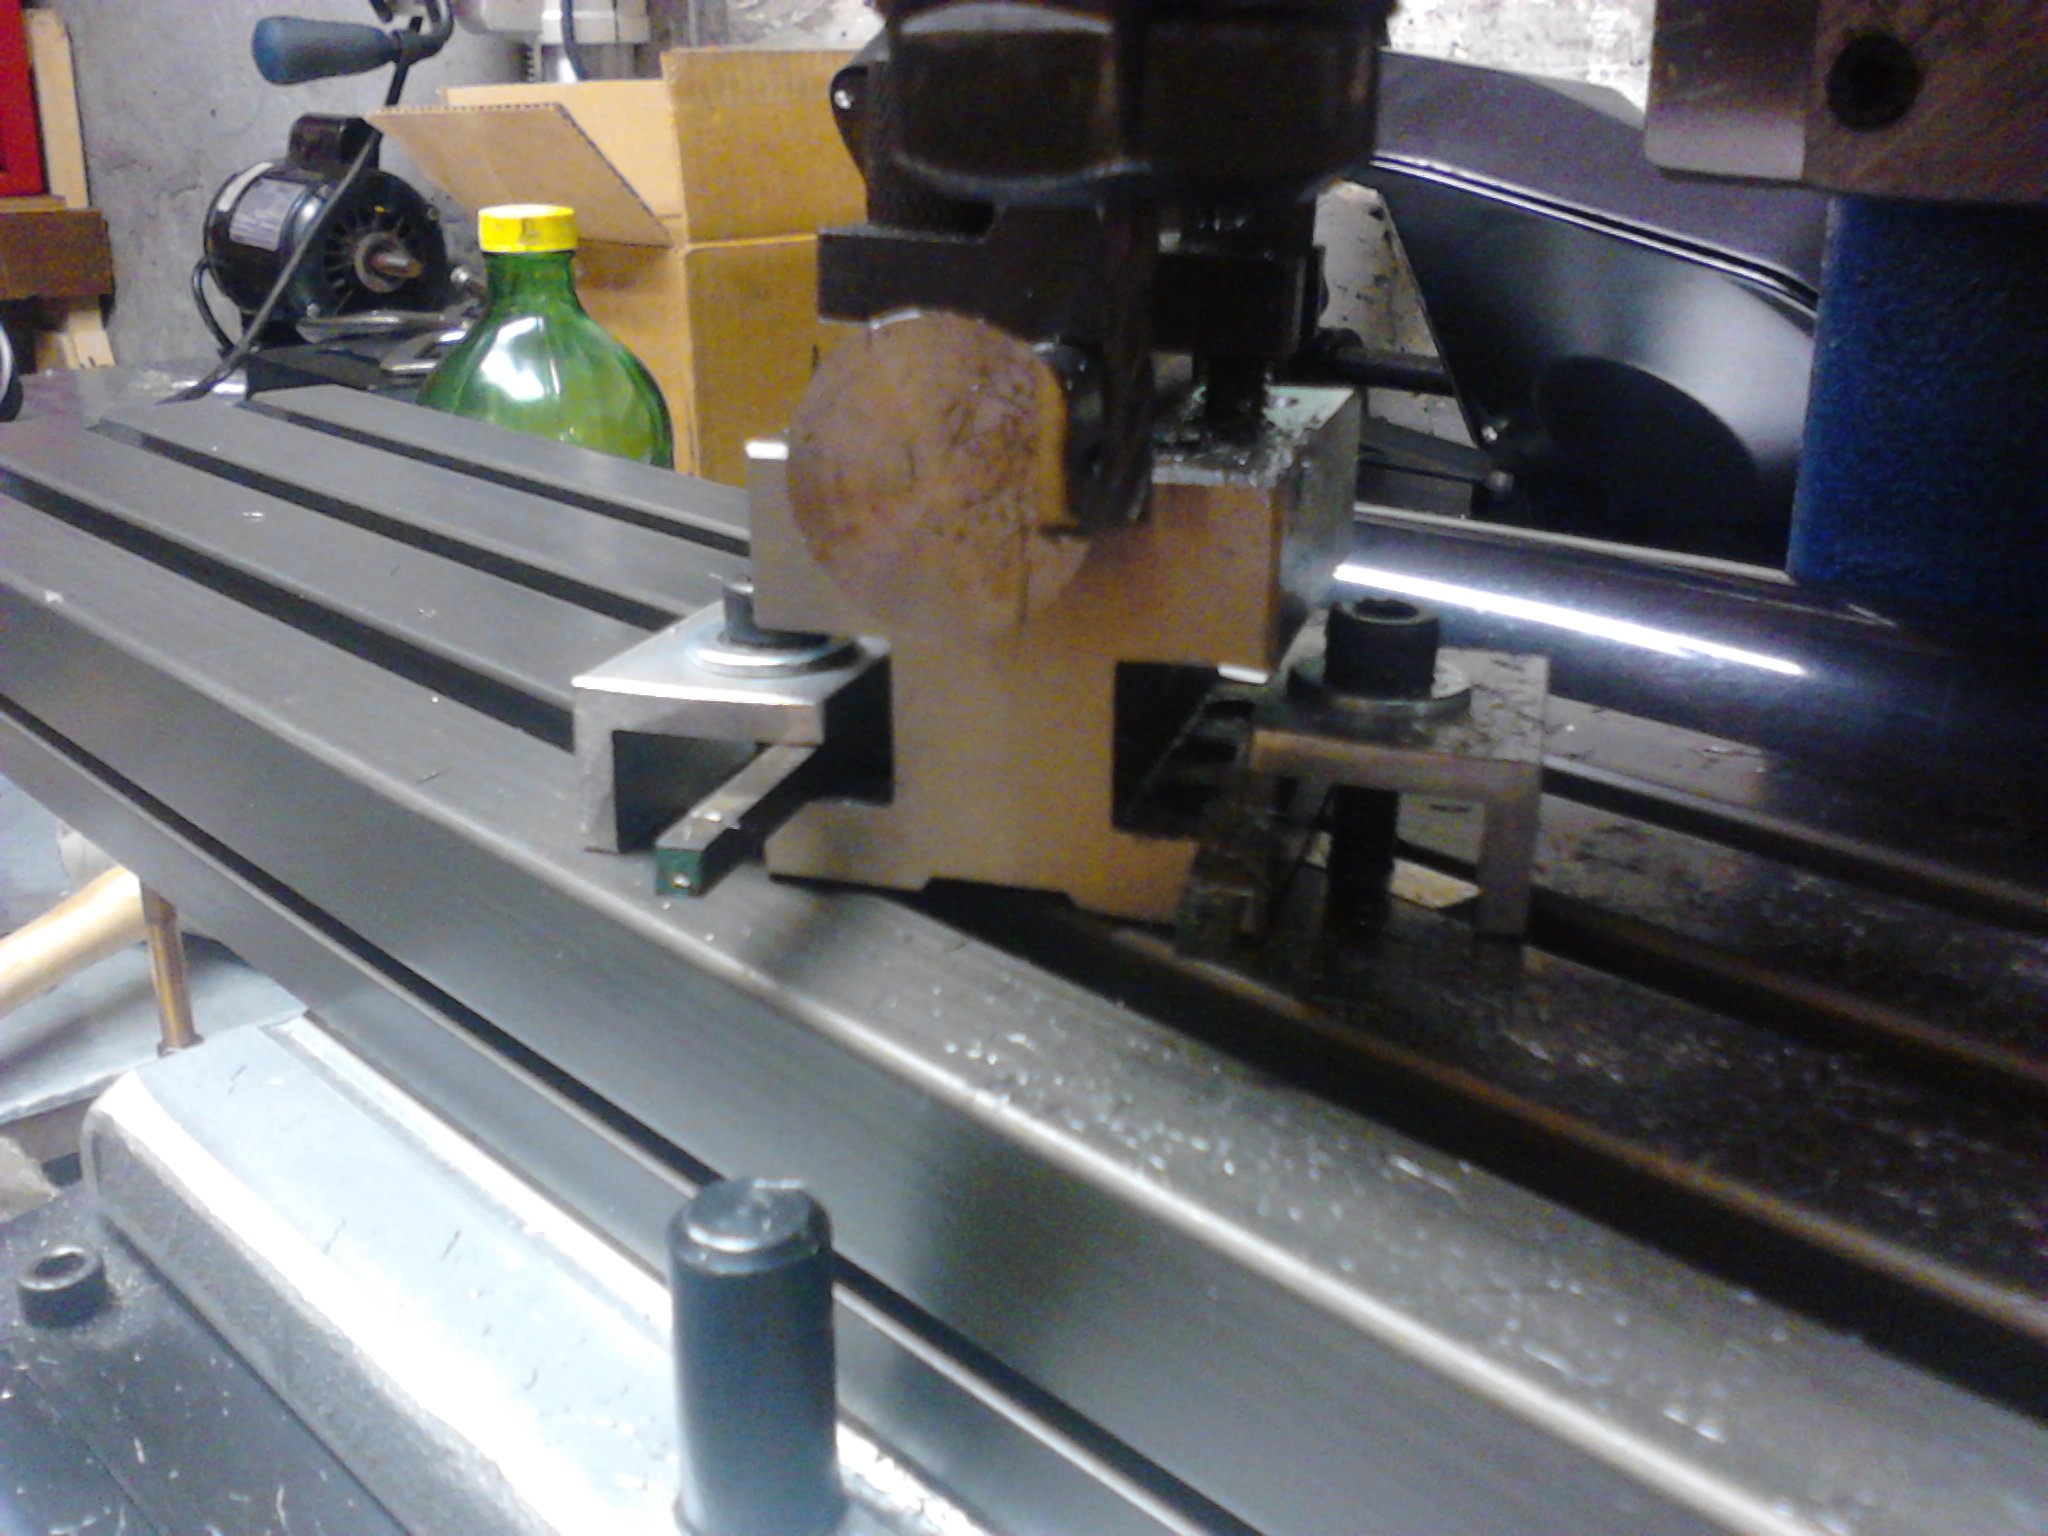
Every so often, put the insert on the face to see how much there is left to cut. You want to make sure that there is a bit of the insert sticking out of the bottom as well as the side. When you are done, remember to take a finishing pass to improve surface finish.
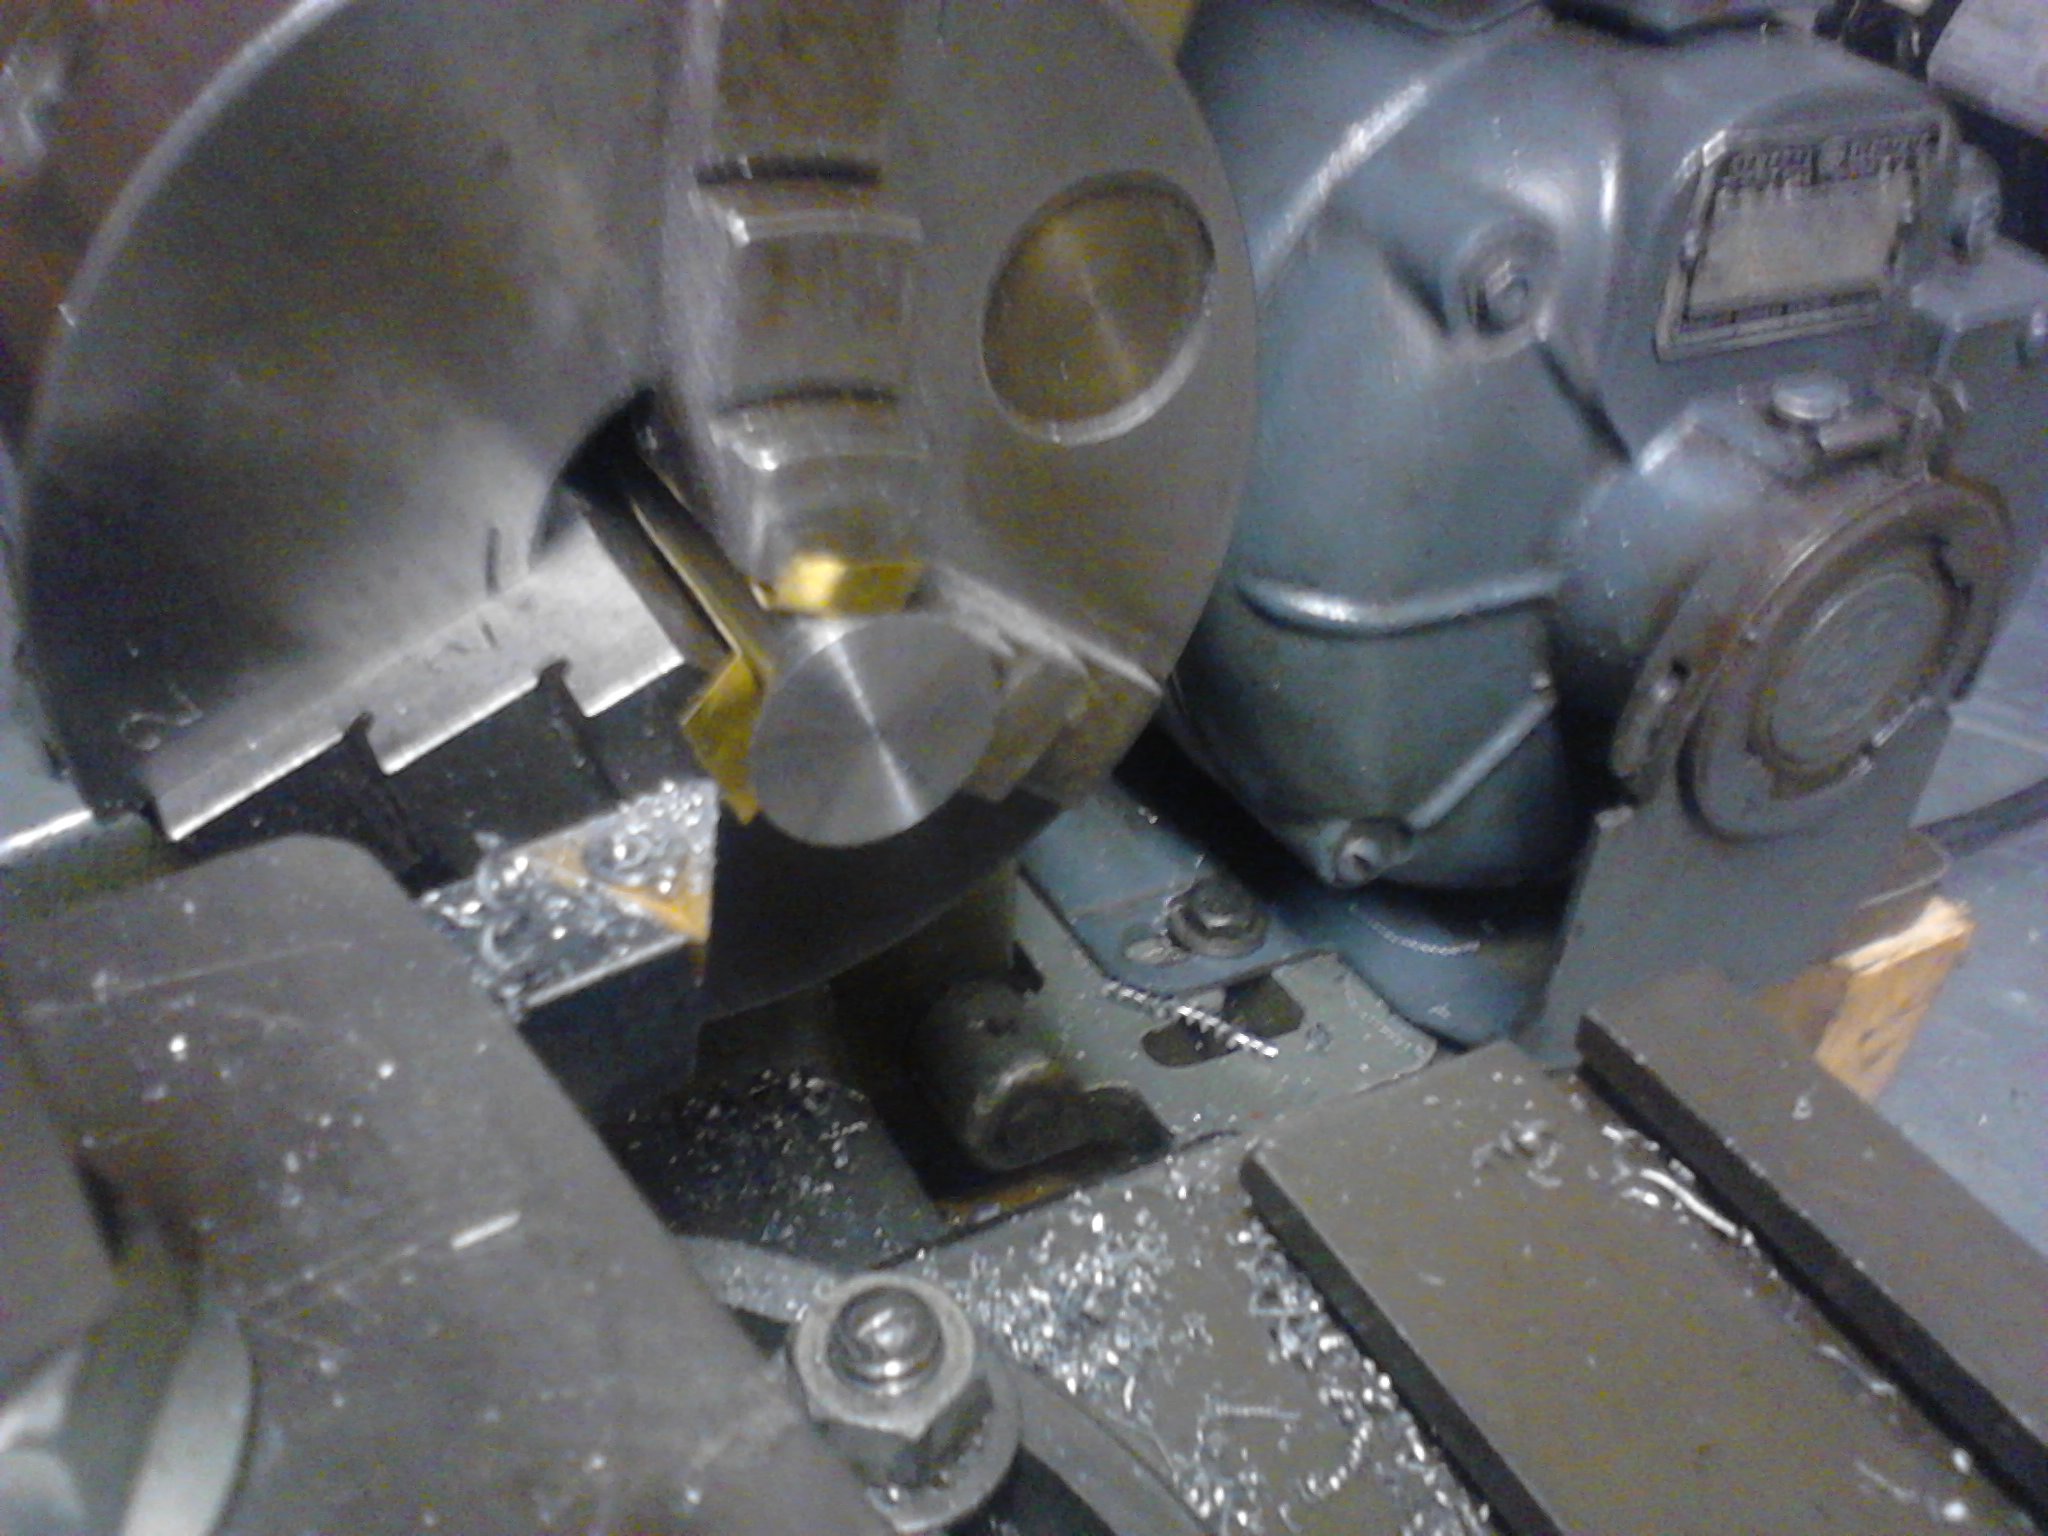
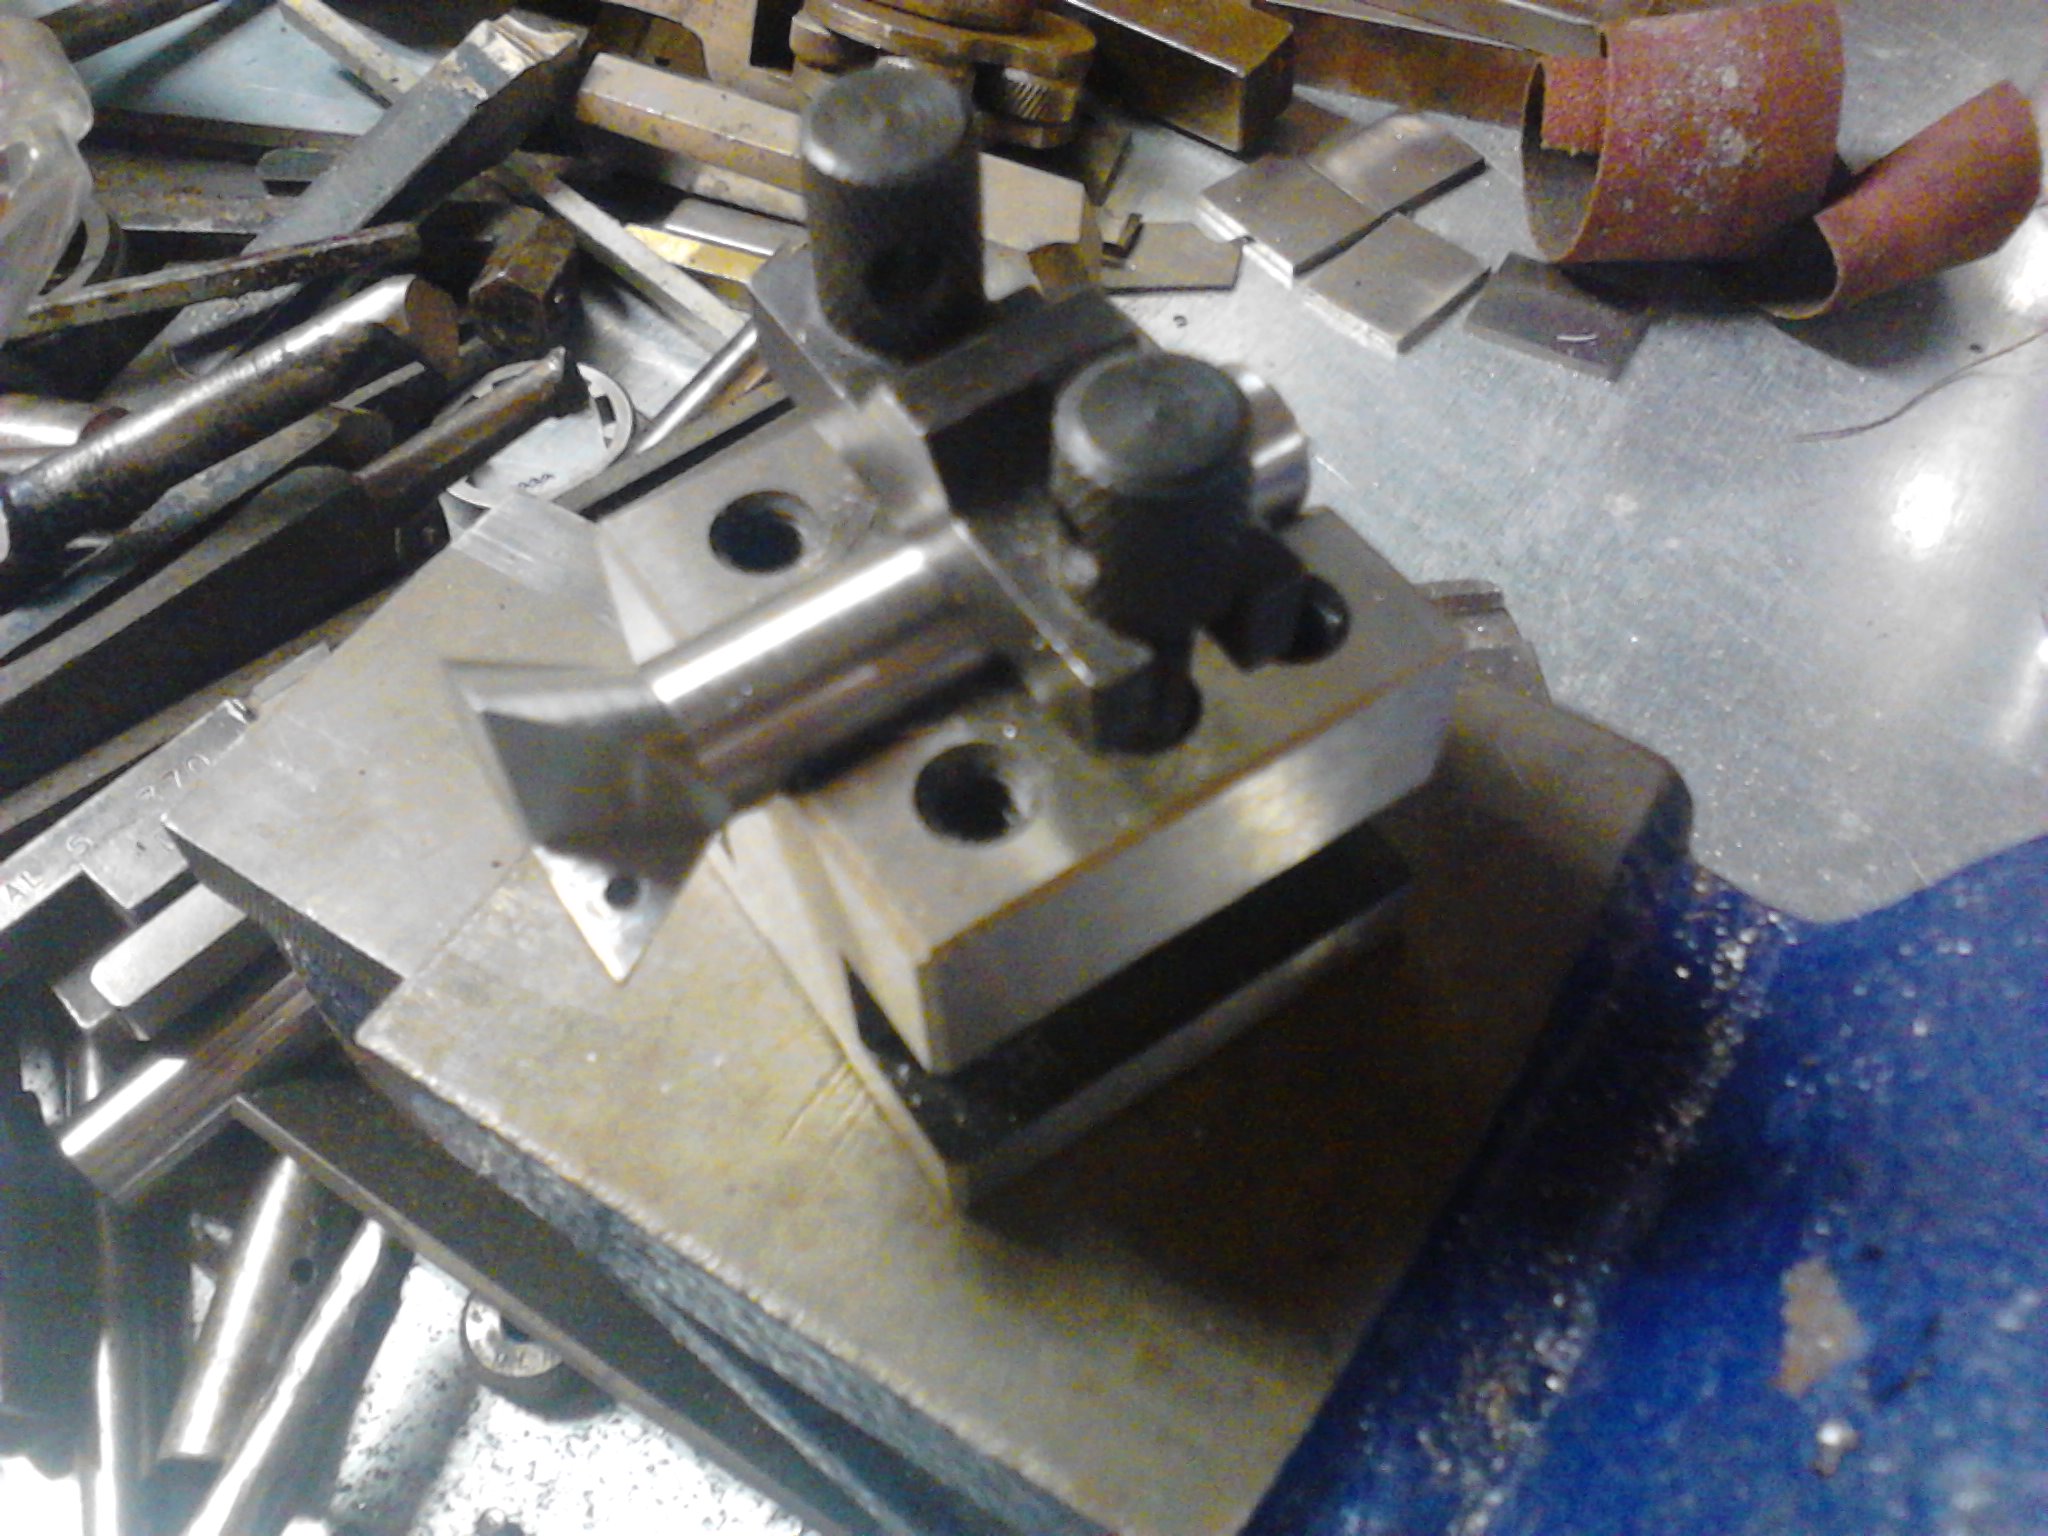
This is how the dovetail cutter looks after the milling operation.
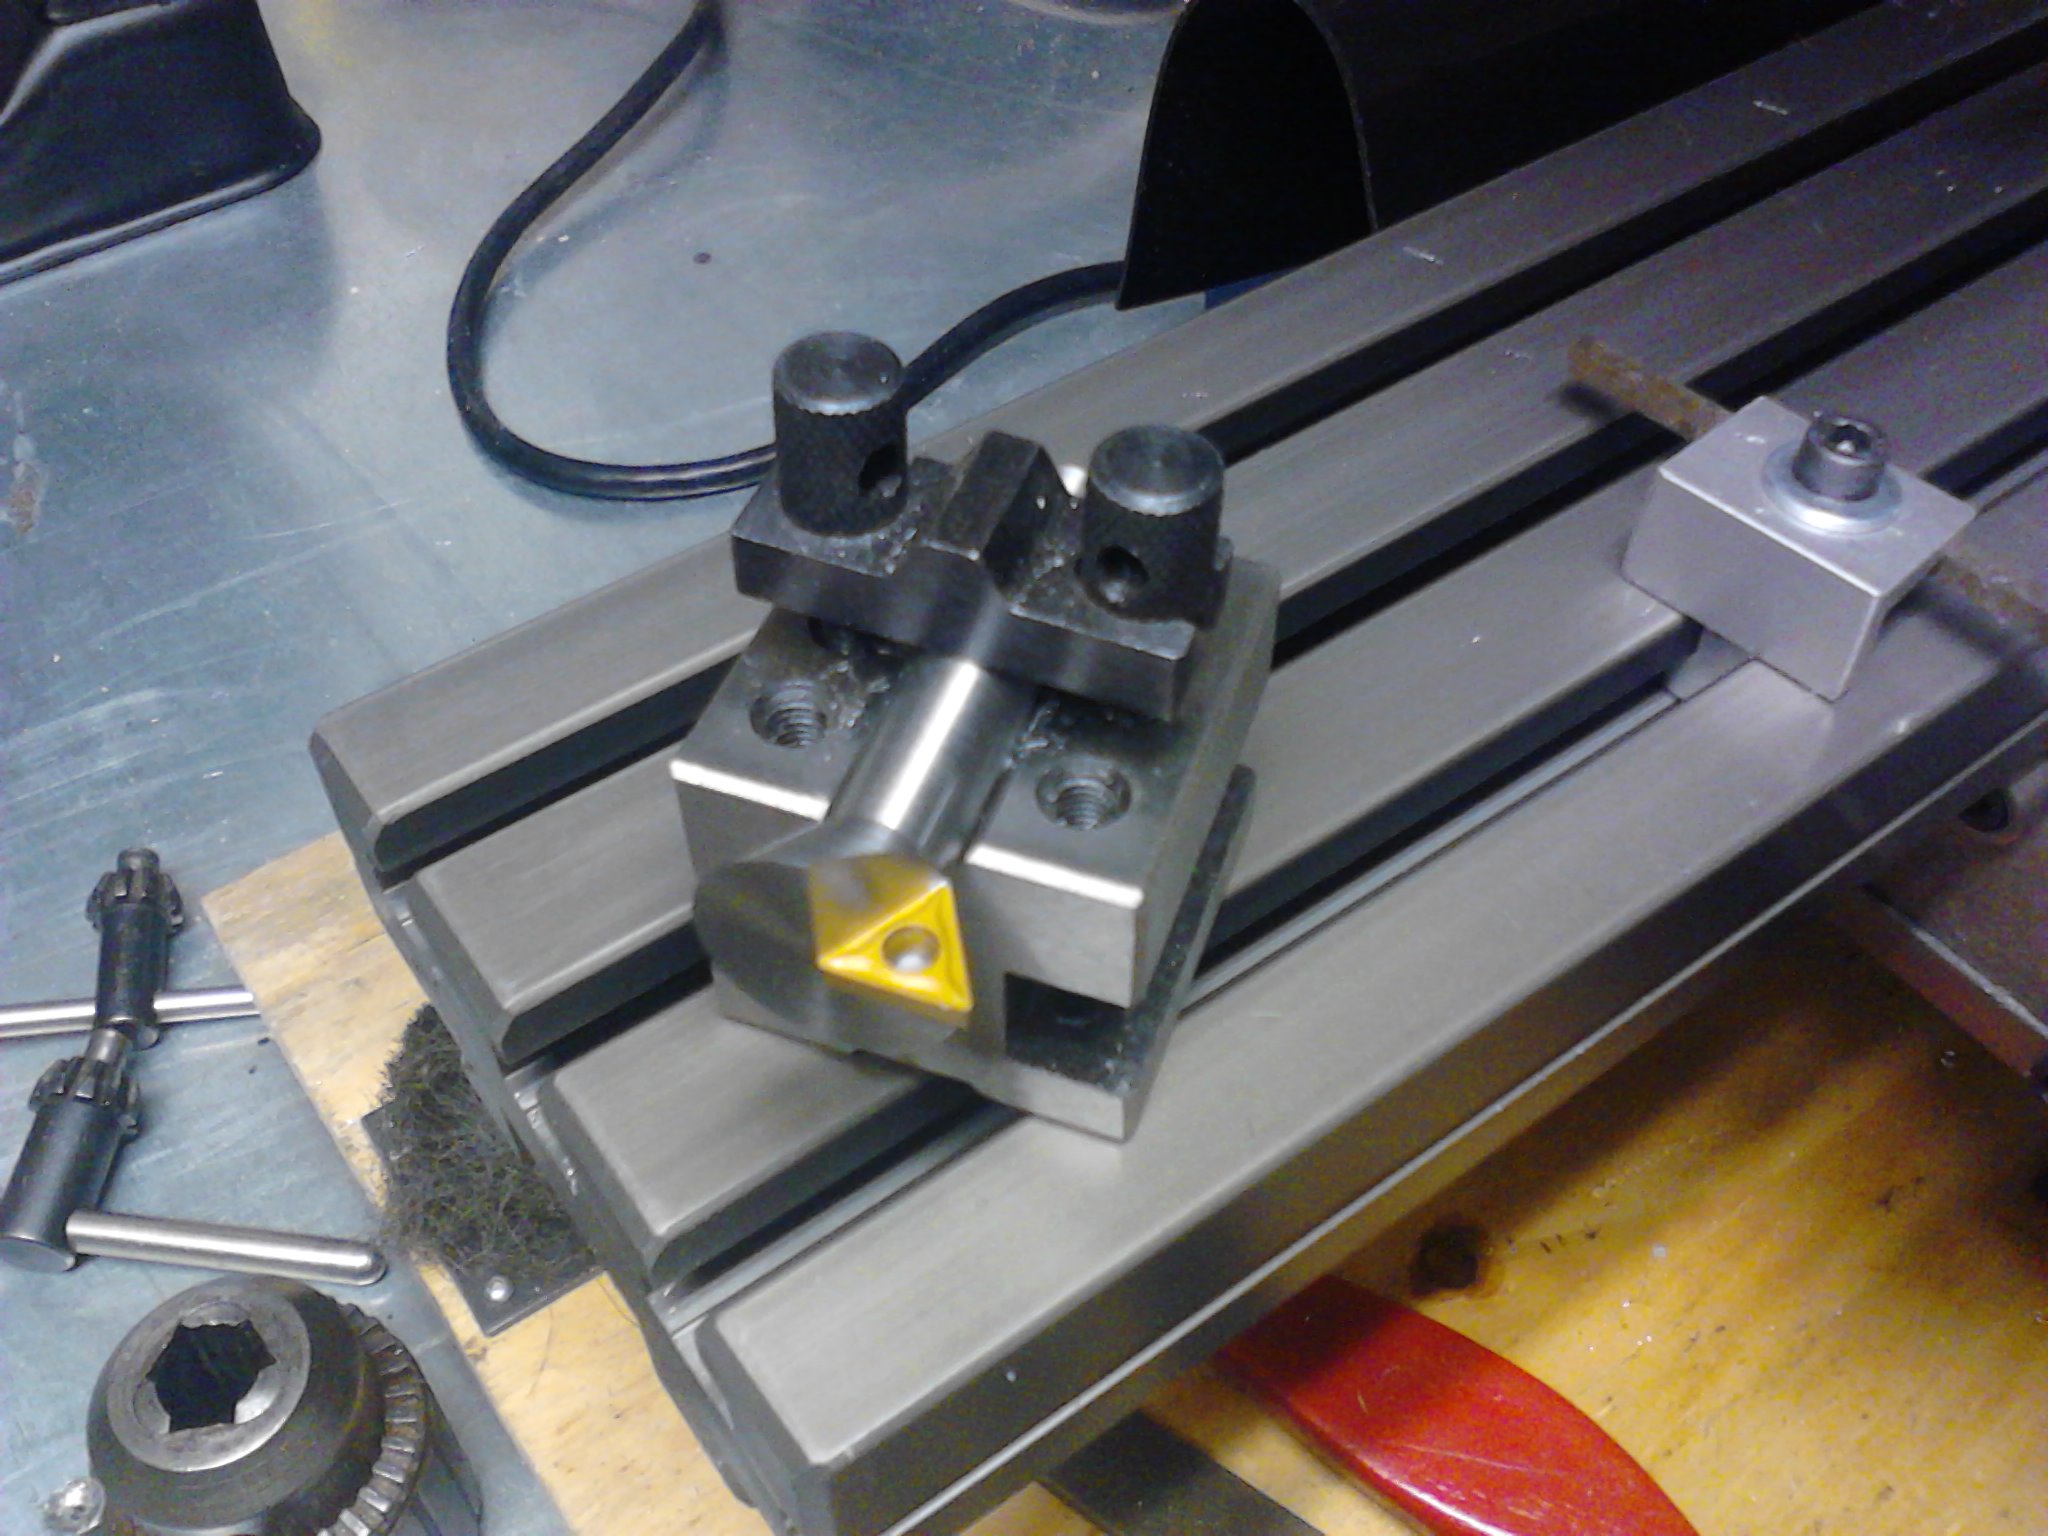
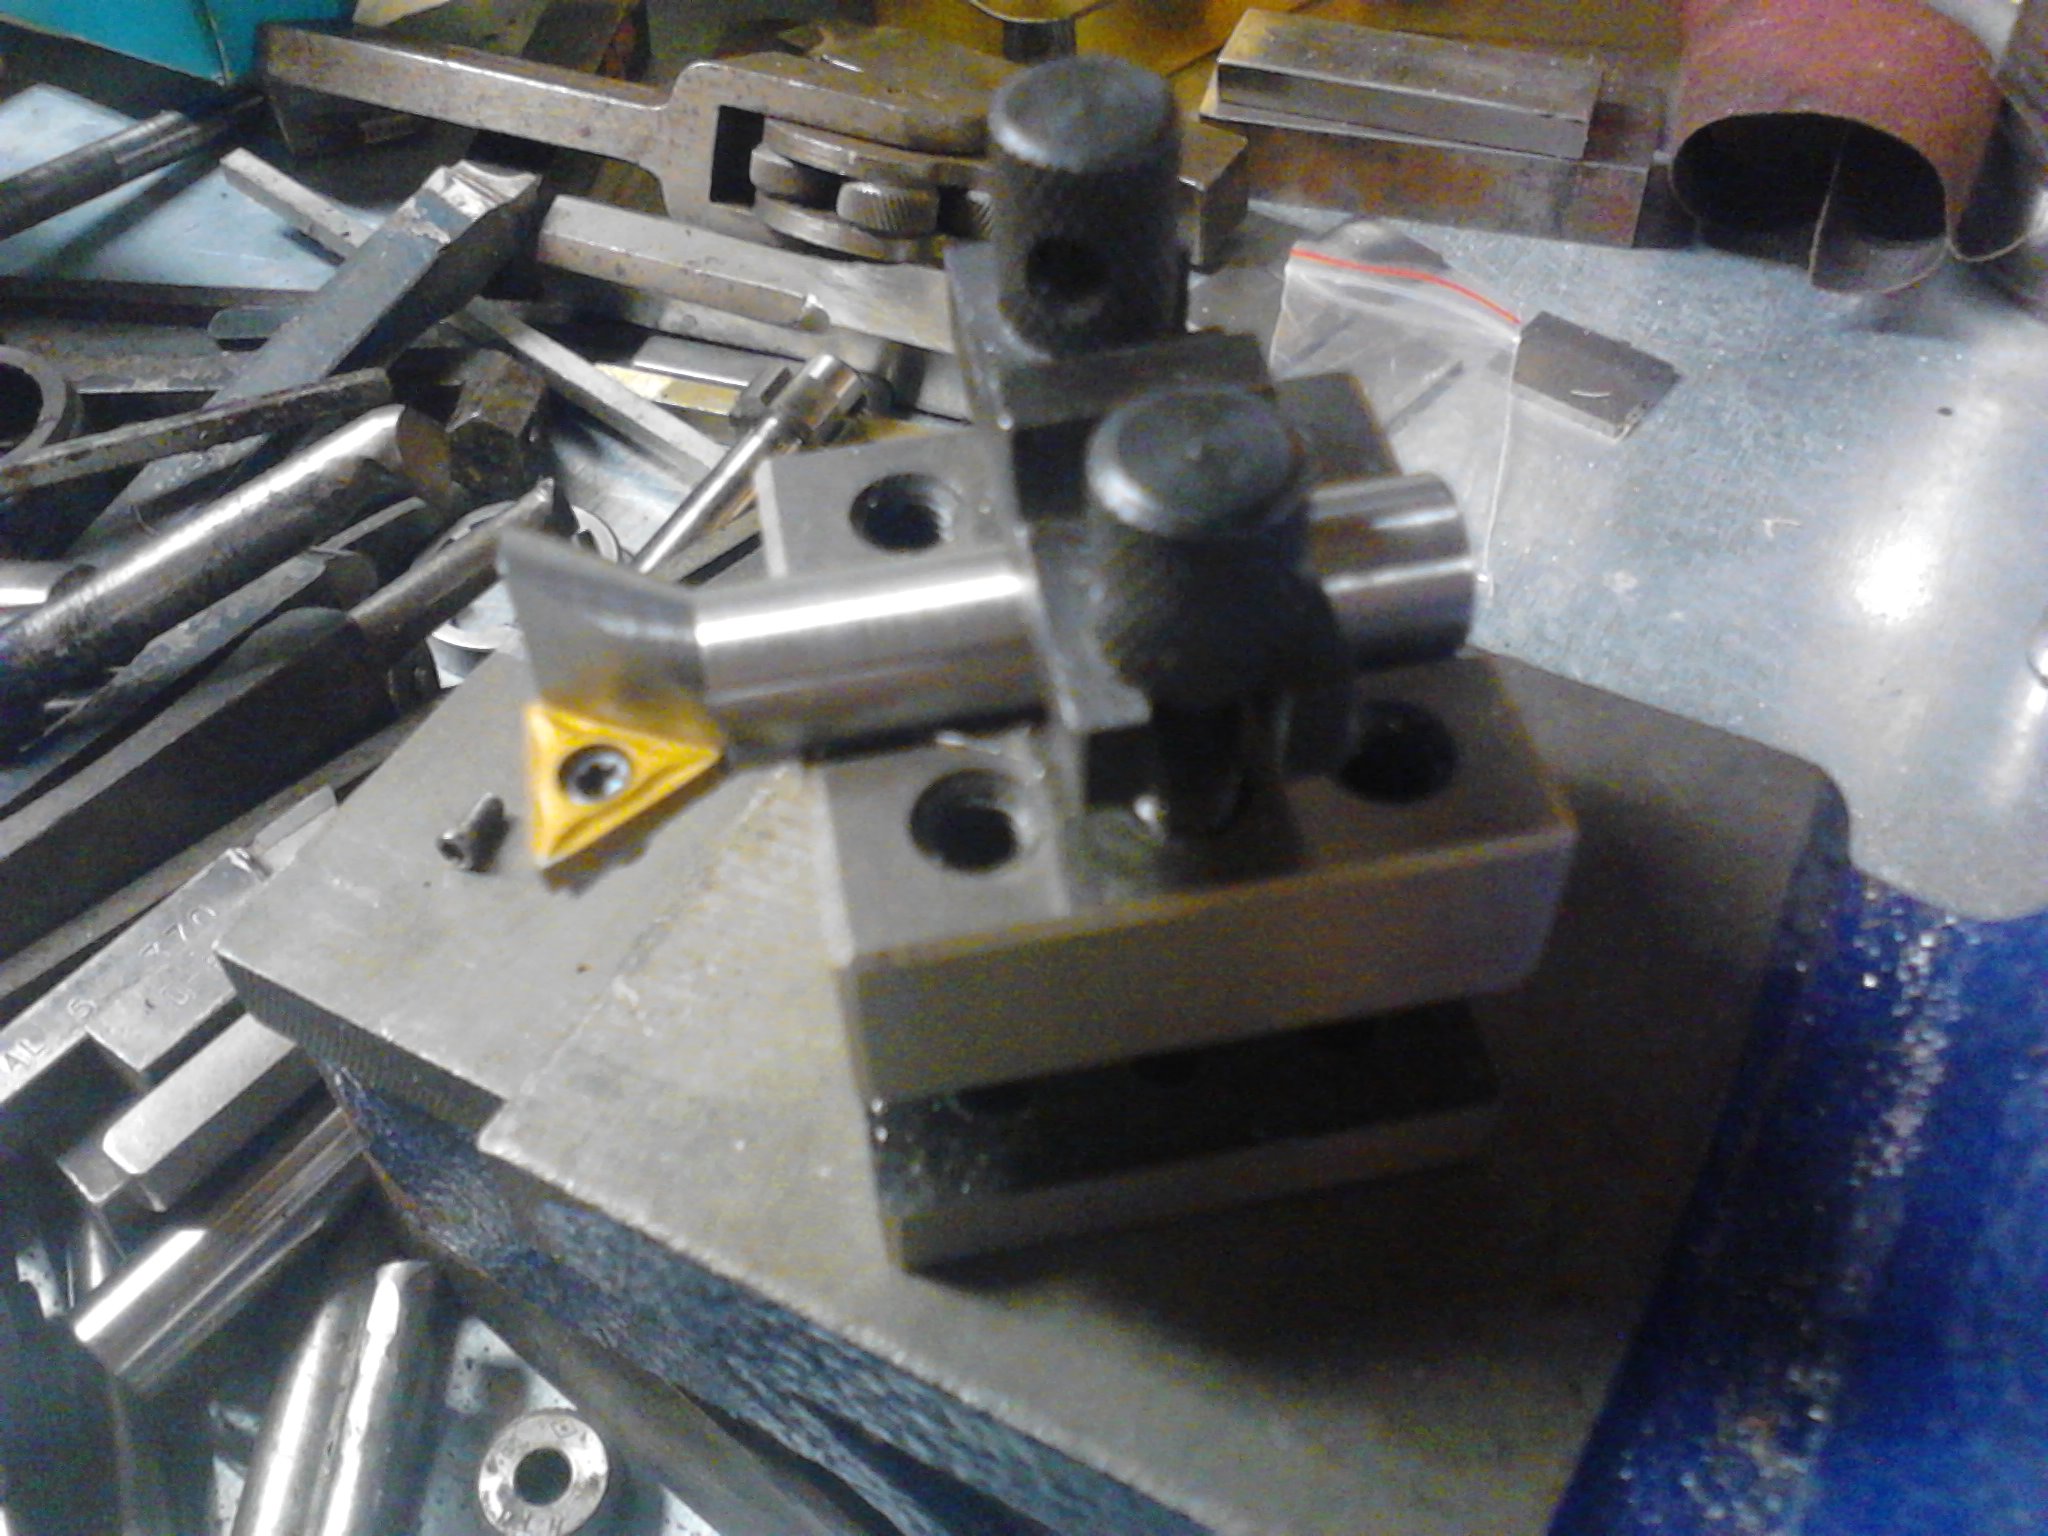
This is how it looks with the insert in place. I glued it in place with a bit of cyanoacrylate adhesive to make the next few steps easier.
Next, a hole was marked with a transfer punch and drilled for the appropriate tap for the appropriate screw for this insert.
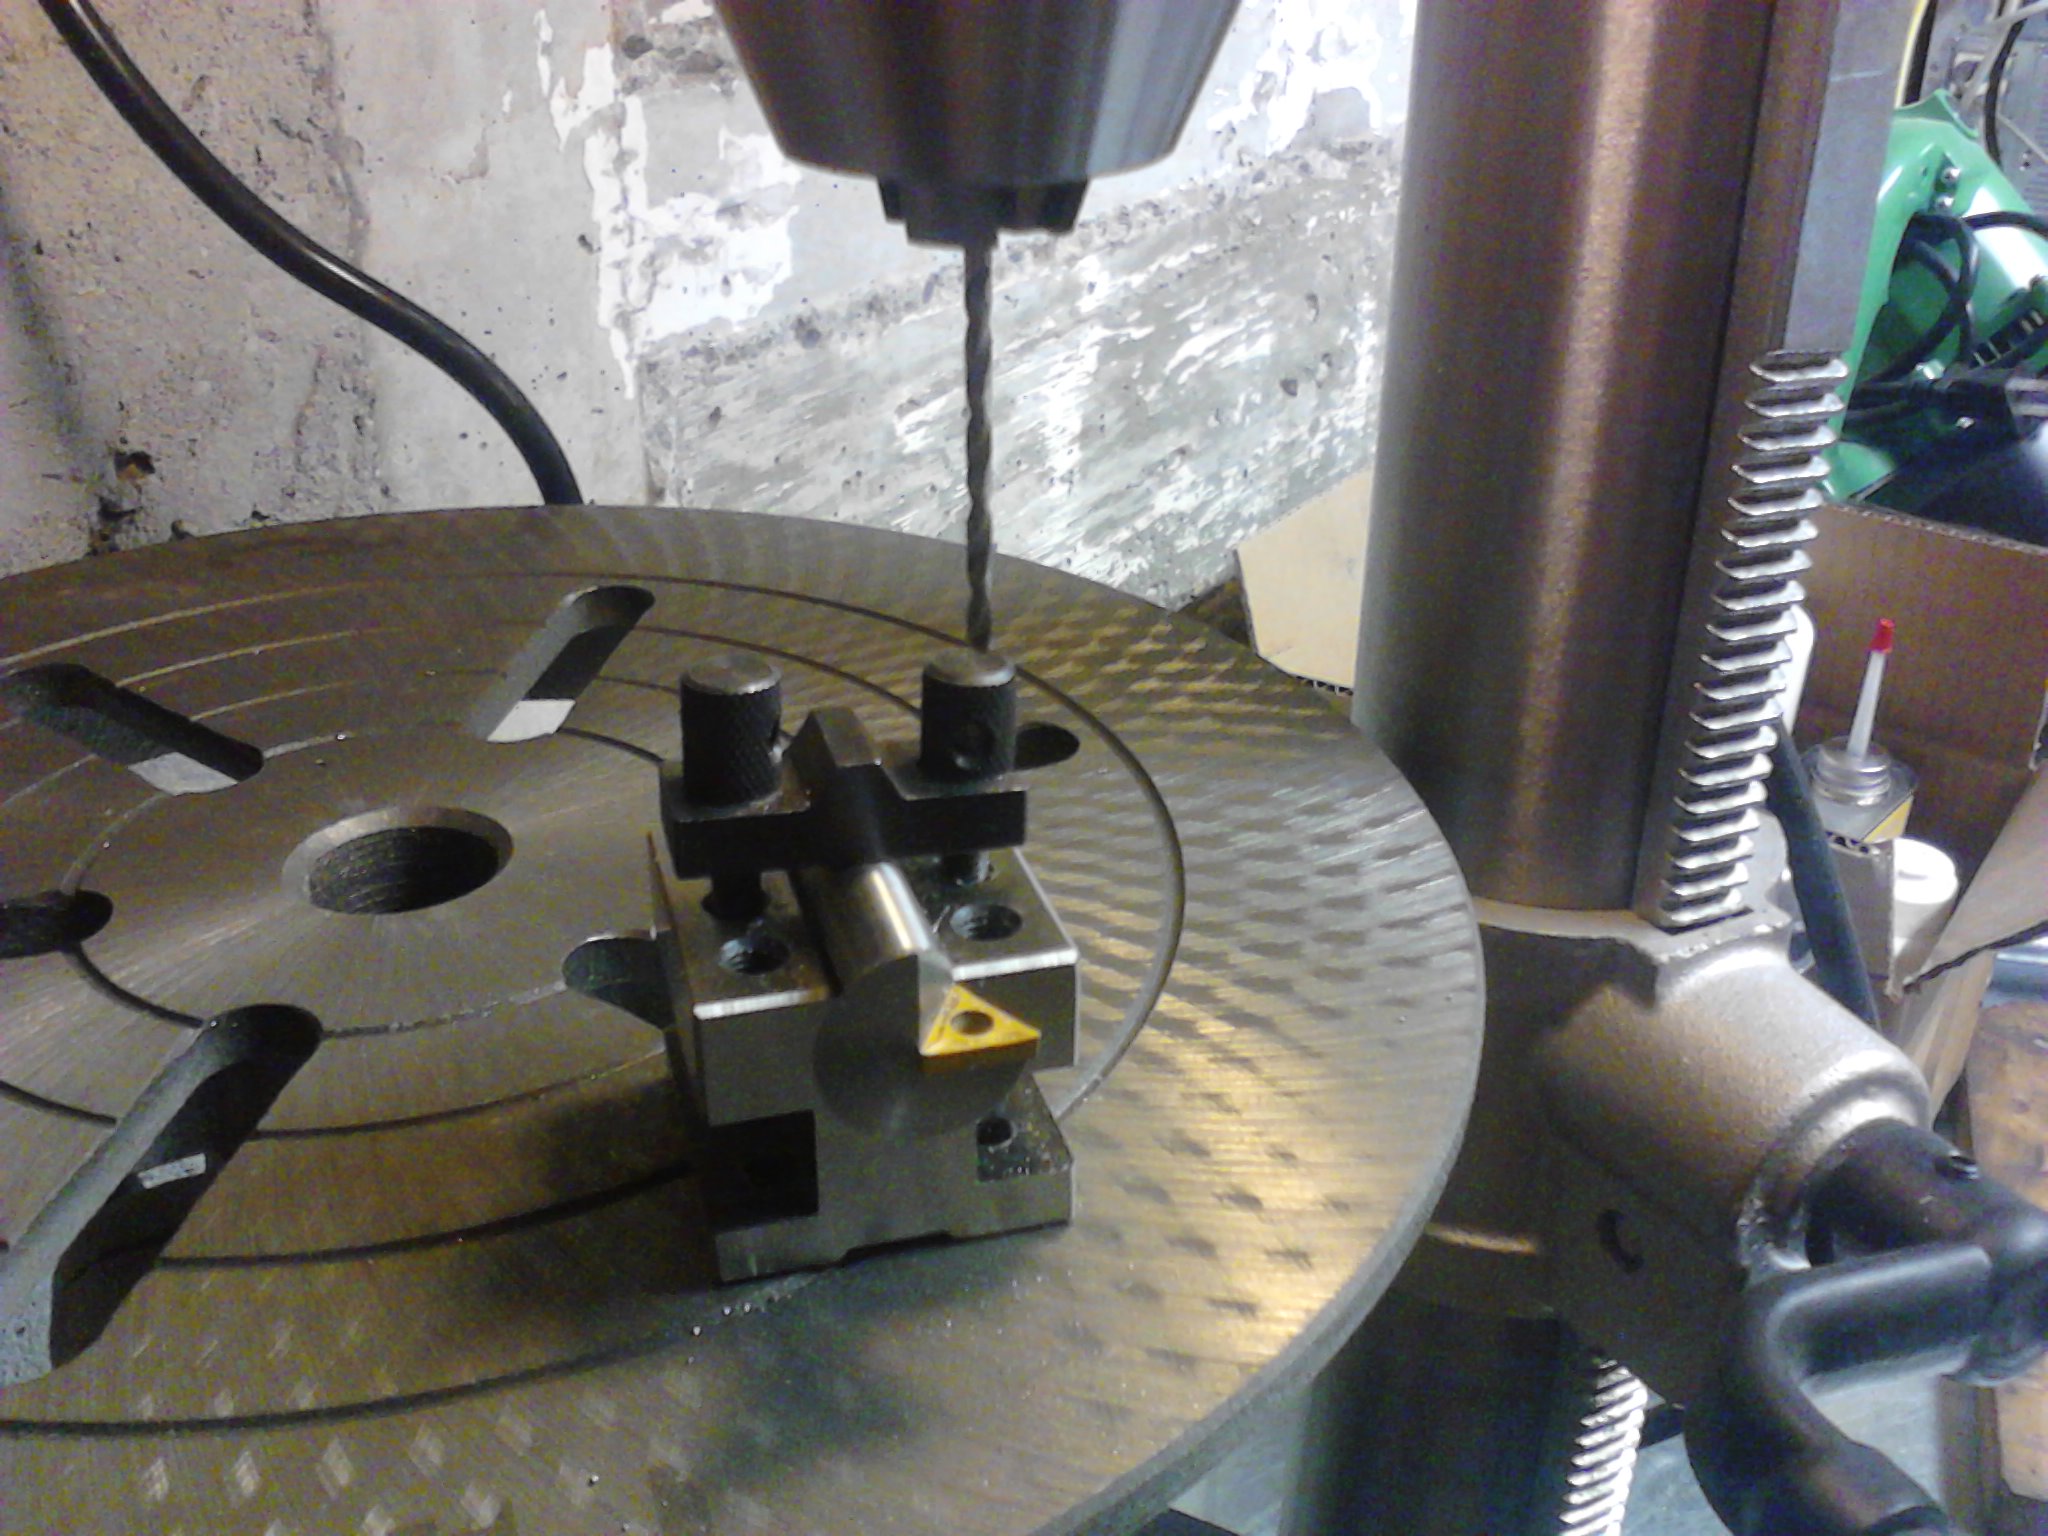
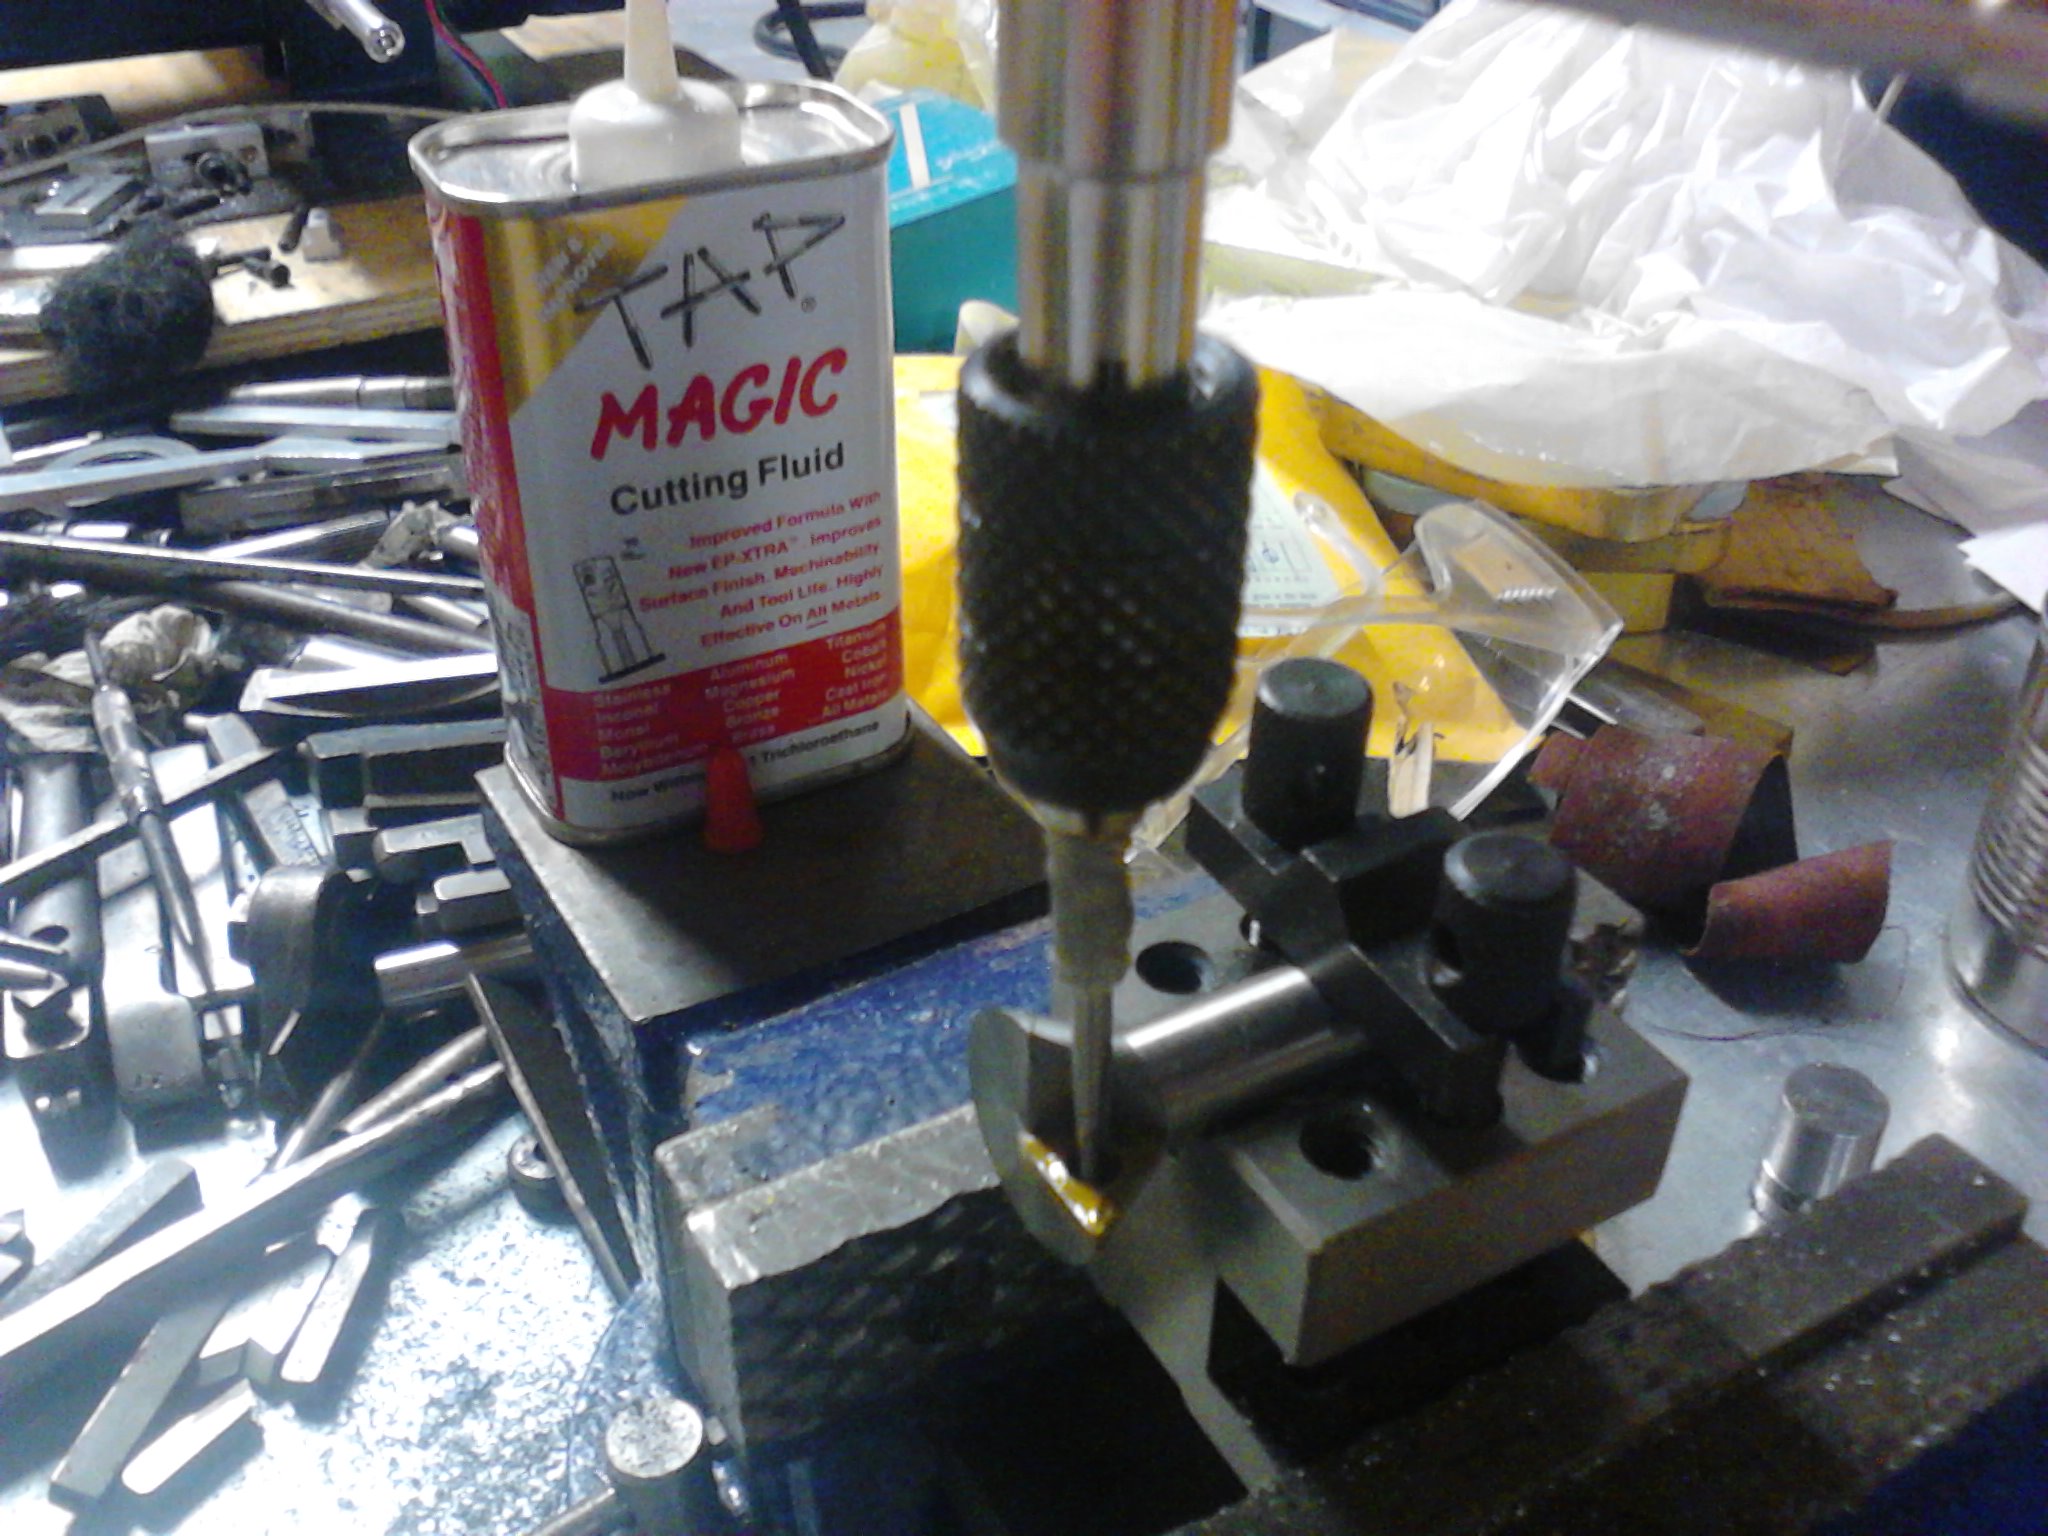
After you drill the pilot hole, its time to tap the tread for the insert screw. I didn't want to risk breaking the tap, so I used a bit of Tap Magic to help me.
With a bit of heat from a propane torch, you can remove the adhesive bond and the indexable insert.
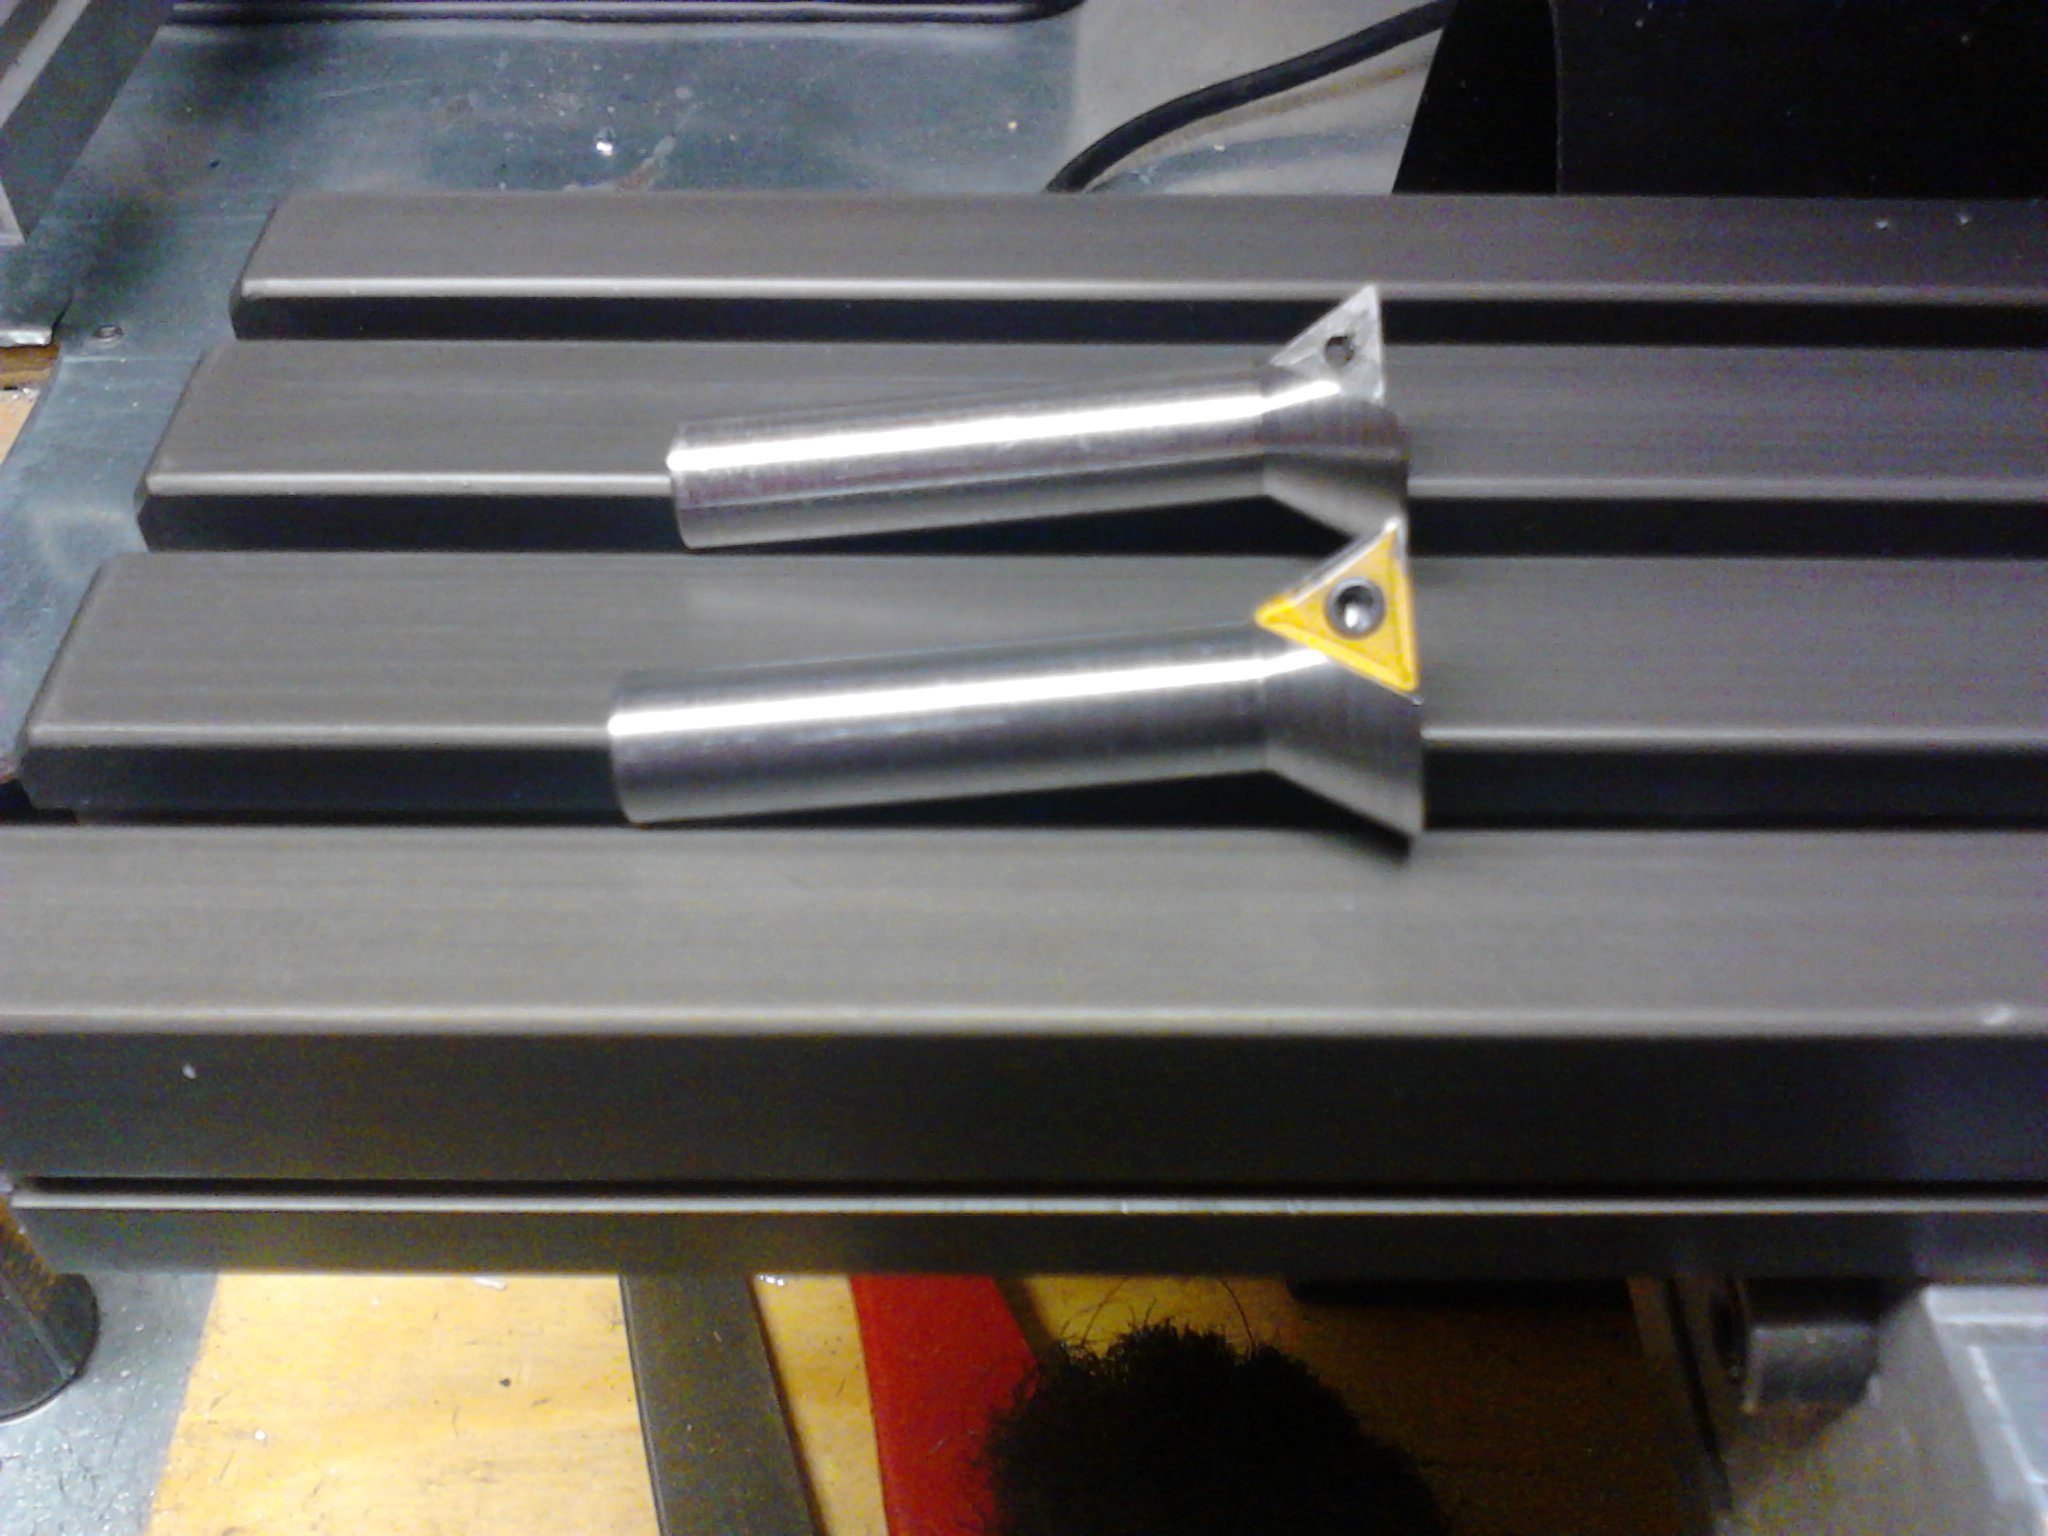
This is what it looks like with the insert in place and fastened with a screw.
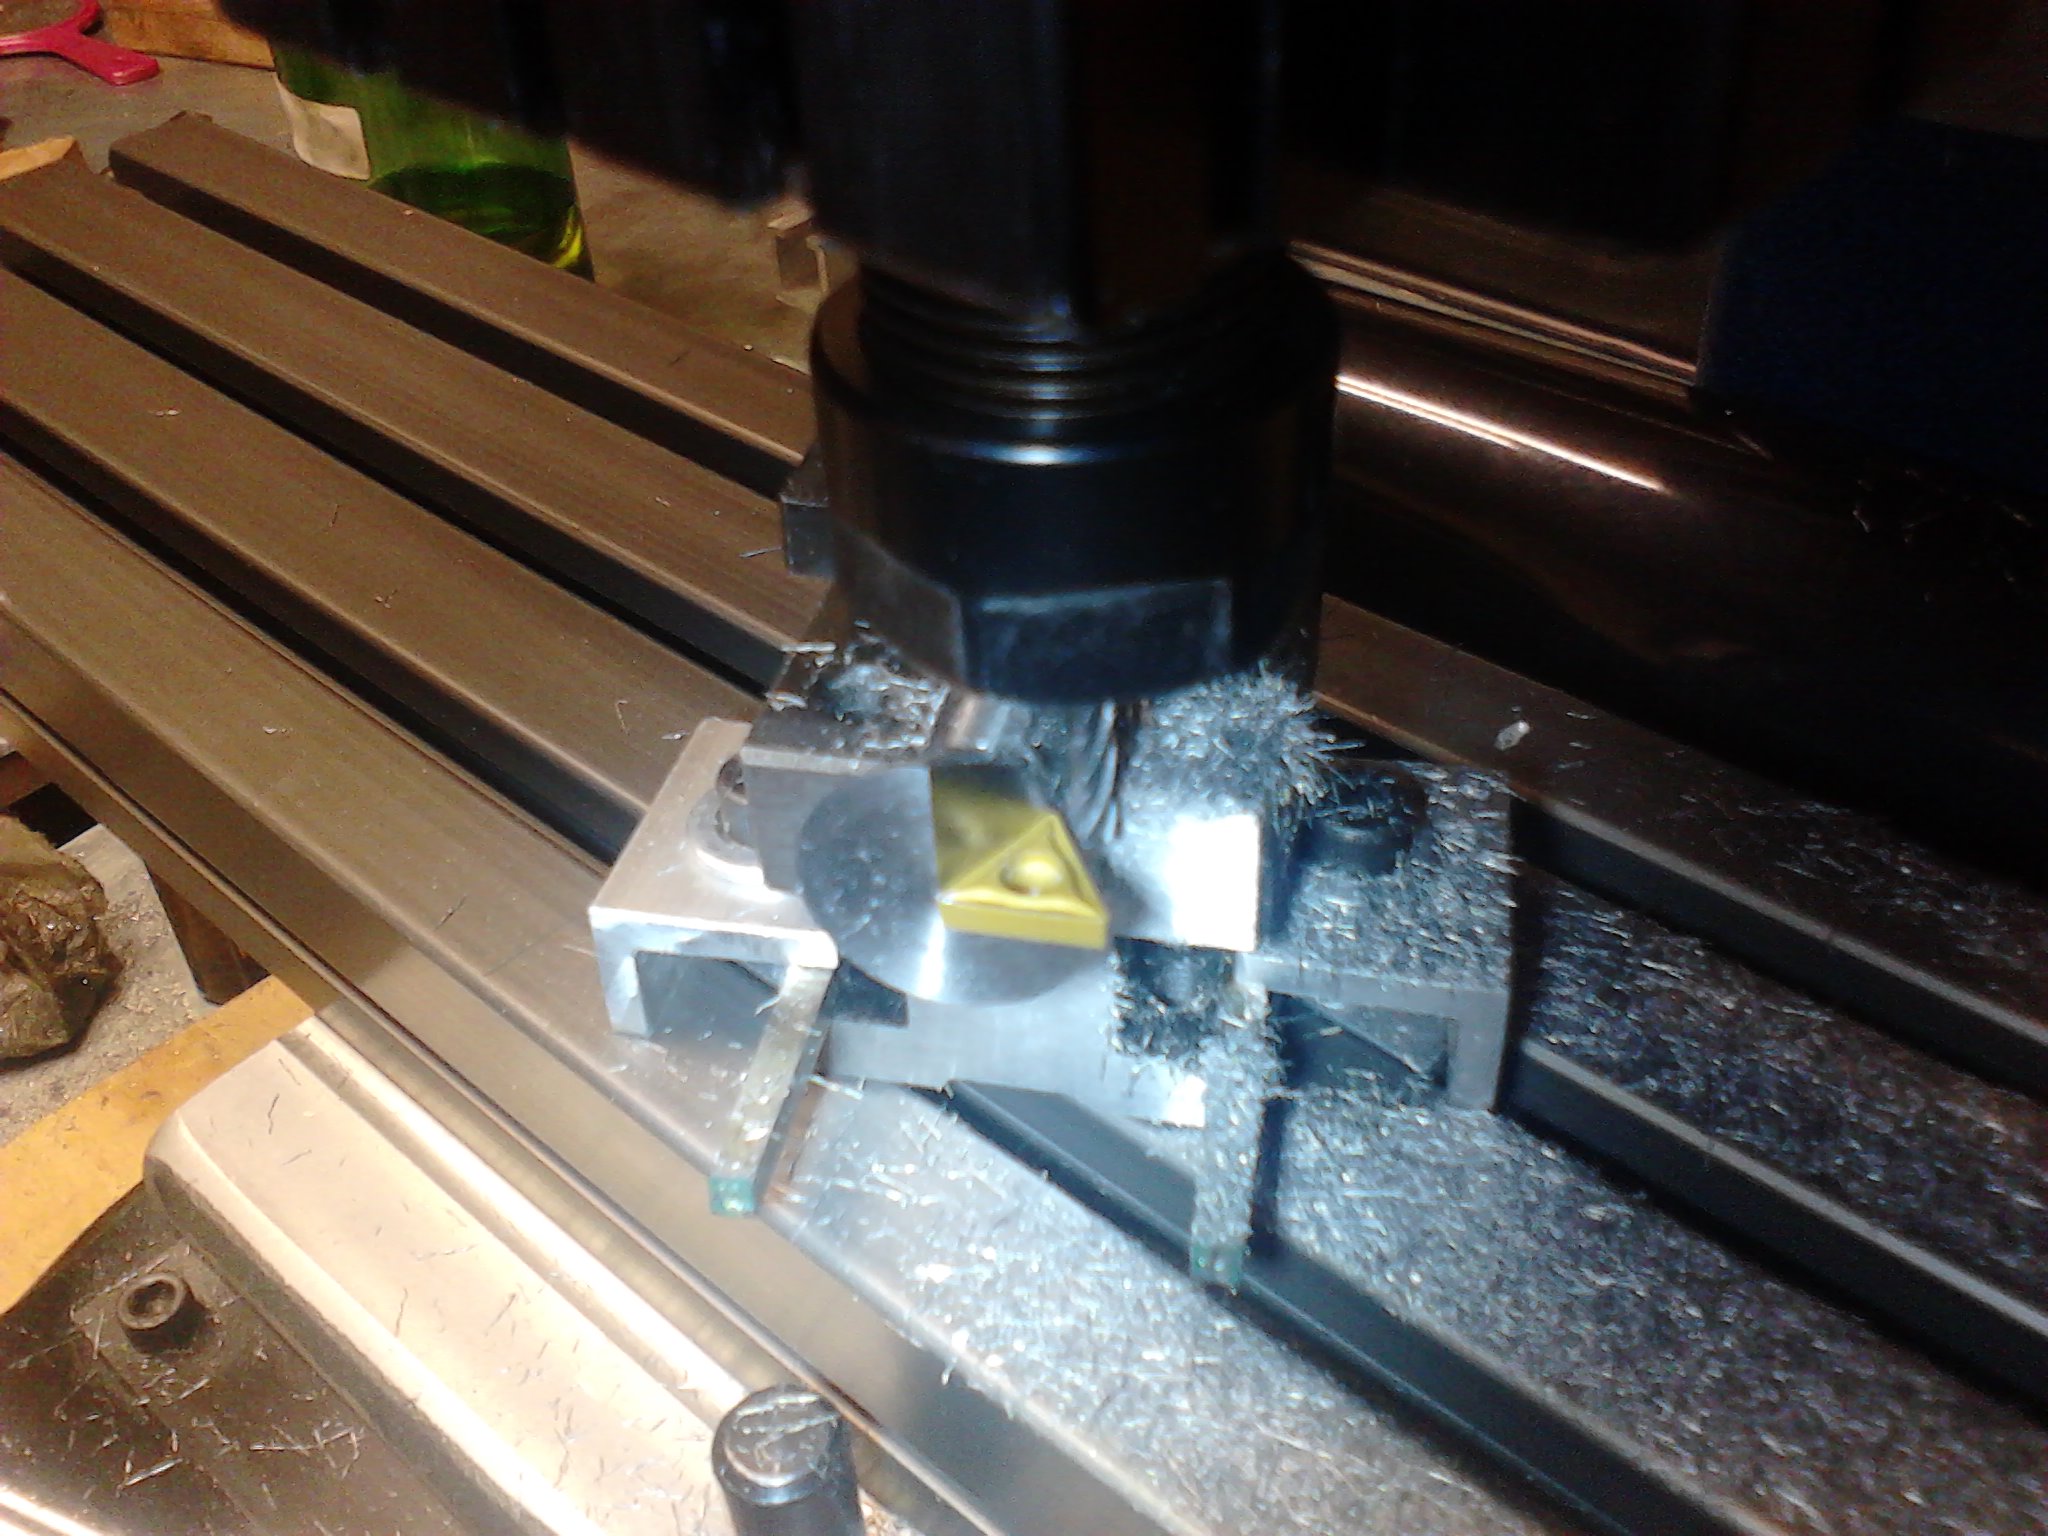
Finally, lets test the insert. Seems to work pretty well!
Originally, I made a tool-holder from a mysterious metal in the scrap bin. No matter how aggressively I turned it, it would not turn blue. It got hot and turned golden, but not blue. It wasn't until later when I was cleaning up when I noticed that none of the swarf stuck to my magnets. It turned out that this was stainless. I got up to the point of tapping the hole, but gave up because my tap simply would not bite into the metal. I felt kind of defeated and decided to restart the project with something more reasonable, like 12L14.
It turned out that the cutter worked OK. It was very loud and cut somewhat slowly. However, the resulting angle was pretty good. I think there was a good reason that the commercial cutter had axial rake. I think that the axial rake reduces the contact area between the cutter and the material making for smoother cuts. I guess there's not much you could do about that given the insert geometry at hand. Perhaps in the future, I will make dovetail cutter tool-holders that take multiple inserts. However, I will have to work this out to more detail and bring out the rotary table for that.
This page was last revised on an unknown date.
![]()
